Getting Started: Creating a Space
Disclaimer: This guide refers to using the Element Matrix clients, Element Web or Element Desktop apps
You can create a space by clicking the + Create a space button, located at the bottom of the vertical navigation menu on the left when using the Element Web App.

Starting a New Space
After clicking Create a space, you will be presented with the Create a space prompt, from here you need to first choose whether the space should be Public or Private. You will then need to fill in the required details to create your space:
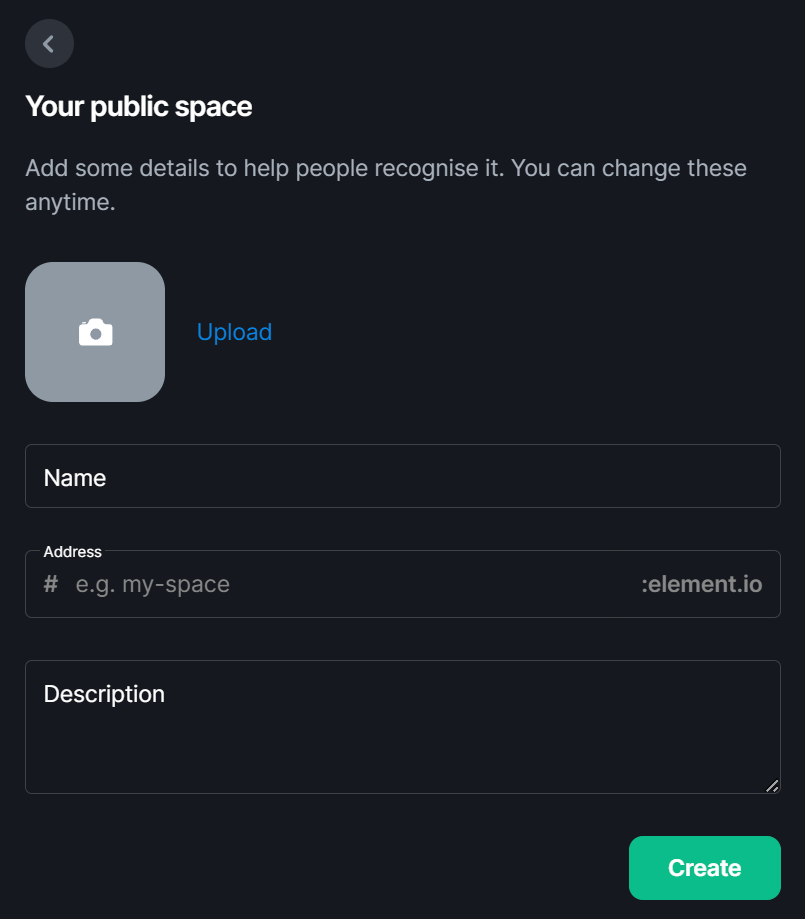
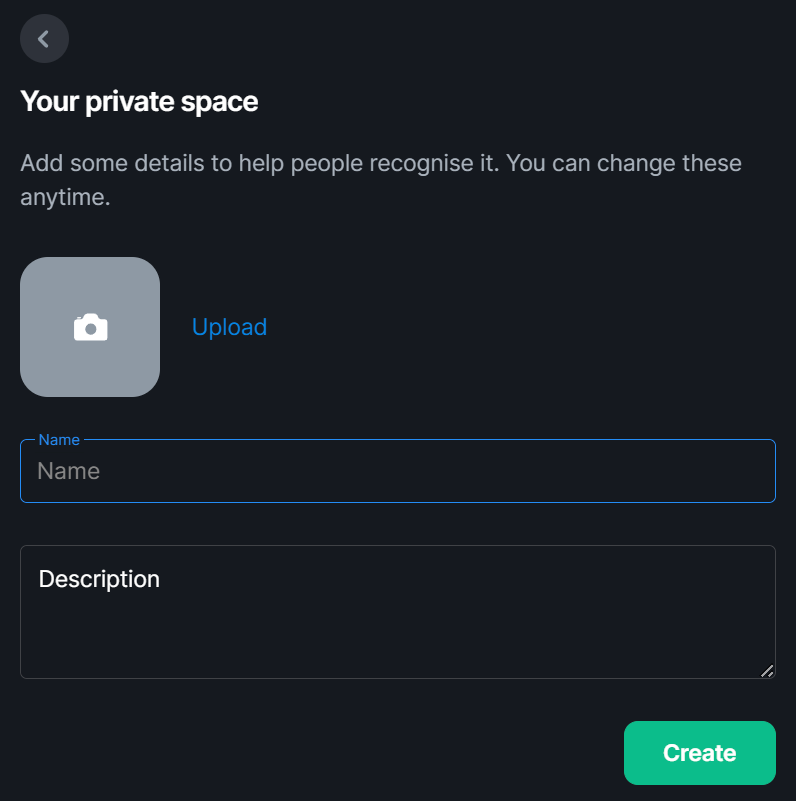
- Avatar: Here you can upload a picture for your space, this will be visible in the navigation menu and on the space overview.
- Name: This is the name your space will appear as, if you are making a public room, make sure you choose a name that will be easily found when searching and is appropriate for the homeserver.
-
Address: Available when creating a public space, this is the address for your space. User's will be able to link to it using this address when typing
# - Description: A description of the space and it's purpose will help inform others of why the space exists and help them decide whether it's a space they'd like to join.