Post-Installation Essentials
You've installed Element Server Suite, what do you need to know? Check here for some essentials.
End-User Documentation
After completing the installation you can share our User Guide PDF to help orient and onboard your users to Element! Or visit the Element Support book.
Where are the Installer Configuration Files
Everything that you have configured via the Element Server Suite installer is saved to configuration files placed in the .element-enterprise-server directory, found in the home directory of the user who ran the installer. In this directory, you will find a subdirectory called config that contains the actual configuration files - keep these backed up.
Running the Installer unattended
It is possible to run the installer without using the GUI provided that you have a valid set of configuration files in the .element-enterprise-server/config directory.
Using this method, you could use the GUI as a configuration editor and then take the resulting configuration and modify it as needed for further installations.
This method also makes it possible to set things up once and then run future updates without having to use the GUI.
See the Running the installer unattended section from the Automating ESS Deployment doc.
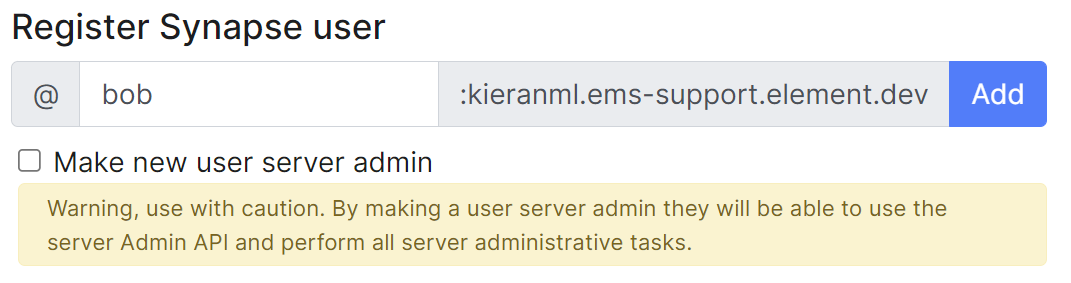
Manually creating your first user
It is highly recommended to use the Admin Console to create new users, you can see the Using the Admin Tab page for more details, specifically the Adding Users section.
However, if wish to create users from your terminal, you can run the following command:
$ kubectl --namespace element-onprem exec --stdin --tty \
    first-element-deployment-synapse-main-0 \
    -- register_new_matrix_user --config /config/rendered/instance.yaml

New user localpart: your_username
Password:
Confirm password:
Make admin [no]: yes
Sending registration request...
Success!
Make sure to enter yes on Make admin if you wish to use this user on the installer or standalone Admin page.
Please note, you should be using the Admin page or the Synapse Admin API instead of kubectl/register_new_matrix_user to create subsequent users.
Standalone Deployment microk8s Specifics
Cleaning up images cache
The installer, from version 24.02, comes with the tool crictl which lets you interact with microk8s containerd daemon.
After upgrading, once all pods are running, you might want to run the following command to clean-up old images :
~/.element-enterprise-server/installer/.install-env/bin/crictl -r unix:///var/snap/microk8s/common/run/containerd.sock rmi --prune
Upgrading microk8s
Prior to versions 24.04.05
Upgrading microk8s rely on uninstalling, rebooting the machine, and reinstalling ESS on the new version. It thus involves a downtime.
To upgrade microk8s, please run the installer with : ./<installer>.bin --upgrade-cluster.
The machine will reboot during the process. Once it has rebooted, log in as the same user, and run : ./<installer>.bin unattended. ESS will be reinstalled on the upgraded microk8s cluster.
After versions 24.04.05
Microk8s will be upgraded gracefully automatically when the new installer is used. The upgrade involves upgrading the addons, and might involve a downtime of a couple of minutes while it runs.
Upgrading an existing Installation
See Upgrading an existing Installation from the Installing Element Server Suite page for details.