
Updating a Jitsi-only Deployment
Preparing to upgrade
Download the .bin file and copy it onto the Jitsi ESS deployment element users' home directory (with the others)
Use chmod +x ./element-installer-enterprise-edition-jitsi-cors-fix.bin to make the binary executable
Make a backup of your .element-enterprise-server/config directory
Before running the installer, adjust the TLS configured under the synapseAdmin: section of the .element-enterprise-server/config/deployment.yml file is set to existing. It should look like:
synapseAdmin:
  config:
    hostOrigin: >-
      https://matrix-admin.example.com,https://matrix-admin.example.com:8443
    verifyTls: useGlobalSetting
  k8s:
    common:
      annotations: {}
    ingress:
      annotations: {}
      fqdn: matrix-admin.example.com
      services: {}
      tls:
        certificate: secretName
        mode: existing
Upgrading
./element-installer-enterprise-edition-jitsi-cors-fix.bin, it will display a link to access the installer.
Open the link (replacing the IP address with the Jitsi VM external IP address)
8443
Click on the Certificates section from the left navigation menu, ensure all except Well-Known Delegation are set to Externally Managed, then click Save at the bottom of the page.
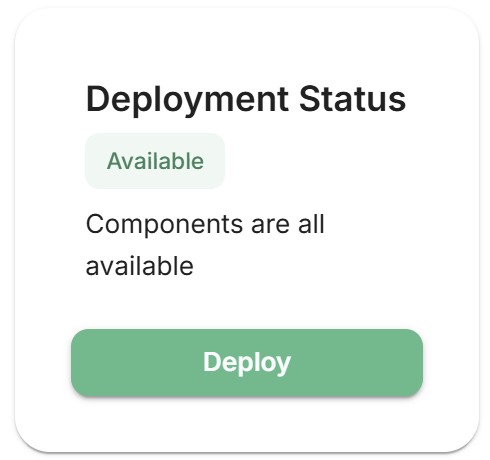
Click the Deploy button found on the right of the screen. Finally on the Deploy prompt that appears, click the Start Deployment button.
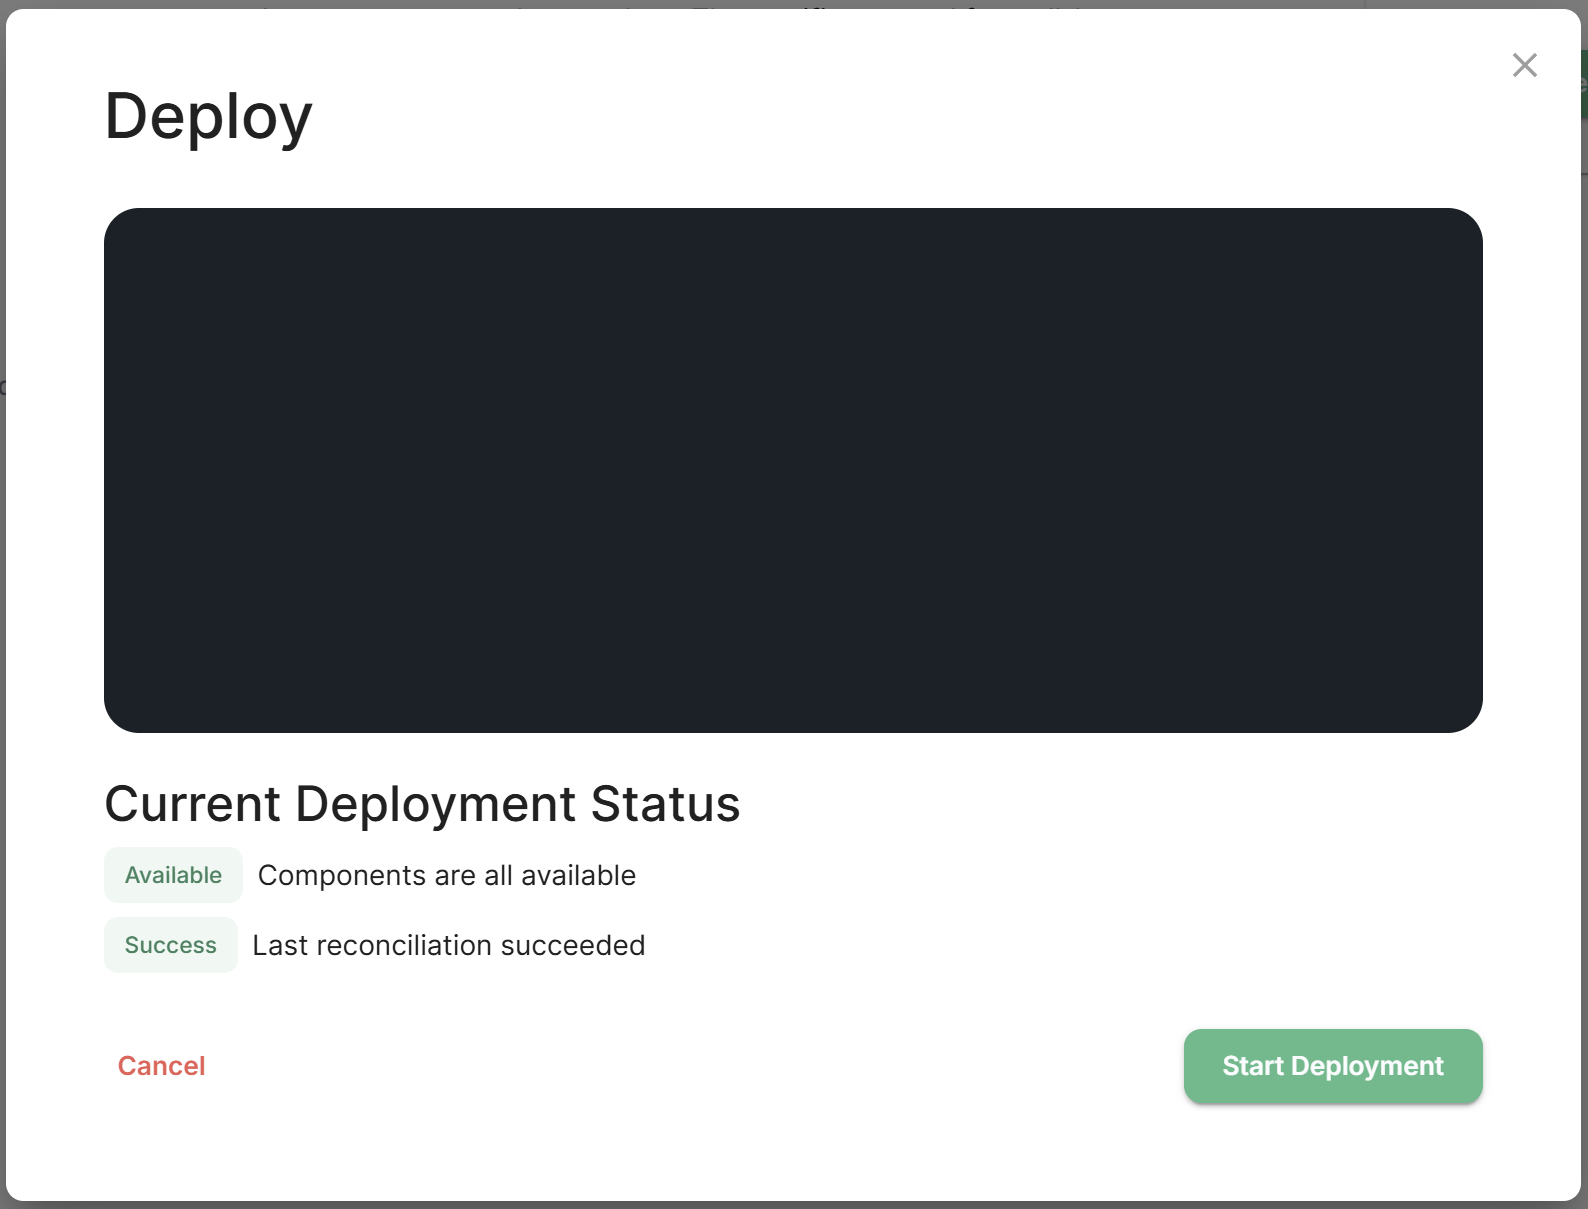
sudo password, switch back to the terminal and provide, then switch back to watch the deployment progress.
Post-deployment Cleanup
Removing the wrong sections from your ElementDeployment will cause your deployment to break. You can easily repair any changes by repeating the upgrade process documented on this page to restore your ElementDeployment. Doing this is entirely optional, and only needed if your host doesn't have enough CPU / Memory to run all the pods.
In the terminal, use export KUBE_EDITOR=nano to allow editing Kubernetes objects with nano
Edit ElementDeployment resource and remove everything but Jitsi, Coturn and Well-Known from the spec:
kubectl edit ElementDeployment first-element-deployment -n element-onprem
First, jump down to the start of the spec: components: section. Then remove each entry that isn't coturn:, jitsi: or wellKnownDelegation:. You can tell when a section ends as it's last line before the new component should be secretName: COMPONENT_NAME.
Your final file should be roughly structured like so:
apiVersion: matrix.element.io/v1alpha2
kind: ElementDeployment
metadata:
  example: data
spec:
  components:
    coturn:
      example: data
      secretName: coturn
    jitsi:
      example: data
      secretName: jitsi
    wellKnownDelegation:
      example: data
      secretName: well-known-delegation
  global:
    example: data
    secretName: global
status:
  example: data
Finally selete Synapse, Integrator, SynapseAdminUI and ElementWeb custom resources to remove their pods and clean-up the resources they use:
kubectl delete Synapse/first-element-deployment -n element-onprem
kubectl delete Integrator/first-element-deployment -n element-onprem
kubectl delete SynapseAdminUI/first-element-deployment -n element-onprem
kubectl delete ElementWeb/first-element-deployment -n element-onprem