Setting up Delegated Authentication with SAML on Microsoft Azure
Before setting up the installer, you have to configure Microsoft Entra ID.
Set up Microsoft Entra ID
With an account with enough rights, go to : Enterprise Applications
New ApplicationCreate your own applicationIntegrate any other application you don't find in the gallerySet up single sign onSAMLEditBasic SAML ConfigurationIdentifierhttps://<synapse fqdn>/_synapse/client/saml2/metadata.xmlReply URLhttps://<synapse fqdn>/_synapse/client/saml2/authn_responseSave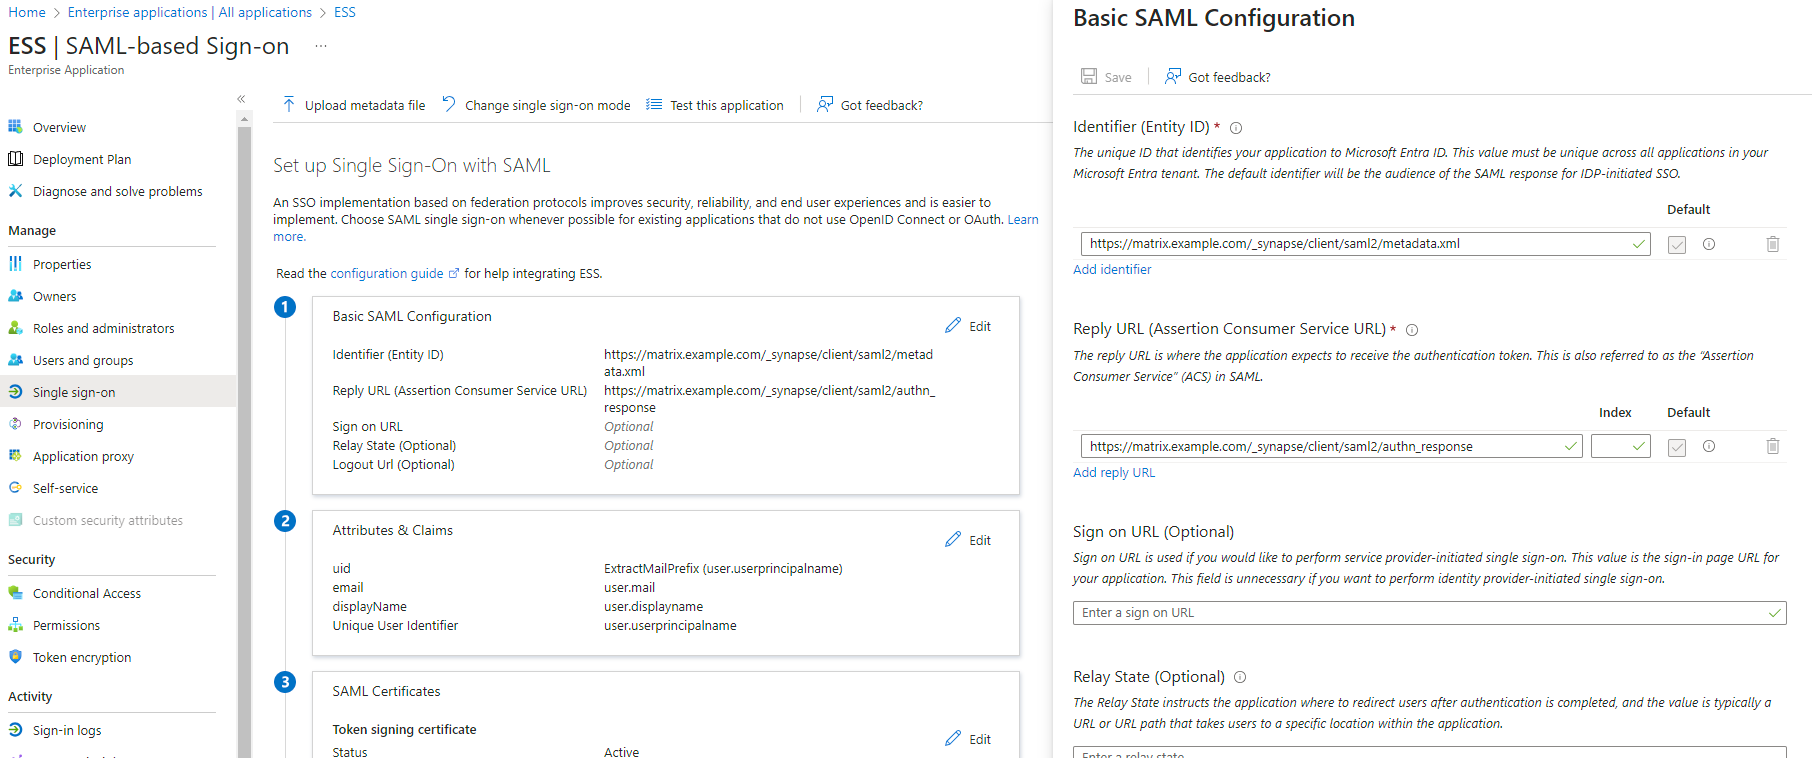
App Federation Metadata UrlSAML CertificatesEditAttributes & ClaimsAdd new claimuidExtractMailPrefixuser.userprincipalnameemailuser.maildisplayNameuser.displaynameSave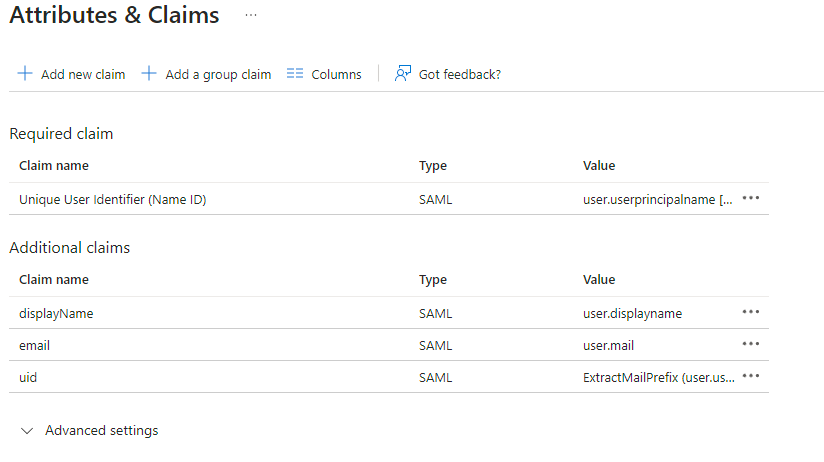
Users and GroupsConfigure the installer
Add a SAML provider in the 'Synapse' configuration after enabling Delegated Auth and set the following (suggested) fields in the installer:
Allow Unknown AttributesAttribute MapIdentifierURN:Oasis:Names:TC:SAML:2.0:Attrname Format:Basic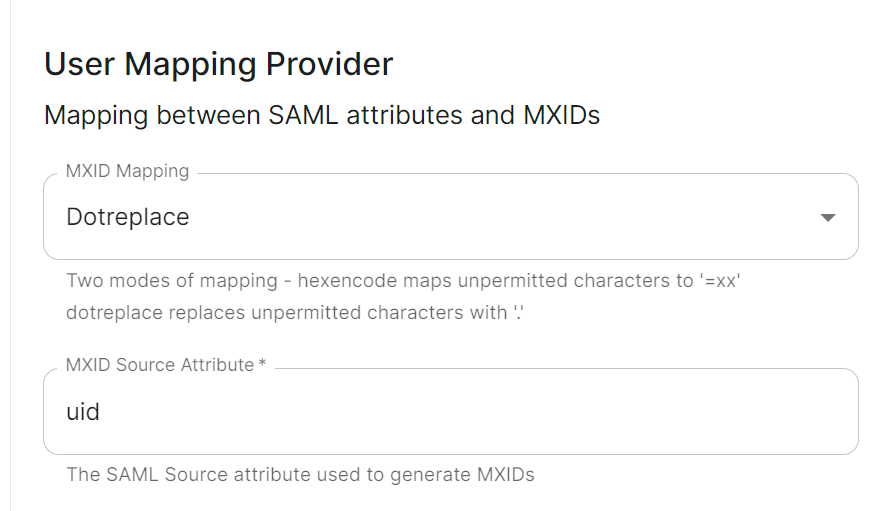
MappingPrimary EmailemailFirst NamefirstnameLast Namelastname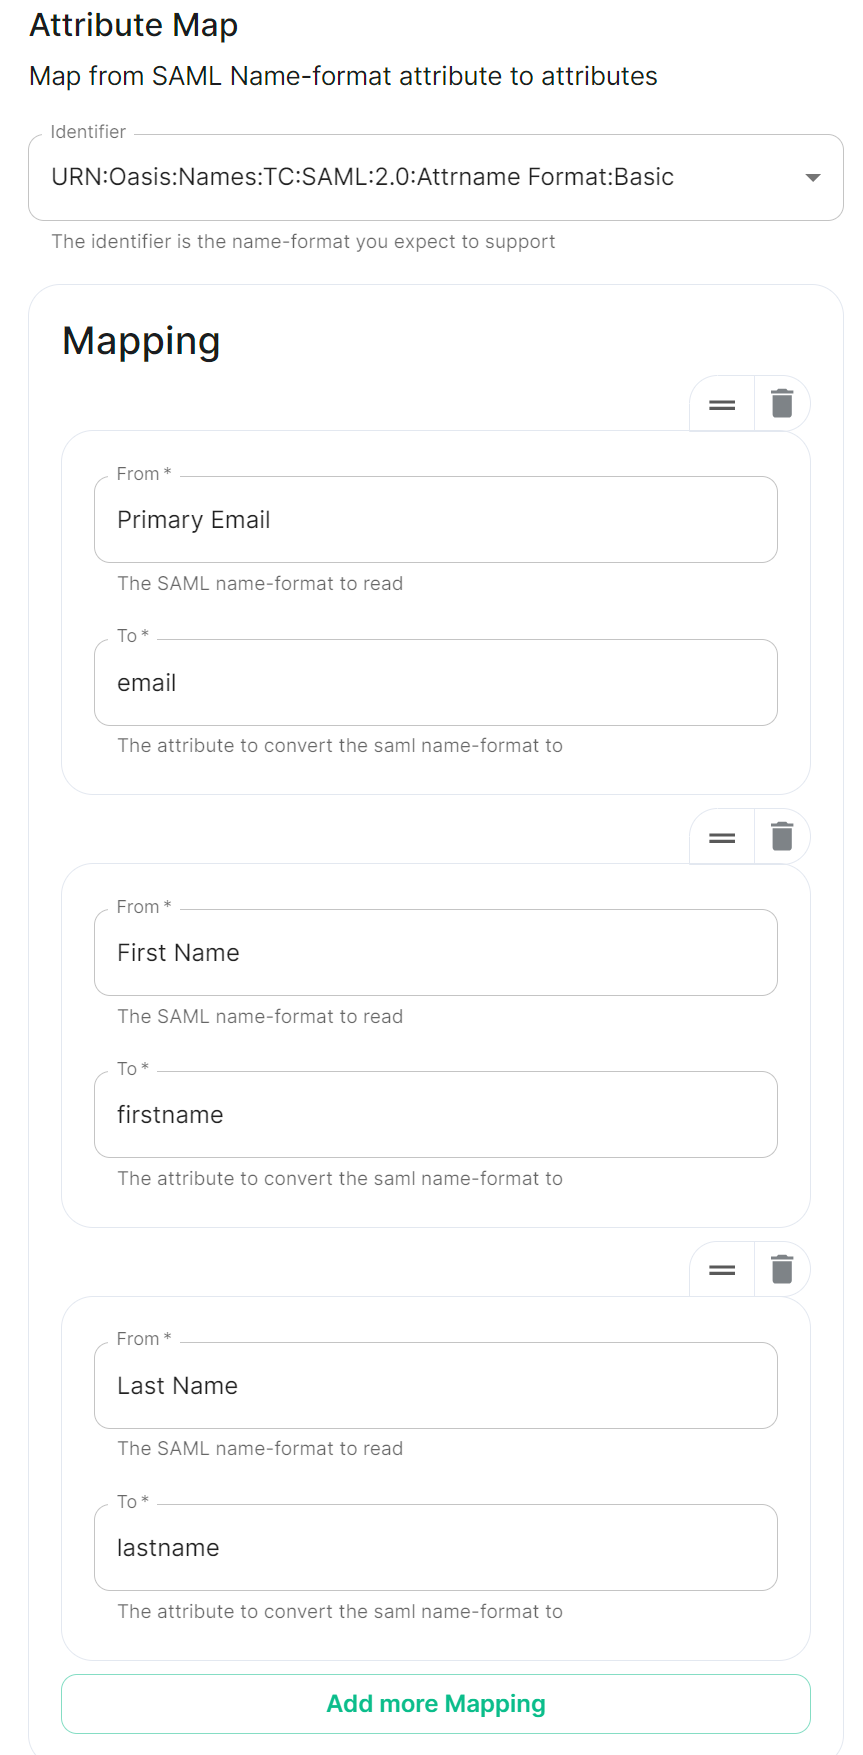
EntitydescriptionEntity IDname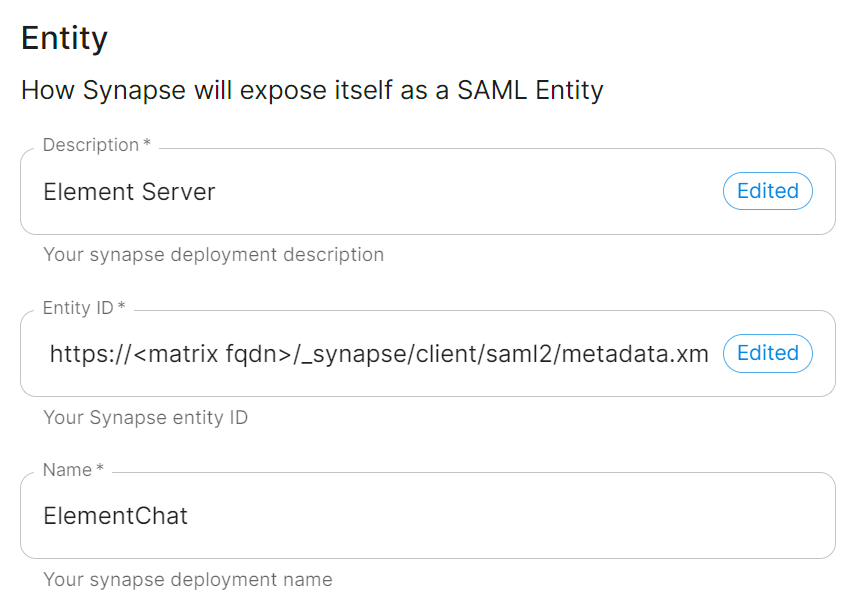
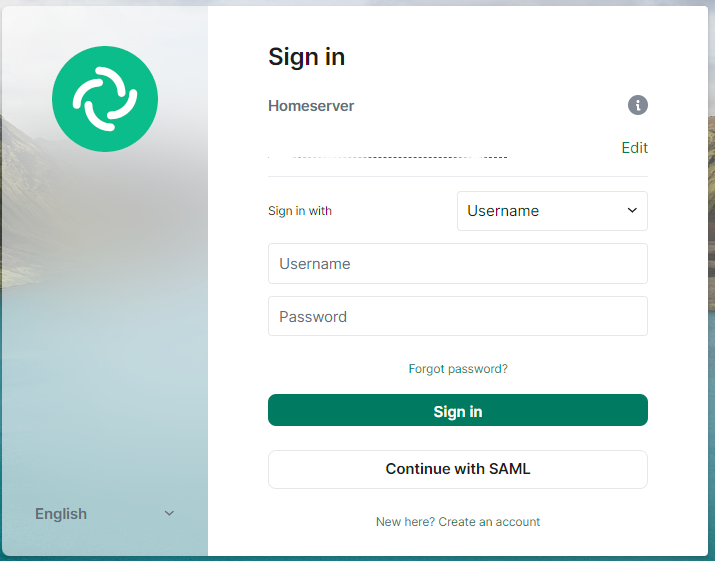
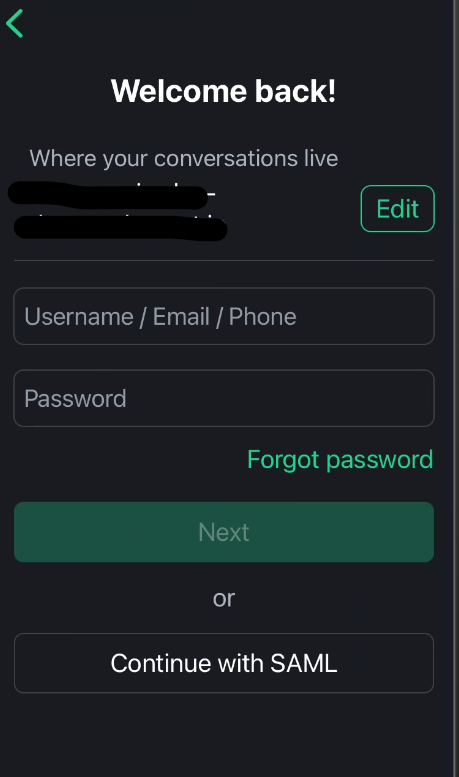
User Mapping ProviderMXID MappingDotreplaceMXID Source AttributeuidMetadata URLApp Federation Metadata URLWhen clients connect, along with any existing authentication methods still enabled, they should now also have an option to Continue with SAML: