The Left Panel
The Left Panel
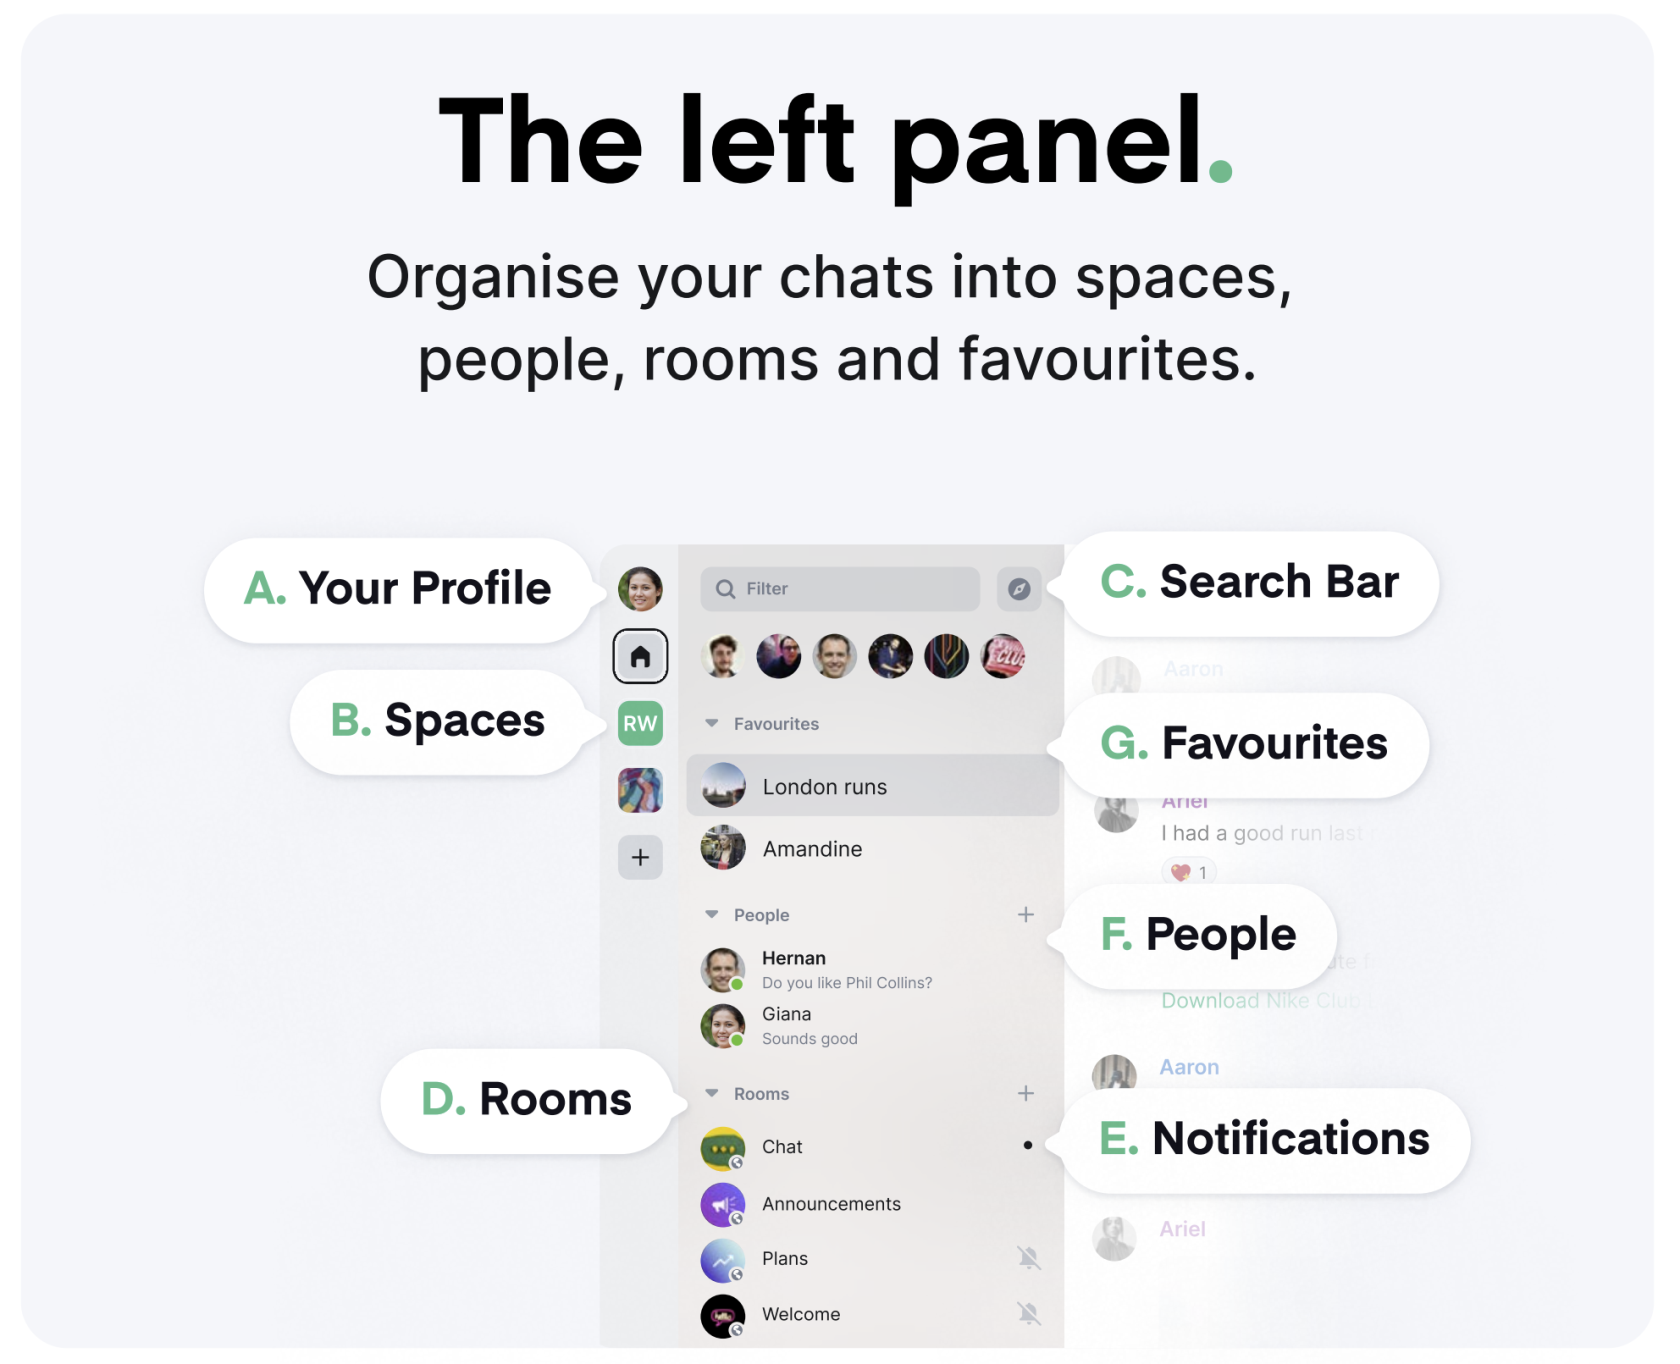
Organize your chats into spaces, people, rooms and favorites.
A. Your Profile
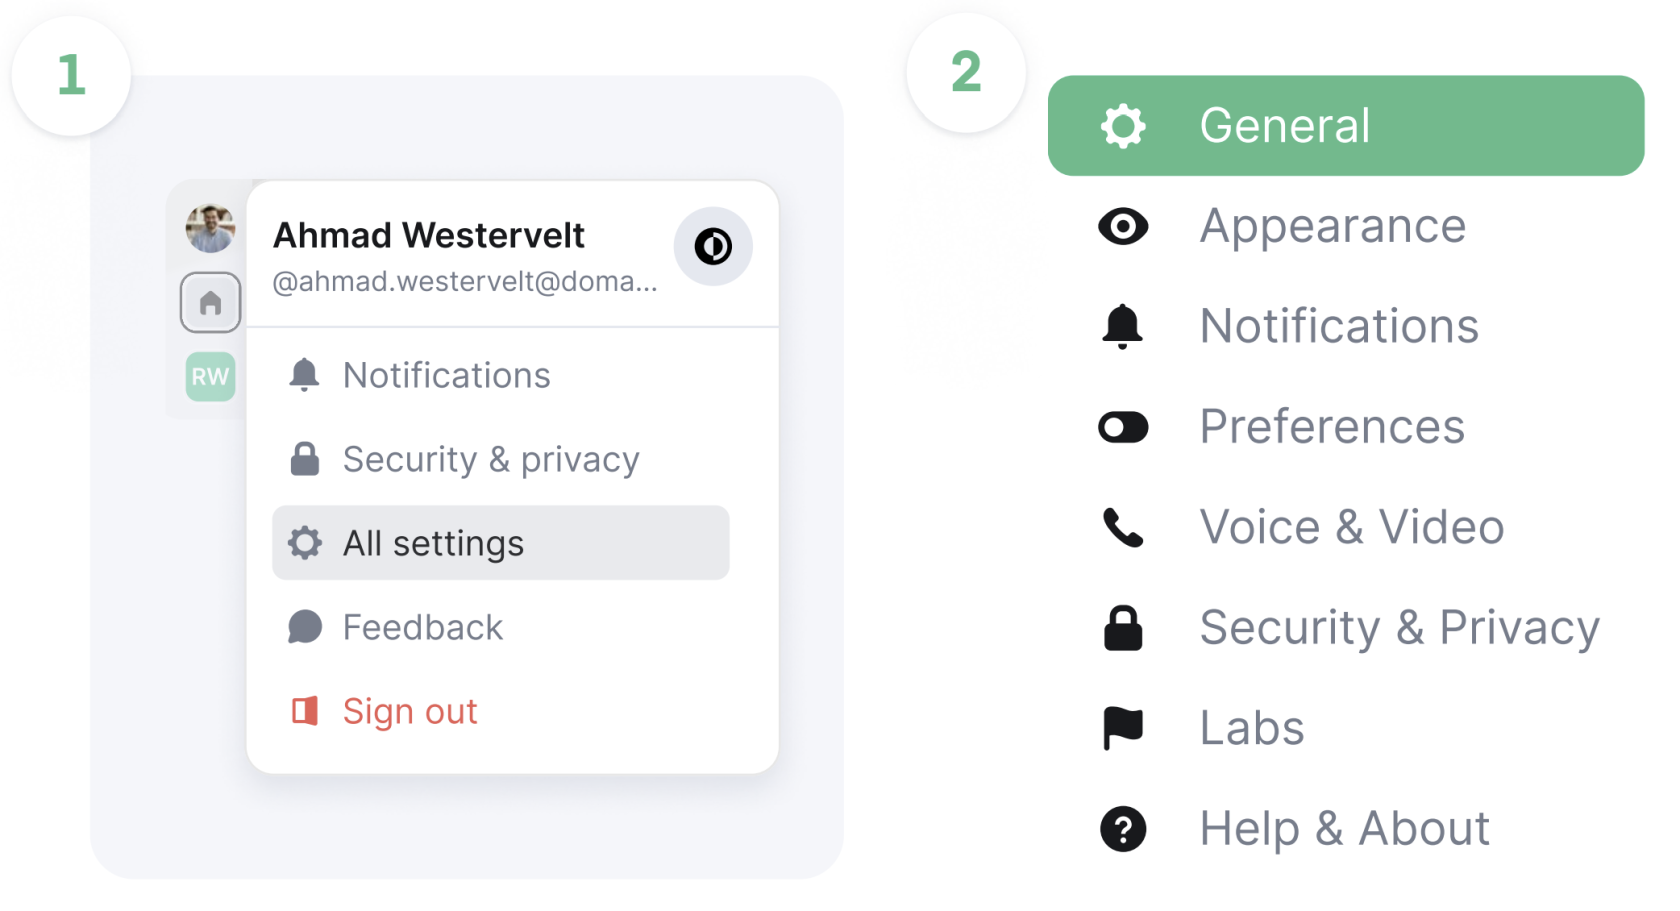
Update settings such as your display name, profile picture, language and password. Here is also where you manage notifications, security and privacy, and general settings about your account.
Access settings by clicking on your profile picture (Avatar) at the top left, from there select "All settings" and then "General".
Here you can update settings such as your display name, profile picture, language and password. You can also manage notifications, security and privacy, and general settings about your account.
Avatars are selected on the General tab. This is what will show as your display picture to other users. When you hover over the circle, the word upload will show. Click this and you will be taken to your system s files where you can select a file you want to upload.
Display Names are added or updated in the General tab, type your desired name into the box and click save.
Contact Details are added or removed on the General tab. Email addresses and phone numbers are optional, to reset your account or have forgotten your password.
Language preference can be selected using the drop down menu.
B. Spaces
Organize groups of people and rooms together by using Spaces. A selected space will only show the list of rooms and people that are part of it.
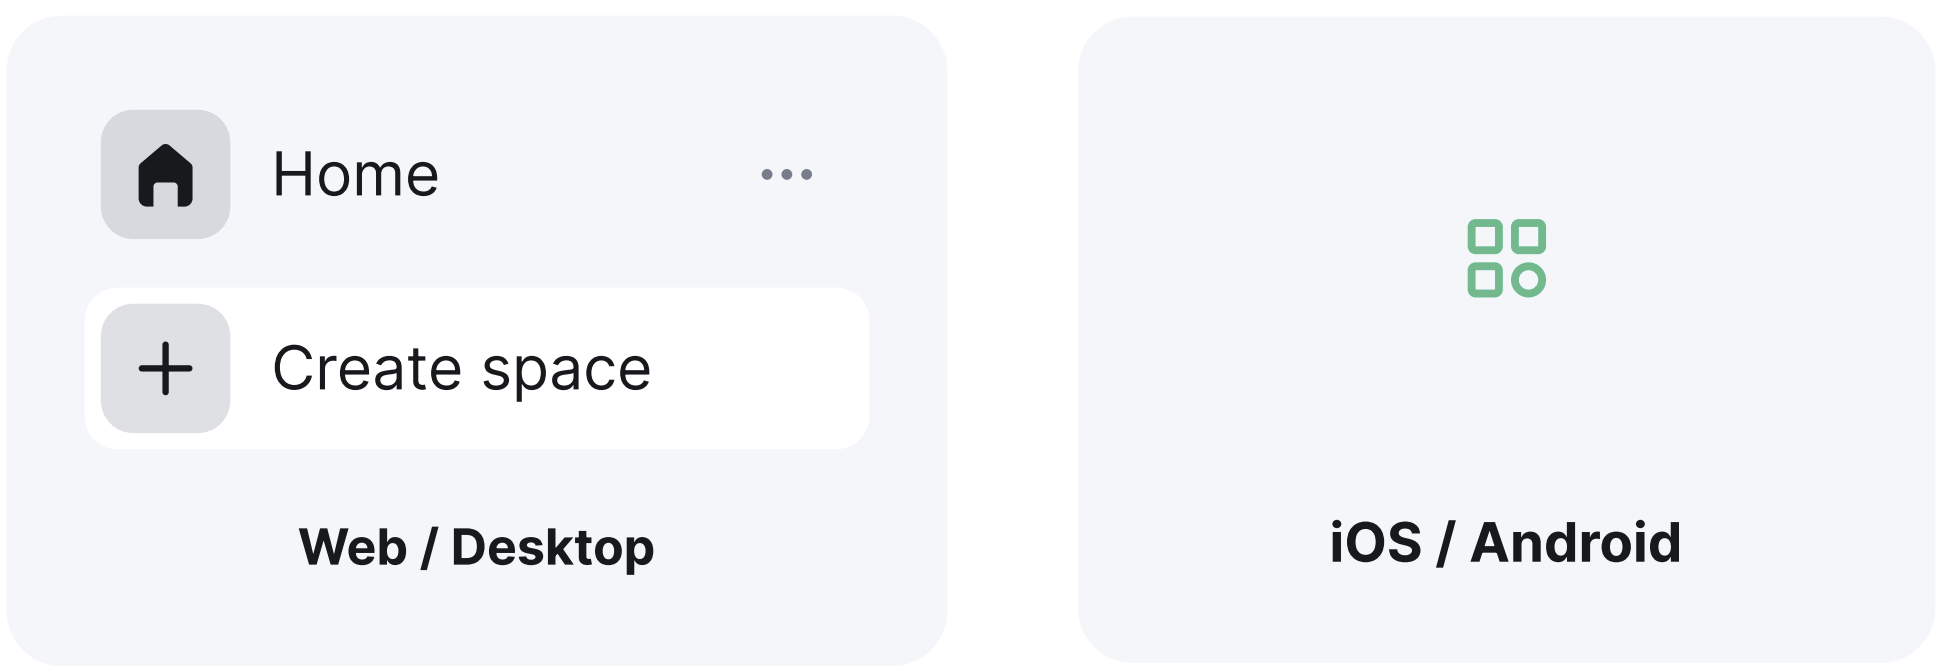
- On Web / Desktop, Set up a new space by clicking "+ Create a space"
- On iOS / Android, Tap the space icon and select "create"
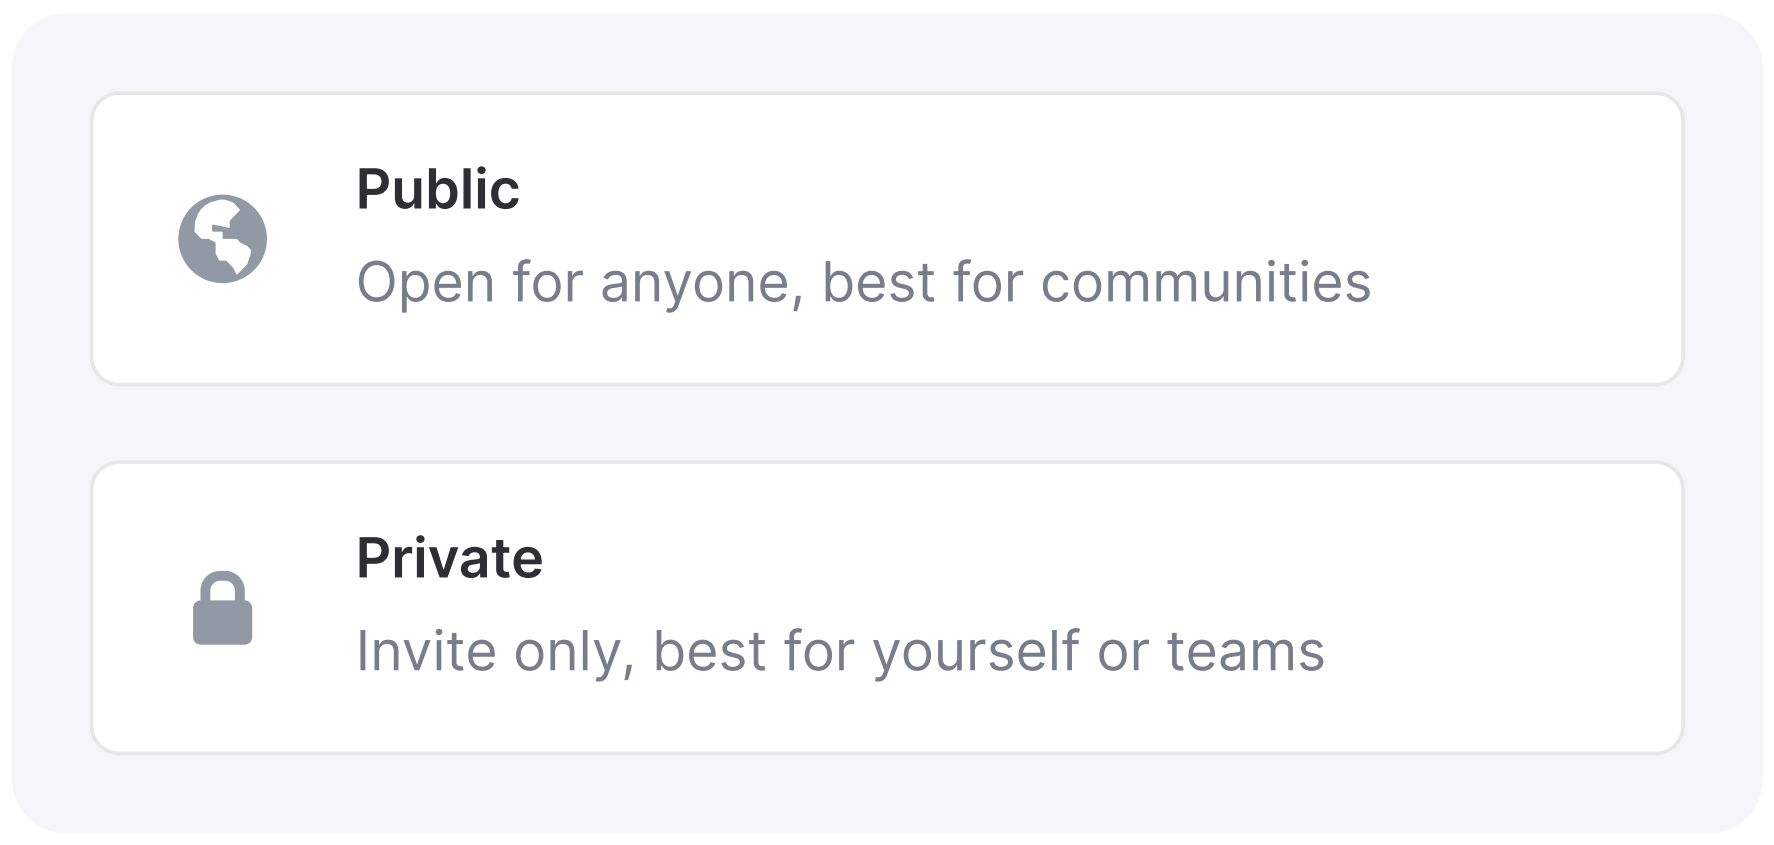
From here you can create either a public or private space. Once your space is created you can invite people to join it and create new or add already existing rooms. Cater the space to your specific wants and needs.
C. Search Bar
Find people and rooms who are already part of your lists.
D. Rooms
This is where group discussions take place. Naming conventions help conversations be focused on a specific topic, and aid discoverability.
When searching for a room, make sure to select the right server for it to be discoverable. You can only join a private room by receiving and accepting an invite.
Find a public room
- On Web / Desktop, Find a room by using the "Compass" icon to explore already created public rooms and press "join".
- On iOS / Android, Tap the compose icon and select “Explore rooms”. Press "join" to participate.
Create a room
- On Web / Desktop, Create a new room by clicking the "+" next to Rooms in the left panel.
- On iOS / Android, Tap the compose icon and select Add room.
Leave a room
- On Web / Desktop, Leave a room by clicking the three dots and choose the "leave room" option.
- On iOS / Android, Leave a room by clicking the "room name" at the top of the room and choose the "leave room" option.
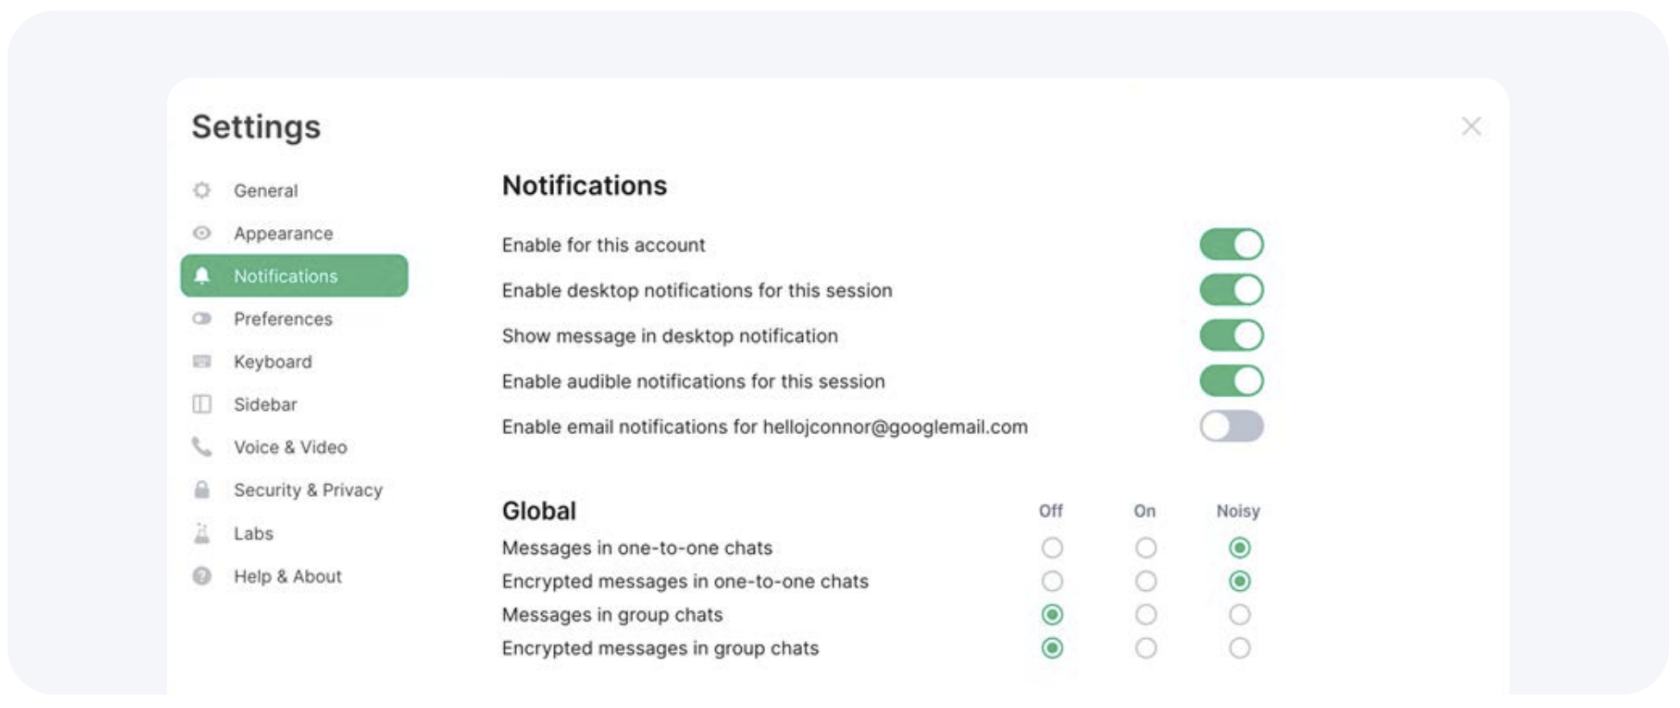
E. Notifications
To stay focused, you can set when you want to receive notifications.
Manage notifications per room and per person by clicking on the alarm icon next to it. Manage all notifications in your profile settings under "Notifications" to control where and when you will receive notifications.
The notifications will be set to a default e.g. Noisy for messages containing my username. Please alter these settings to your personal preference.
F. People
This is where one-to-one chats take place.
- On Web / Desktop, Start a new chat by using the + button next to "People" in the left panel and type in their username or Matrix ID.
- On iOS / Android, Tap the compose button and select “Start chat”.
G. Favorites
Easily pin favorite rooms and people for quick access to be displayed at the top of your list.
You can select "low priority" for the rooms and people you wish to push to the bottom of the lists using the “three dots” icon next to it.
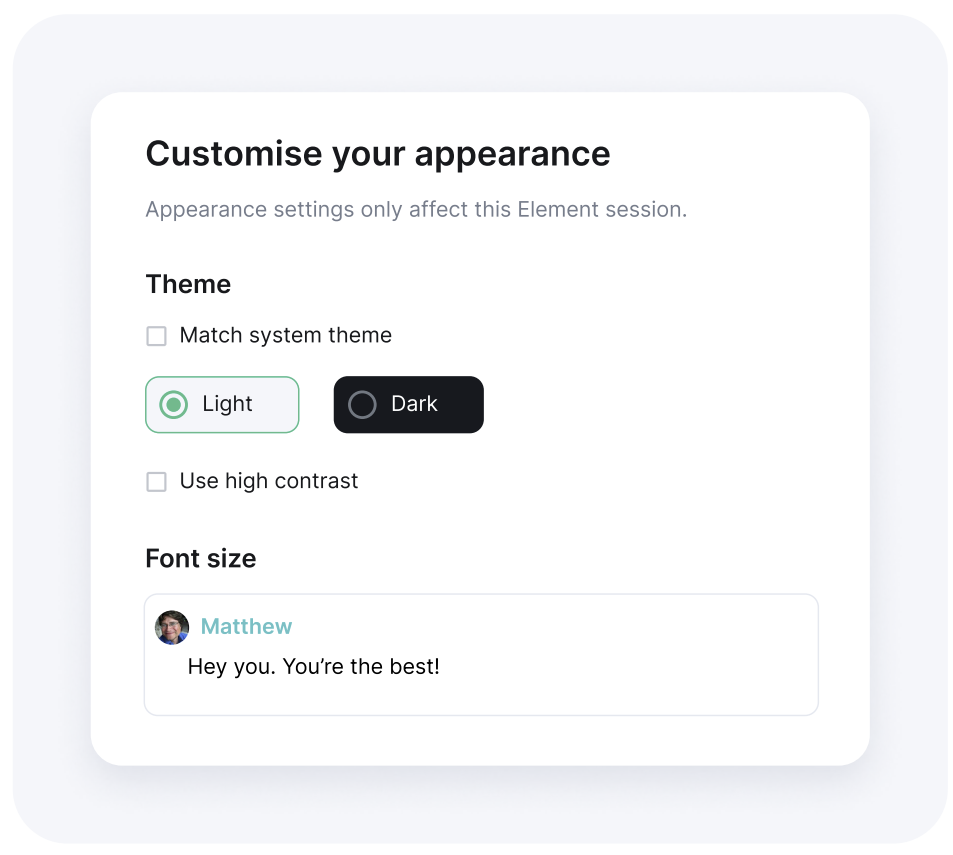
H. Appearance
Once you’re up and running, you can start to think about how you want everything to look.
In settings, click "Appearance" where you can amend the theme to light or dark, increase or decrease your font size or click on "Show advanced" for more.

