Integrator Section
Configuration options relating to the Integrator provided by ESS.
In the Integrator section you will find options to configure settings specific to the integrator which is used to send messages to external services. By default, it is unlikely you should need to configure anything on this page, unless you wish to enable the use of Custom Widgets.
All settings configured via the UI in this section will be saved to your deployment.yml, with the contents of secrets being saved to secrets.yml. You will find specific configuration examples in each section.
Config Example
apiVersion: matrix.element.io/v1alpha2
kind: ElementDeployment
metadata:
  annotations:
    ui.element.io/layer: |
        integrator:
spec:
  components:
    integrator:
By default, if you do not change any settings on this page, defaults will be added to your configuration file/s (see example below).
Config Example
apiVersion: matrix.element.io/v1alpha2
kind: ElementDeployment
metadata:
  annotations:
    ui.element.io/layer: |
        integrator:
          k8s:
            workloads:
              _value: defaulted
spec:
  components:
    integrator:
      k8s:
        workloads:
          resources:
            appstore:
              limits:
                memory: 400Mi
              requests:
                cpu: 50m
                memory: 100Mi
            integrator:
              limits:
                memory: 350Mi
              requests:
                cpu: 100m
                memory: 100Mi
            modularWidgets:
              limits:
                memory: 200Mi
              requests:
                cpu: 50m
                memory: 50Mi
            scalarWeb:
              limits:
                memory: 200Mi
              requests:
                cpu: 50m
                memory: 50Mi
Config
Custom Widgets
Config Example
spec:
  components:
    integrator:
      config:
        # Not present if 'false' is selected
        # enableCustomWidgets: false
        enableCustomWidgets: true
Gives users the ability to add Custom Widgets to their rooms which can display an embedded a web page.
Verify TLS
Config Example
spec:
  components:
    integrator:
      # Not present if 'Use Global Setting' selected
      config:
  		# verifyTls: useGlobalSetting
        # verifyTls: force
  		verifyTls: disable
Configures TLS verification, options include:
-
Use Global Setting -
Force -
Disable
It is not recommended to change this setting.
Log
Root Level
Config Example
spec:
  components:
    integrator:
      config:
        log:
          # Not present if left at default 'info'
          level: info
          # level: debug
          # level: warning
          # level: error
As defined under the Configuration file format section of the Python docs, the available options presented by the Installer are DEBUG, INFO, WARNING, ERROR and CRITICAL. These represent different severity levels for log messages and help control the verbosity of log output which help to filter messages based on their importance.
-
DEBUG: Detailed information, typically used for debugging purposes. Messages at this level provide the most fine-grained and detailed logging. -
INFO: General information about the program's operation. This level is used to confirm that things are working as expected. -
WARNING: Indicates a potential issue or something that might cause problems in the future. It doesn't necessarily mean an error has occurred, but it's a warning about a possible concern. -
ERROR: Indicates a more serious issue or error in the program. When an error occurs, it might impact the functionality of the application.
When troubleshooting, increasing the log level and redeploying can help narrow down where you're experiencing issues. By default, DEBUG is a good option to include everything allowing you to identify a problem.
It is not advised to leave your Logging Level at anything other than the default, as more verbose logging may expose information that should otherwise not be accessible. When sharing logs, remember to redact any sensitive information you do not wish to share.
Structured
Config Example
spec:
  components:
    integrator:
      config:
        log:
          # Not present if left at default 'false'
          # structured: false
          structured: true
Disabled by default, turn on to output logs in logstash format. Otherwise, logs are output in a console friendly format.
Postgres
If you are performing a Standalone deployment and letting the installer deploy Postgres for you, you will not need to configure any options here:
For all other deployments, you will need to configure your PostgreSQL database connection details.
Database
Config Example
spec:
  components:
    integrator:
      config:
        postgresql:
          database: integrator
Enter the name of the PostgreSQL Database you configured per the previously mentioned Requirements and Recommendations to use for Integrator.
Host
Config Example
spec:
  components:
    integrator:
      config:
        postgresql:
          host: db.example.com
Enter the fully qualified domain name of the PostgreSQL Database you configured per the previously mentioned Requirements and Recommendations to use for Integrator.
Port
Config Example
spec:
  components:
    integrator:
      config:
        postgresql:
          # port not present when left as default 5432
          port: 5432
Defaults to 5432, either keep if correct or provide the required port of the PostgreSQL Database you configured per the previously mentioned Requirements and Recommendations to use for Integrator.
SSL Mode
Config Example
spec:
  components:
    integrator:
      config:
        postgresql:
          # sslMode not present when left as default `require`
          sslMode: require
          # sslMode: disable
          # sslMode: no-verify
          # sslMode: verify-full
Defaults to No Verify - it is not recommended to disable SSL, so for most setups, this setting should be left as default.
You should adjust to accommodate your environment as required, the options available are:
- Disable
- No Verify
- Verify Full
User
Config Example
spec:
  components:
    integrator:
      config:
        postgresql:
          user: test-username
Enter the username of a user who can access the PostgreSQL Database you configured per the previously mentioned Requirements and Recommendations to use for Synapse.
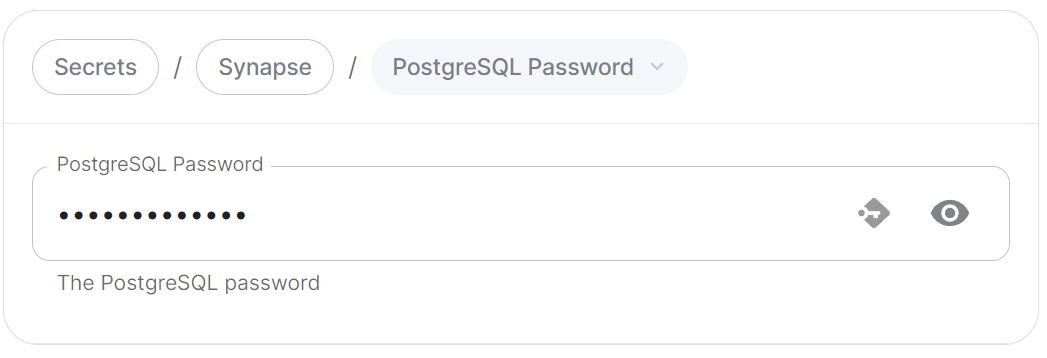
PostgreSQL Password
Config Example
-
secrets.ymlapiVersion: v1 kind: Secret metadata: name: integrator namespace: element-onprem data: postgresPassword: dGVzdC1wYXNzd29yZA==
Enter the password for the specified user who can access the PostgreSQL Database you configured per the previously mentioned Requirements and Recommendations to use for Synapse.
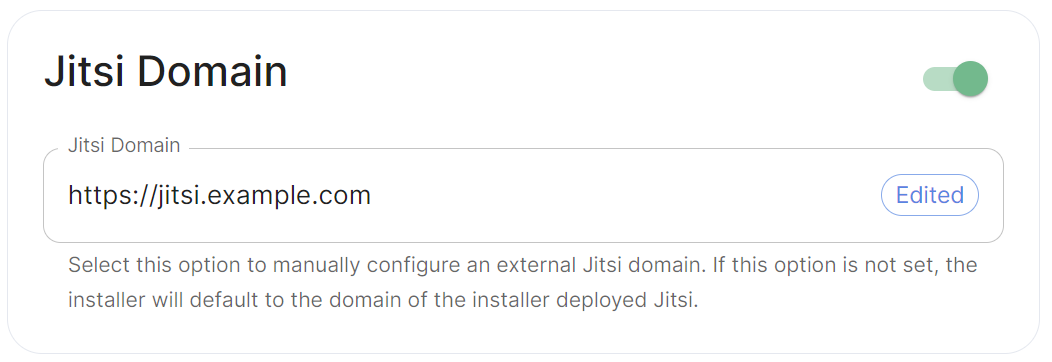
Jitsi Domain
Config Example
spec:
  components:
    integrator:
      config:
        jitsiDomain: https://jitsi.example.com
Enable this option to manually configure an external Jitsi domain. If this option is not set, the installer will default to the domain of the installer deployed Jitsi (if applicable).


