Authentication Section
A detailed look at Delegated Authentication options available and setup examples.
This is a new section introduced in LTS 24.10 which replaces the previous Delegated Authentication options found within the Synapse section. Your previous configuration will be upgraded on first-run of the newer LTS.
In the Authentication section you will find options to configure settings specific to Authentication. Regardless of if you are using the Matrix Authentication Server, or have enabled Legacy Auth, the settings on this page will remain the same.
However please note, MAS does not support delegated authentication with SAML or GroupSync - if you wish to enable either of these you will need to return to the Host section and enable Legacy Auth.
All settings configured via the UI in this section will be saved to your deployment.yml, with the contents of secrets being saved to secrets.yml. You will find specific configuration examples in each section.
Config Example
-
deployment.ymlmetadata: annotations: ui.element.io/layer: | components: synapse: spec: components: synapse: config: delegatedAuth: -
secrets.ymlkind: Secret metadata: name: synapse namespace: element-onprem data:
By default, if you do not change any settings on this page, defaults will be added to your configuration file/s (see example below).
Config Example
-
deployment.ymlmetadata: annotations: ui.element.io/layer: | components: spec: synapse: config: delegatedAuth: localPasswordDatabase: enableRegistration: false # Note, if you deploy without any authentication methods enabled, the installer will default to Local Accounts. -
secrets.ymlapiVersion: v1 kind: Secret metadata: data: ldapBindPassword: examplePassword
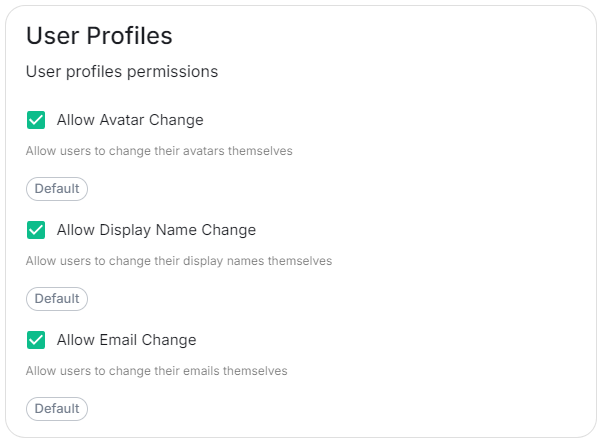
User Profiles
Config Example
spec:
components:
synapse:
config:
delegatedAuth:
userProfiles:
allowAvatarChange: true # Not present if left as default
allowDisplayNameChange: true # Not present if left as default
allowEmailChange: true # Not present if left as default
Self-The User Profiles section provides some self-explanatory config options to adjust whetherwhat changes users are allowed to make changes to their User Profile
such
Atas present,changing wetheir supportDisplay delegatingName. You may wish to restrict this if you'd prefer to delegate the authenticationsetting of usersthese values to the followingassociated Identity Provider.
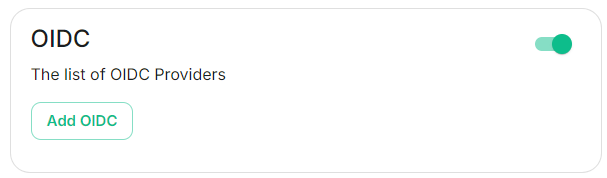
OIDC
You can add and configure one, or multiple, OIDC providers - to do so you will need to click the Add OIDC / Add more OIDC button found after toggling on the ODIC section:
Once an OIDC provider interfaces:
When enabling Delegated Auth,added, you can stillremove allowany local users managedproviders by Elementclicking tothe connectrubbish bin icon found to the instance
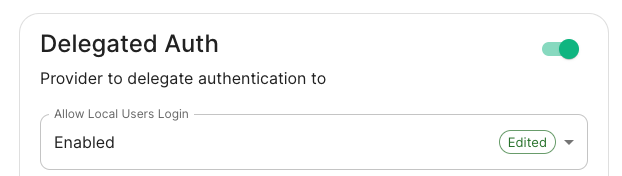
When Allow Local Users Login is Enabled, you can both connect to your instance using your IDP andof the local database.

Different options are offered by the installer and you can combine two or more options on the same instance like enabling SAML and OIDC delegated authentication.
See the below relevant sections to your environment for specifics on getting configured.provider.
LDAPConfig on Windows AD
Example
spec:
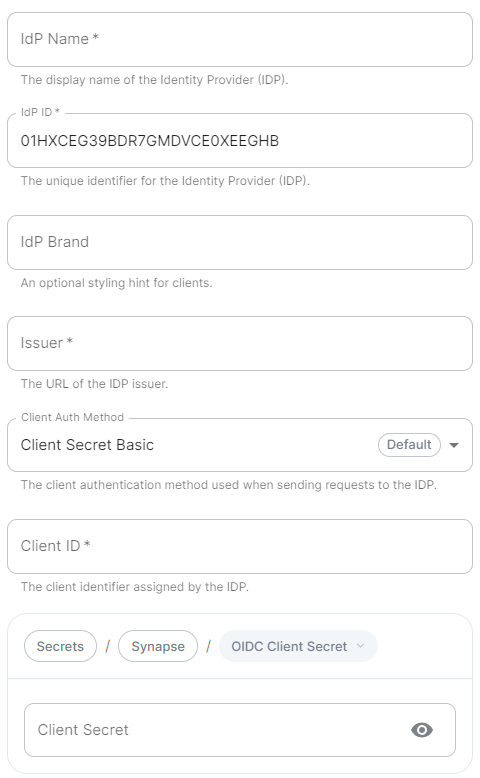
IdP Name

Config Example
spec:
components:
synapse:
config:
delegatedAuth:
oidc:
idpName: example_name # Required
IdP ID

spec:
components:
Base.
Thesynapse:
distinguishedconfig:
namedelegatedAuth:
ofoidc:
theidpId: root01JDS2WKNYTQS21GFAKM9AKD9R level# OrgRequired
UnitIdP LDAPBrand

Config distinguishedExample
spec:
cancomponents:
besynapse:
displayedconfig:
bydelegatedAuth:
selectingoidc:
idpBrand: example_brand
Issuer

Config Example
Viewspec:
components:
synapse:
config:
delegatedAuth:
oidc:
issuer: https://issuer.example.com/ # Required
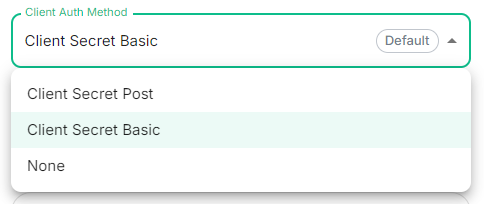
Client Auth Method
Config Example
components:Advancedspec:Featuresinsynapse:theconfig:ActivedelegatedAuth:Directoryoidc:consoleclientAuthMethod:andclient_secret_basicthen,#right-clickingIfonnothe`clientAuthMethod`object,defined,selectingwillProperties/Attributes Editor.
Client URIID

Config serverExample
ldap://dc.example.comspec: components: synapse: config: delegatedAuth: oidc: clientId: example_client_id.
Client isSecret
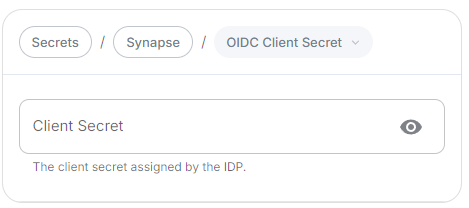
Config Controller, can also pass in ldaps:// for SSL connectivity.
-
ldap://ServerName:389deployment.ymlspec: components: synapse: config: delegatedAuth: oidc: clientSecretSecretKey: oidcClientSecret -
ldaps://ServerName:636secrets.yml
mailcnsAMAccountNameOpenID on Microsoft Azure
Before configuring within the installer, you have to configure Microsoft Azure Active Directory.
Set up Microsoft Azure Active Directory
App registrationRedirect URI (optional)matrixexample.comhttps://matrix.example.com/_synapse/client/oidc/callbackapiVersion: v1
kind: Secret
metadata:
  name: synapse
  namespace: element-onprem
data:
oidcClientSecret: U2VjdXJlT0lEQ0NsaWVudFNlY3JldA==
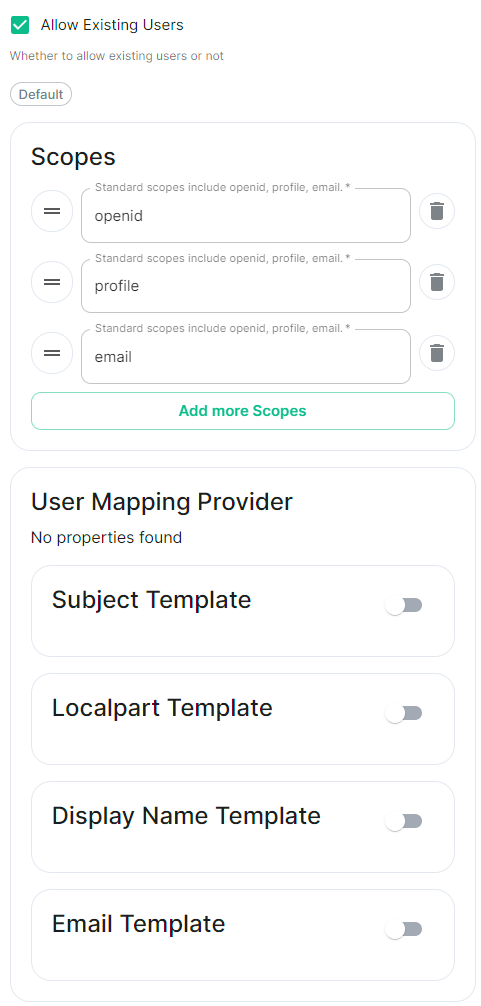
Allow Existing Users

Config Example
spec:
  components:
    synapse:
      config:
        delegatedAuth:
          oidc:
Scopes
For the bridge to be able to operate correctly, navigate to API permissions, add Microsoft Graph APIs, choose Delegated Permissions and add: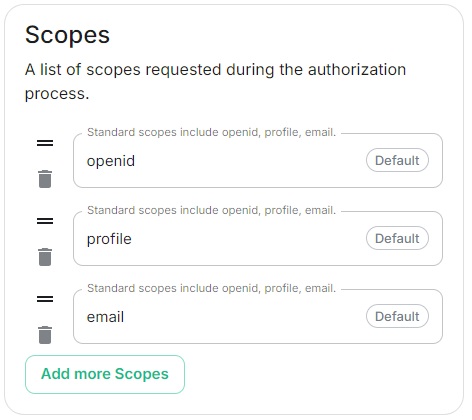
Config Example
spec:
  components:
    synapse:
      config:
        delegatedAuth:
          oidc:
              scopes:
                - openid
                - profile
                - email
profileemailRemember to grant the admin consent for those.
To setup the installer, you'll need:
Application (client) IDDirectory (tenant) IDCertificates & SecretsConfigure the installer
https://login.microsoftonline.com/DIRECTORY_TENNANT_ID/v2.0DIRECTORY_TENNANT_IDClient Secret PostApplication (client) IDopenidprofileemailConfig attributesExample
spec:
  fromcomponents:
    asynapse:
      OIDCconfig:
        providerdelegatedAuth:
          areoidc:
              mappeduserMappingProvider:
ontoSubject Template
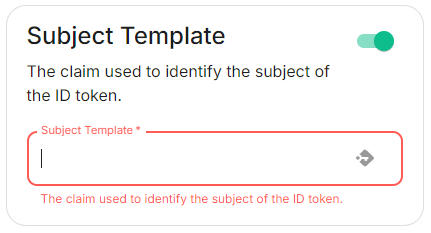
Config localpartExample
spec:
  thecomponents:
    MXID.
Setsynapse:
      itconfig:
        todelegatedAuth:
          oidc:
              userMappingProvider:
                subjectTemplate: '{{ user.preferred_username.split('@')[0]subject }}'
.
Localpart Template
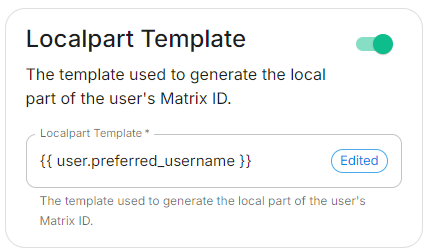
Config Example
spec:
  components:
    synapse:
      config:
        delegatedAuth:
          oidc:
              userMappingProvider:
                localpartTemplate: '{{ user.preferred_username }}'
Display Name Template
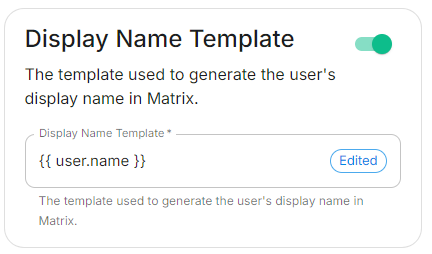
Config displayExample
spec:
  tocomponents:
    setsynapse:
      onconfig:
        firstdelegatedAuth:
          login.
Ifoidc:
              unset,userMappingProvider:
                nodisplayNameTemplate: display name will be set. Set it to '{{ user.name }}'
.
Config Example
spec:
components:
synapse:
config:
delegatedAuth:
oidc:
userMappingProvider:
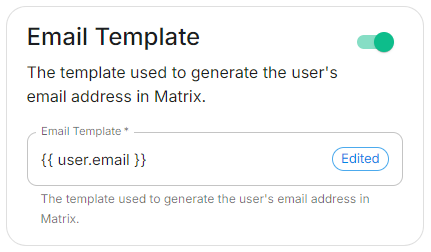
emailTemplate: '{{ user.email }}'
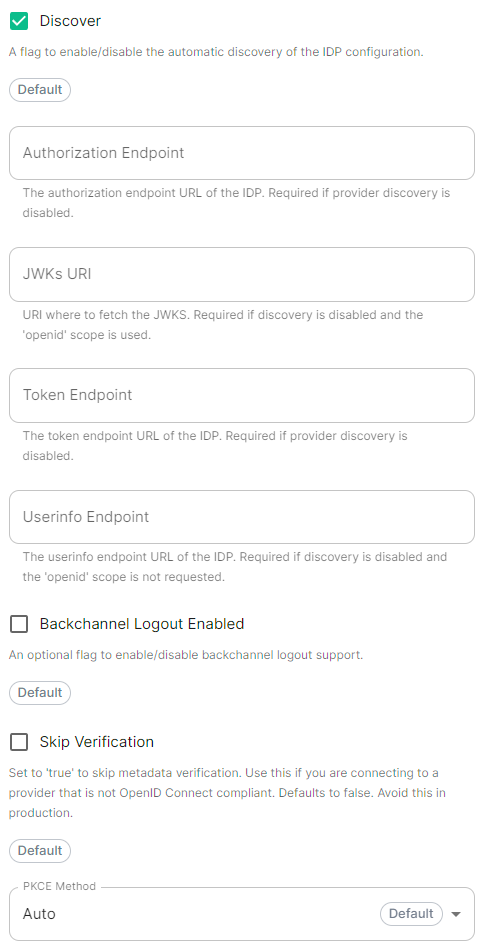
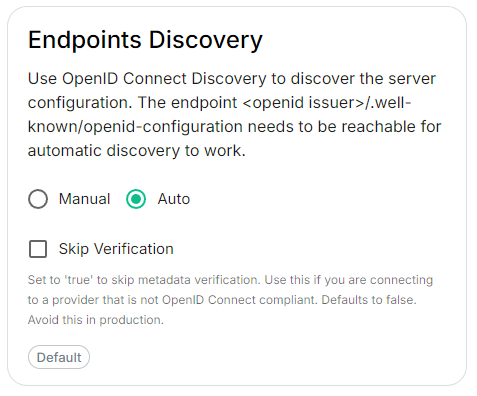
Endpoints Discovery
Auto Discovery
Config Example
spec:
  components:
    synapse:
      config:
        delegatedAuth:
          oidc:
            - clientId: synapsekieranml
              clientSecretSecretKey: oidcClientSecret
              endpointsDiscovery:
                skipVerification: false
              idpId: 01JDS2WKNYTQS21GFAKM9AKD9R
              idpName: Keycloak
              issuer: https://keycloak.ems-support.element.dev/realms/matrix
              Disablescopes:
                the- useopenid
                of- theprofile
                OIDC- discoveryemail
              mechanismuserMappingProvider:
todisplayNameTemplate: discover'{{ endpoints.Skip Verification
Config Example
spec:
  components:
    synapse:
      config:
        delegatedAuth:
          oidc:
            - clientId: synapsekieranml
              clientSecretSecretKey: oidcClientSecret
              endpointsDiscovery:
                skipVerification: false
              idpId: 01JDS2WKNYTQS21GFAKM9AKD9R
              idpName: Keycloak
              issuer: https://keycloak.ems-support.element.dev/realms/matrix
              scopes:
                - openid
                - profile
                - email
              userMappingProvider:
                displayNameTemplate: '{{ user.name }}'
                emailTemplate: '{{ user.email }}'
Backchannel Logout Enabled
https://matrix.example.com/_synapse/client/oidc/backchannel_logoutmatrixexample.comOpenID on Microsoft AD FS
Install Microsoft AD FS
BeforeThe startingMatrix theAuthentication installation,Service makedoes sure:
You can findonly aconfigure checklistBackchannel here.
Steps to follow:
Install AD CS
You need to install the AD CS Server Role.
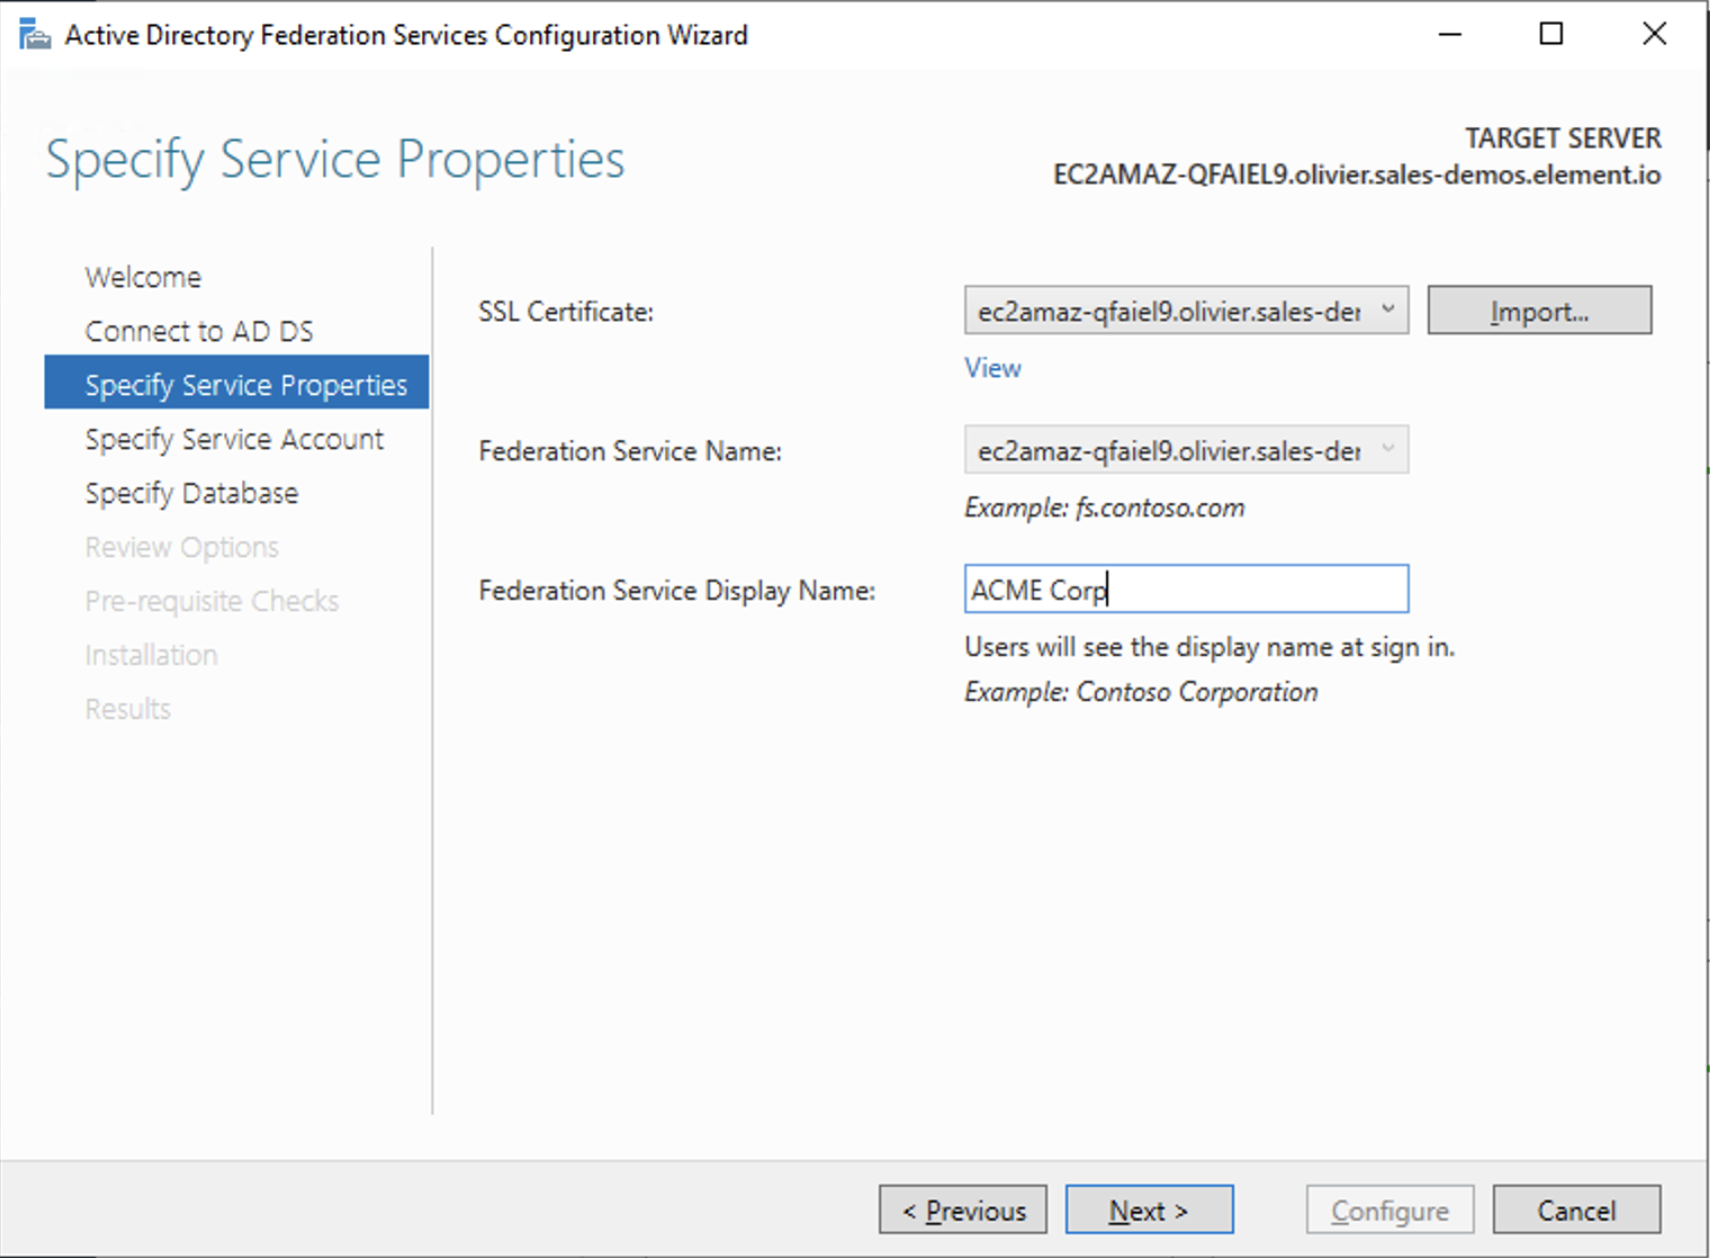
Obtain and Configure an SSL Certificate for AD FS
Before installing AD FS, you are required to generate a certificate for your federation service. The SSL certificate is used for securing communications between federation servers and clients.
Install AD FS
You need to install the AD FS Role Service.
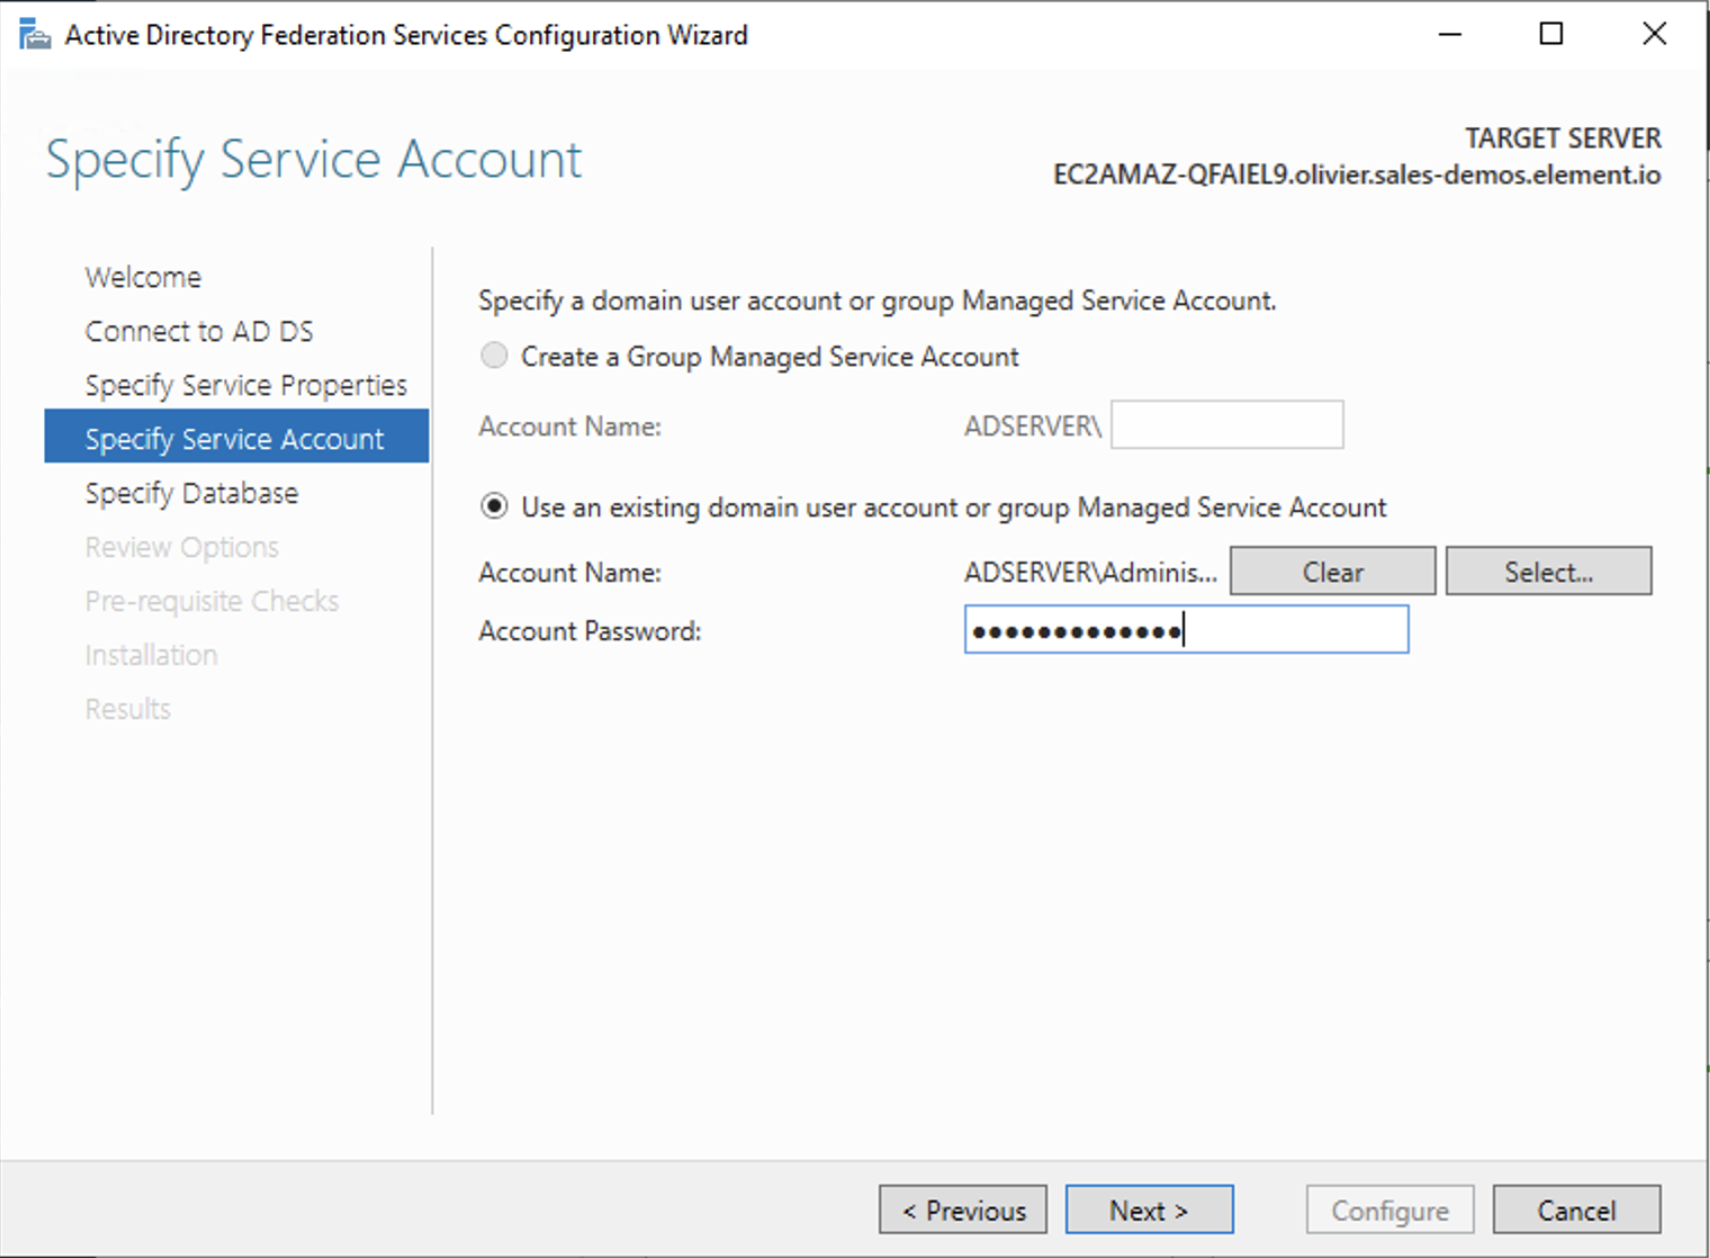
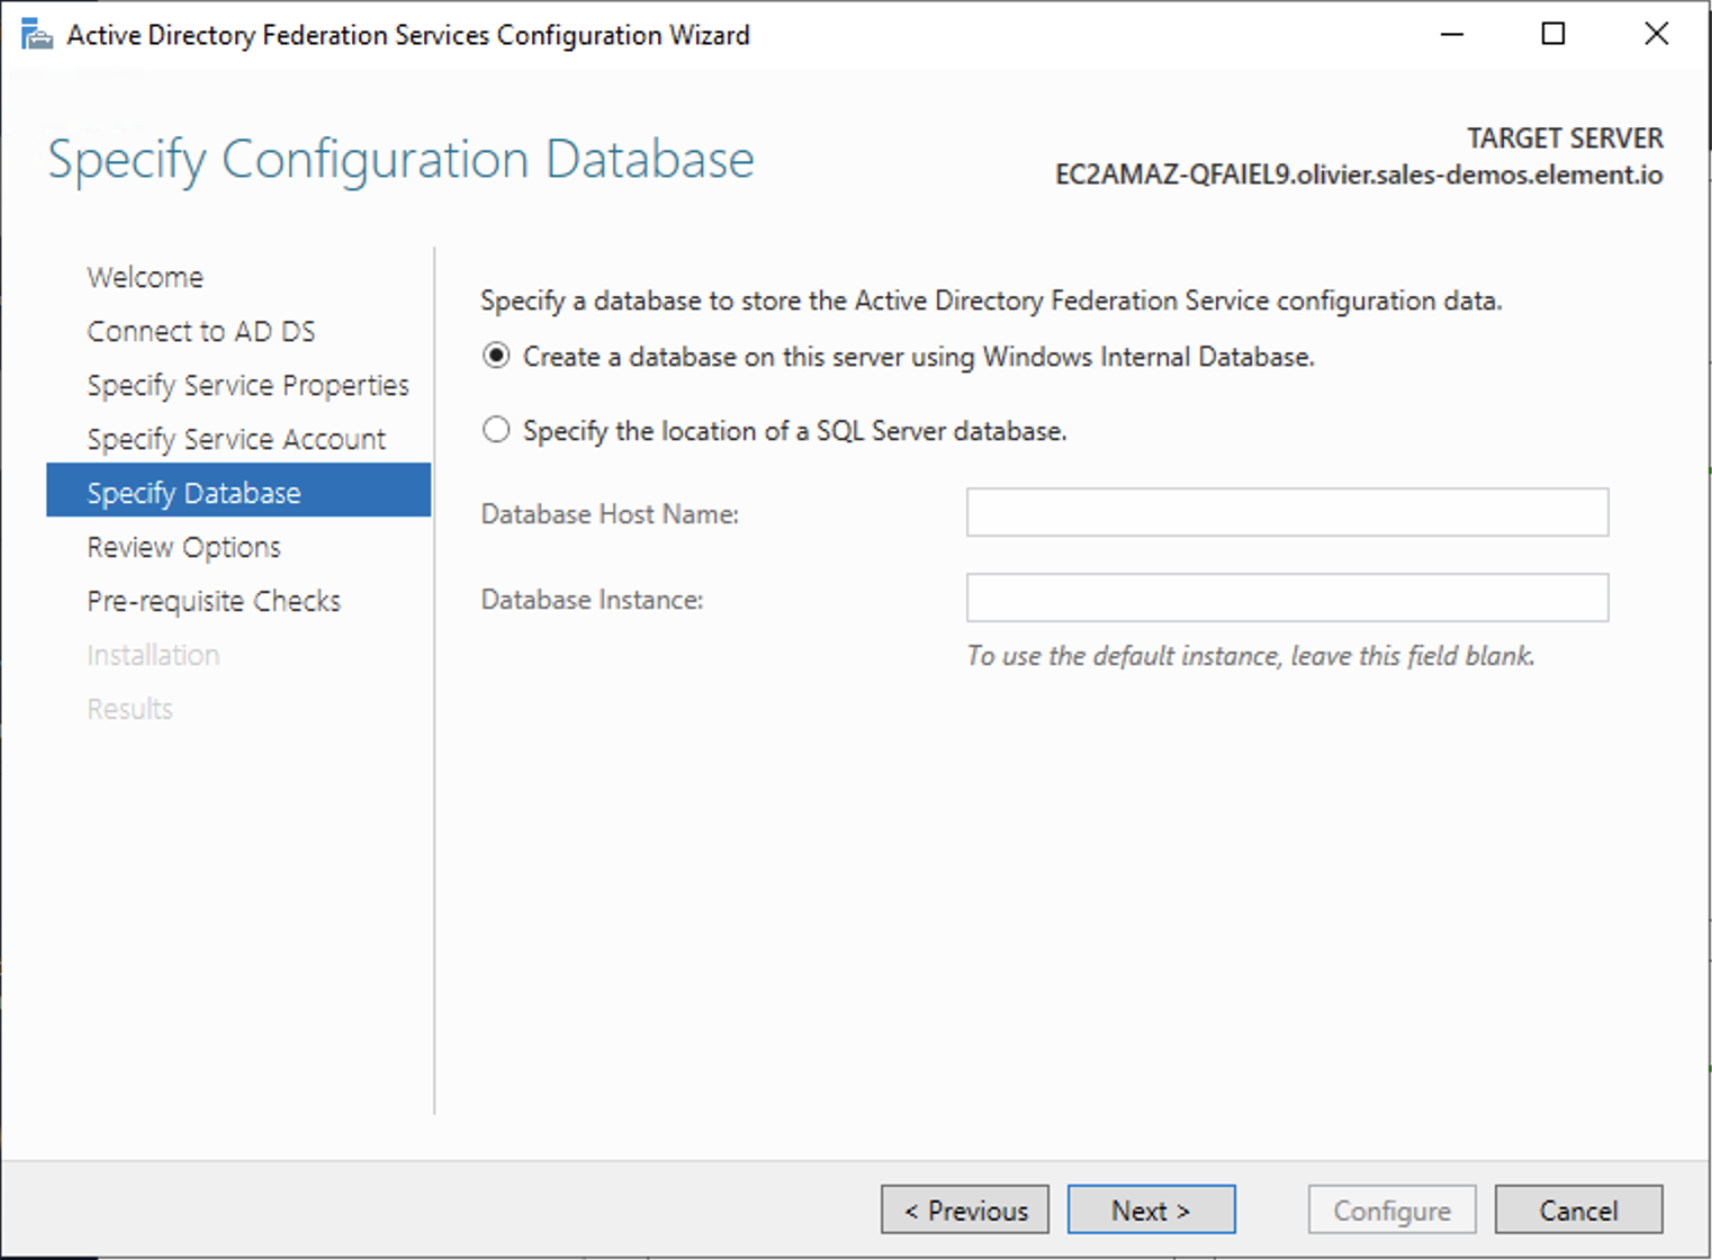
Configure the federation service
AD FS is installed but not configured.
Configure the federation service on this serverPost-deployment configurationServer ManagerCreate the first federation server in a federation server farm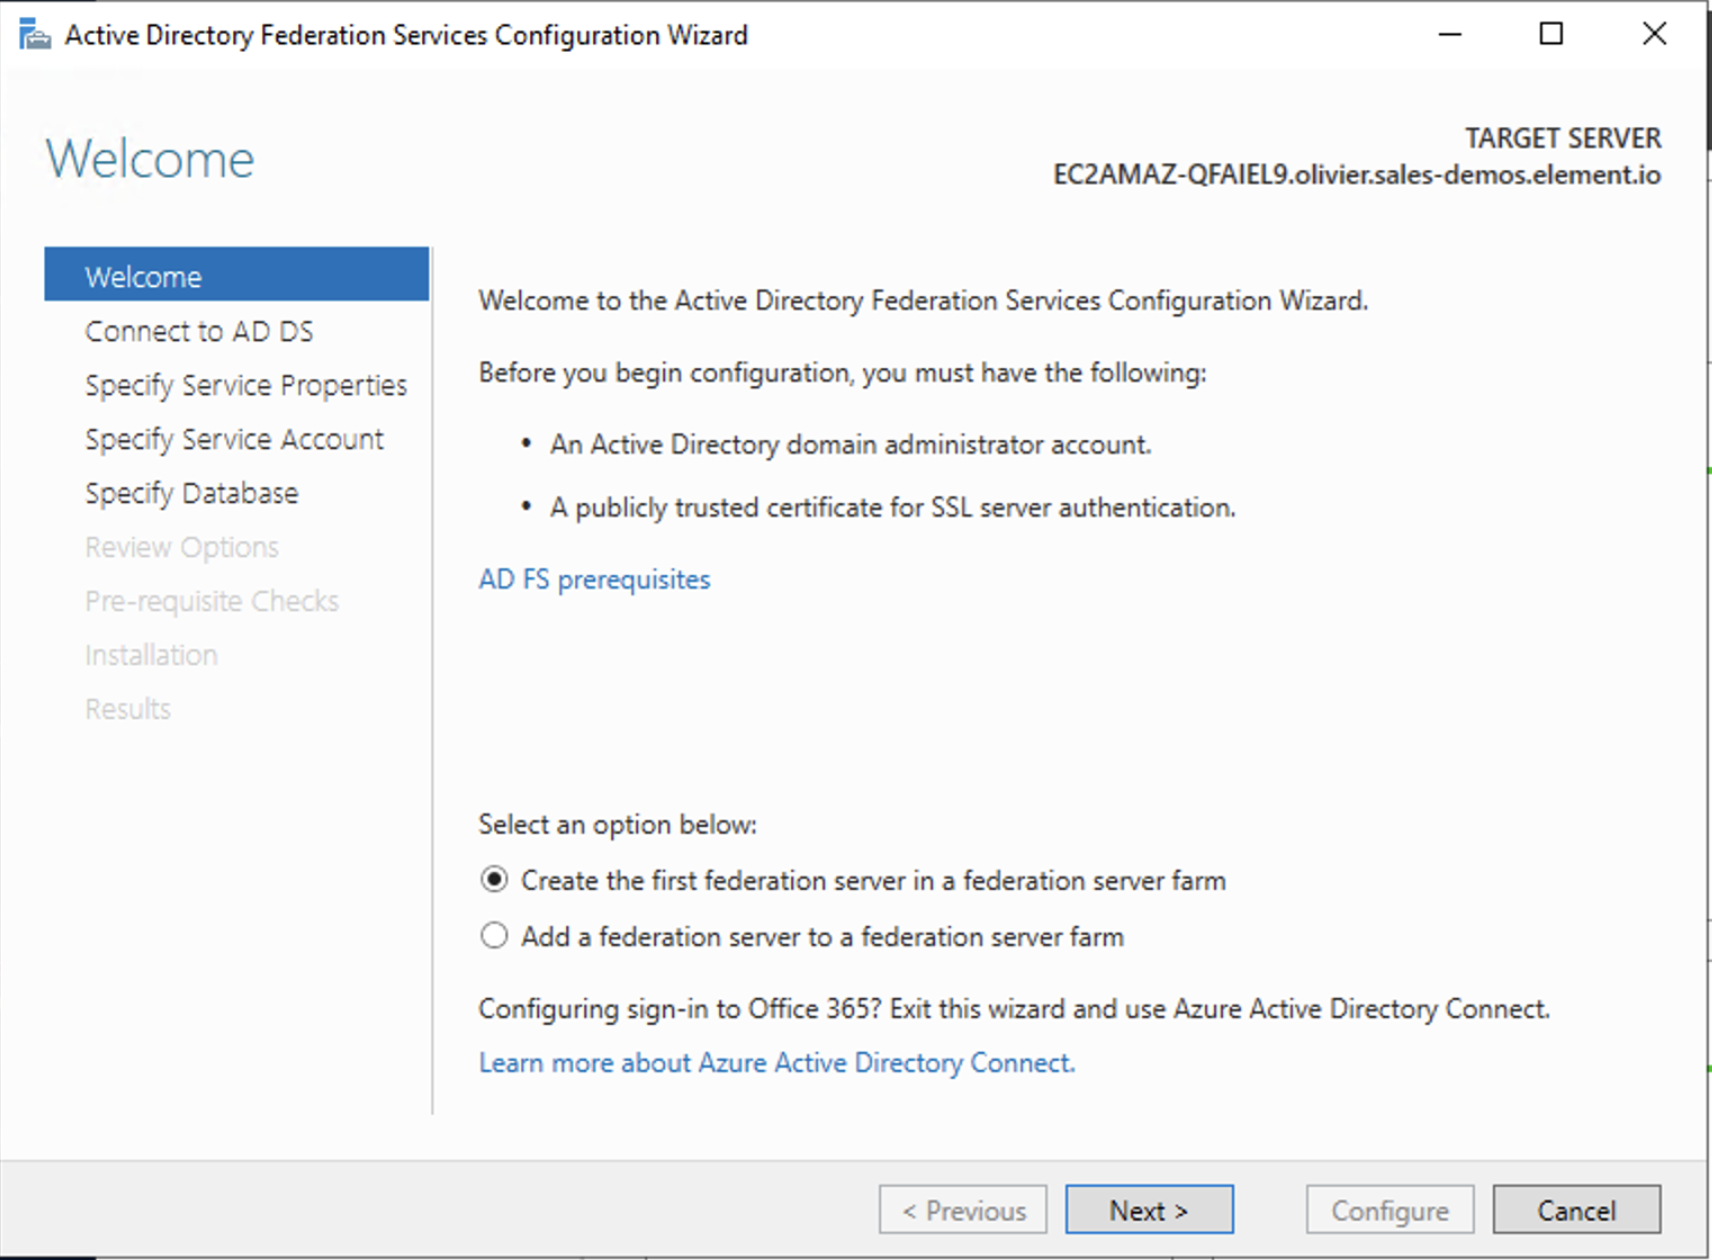
Next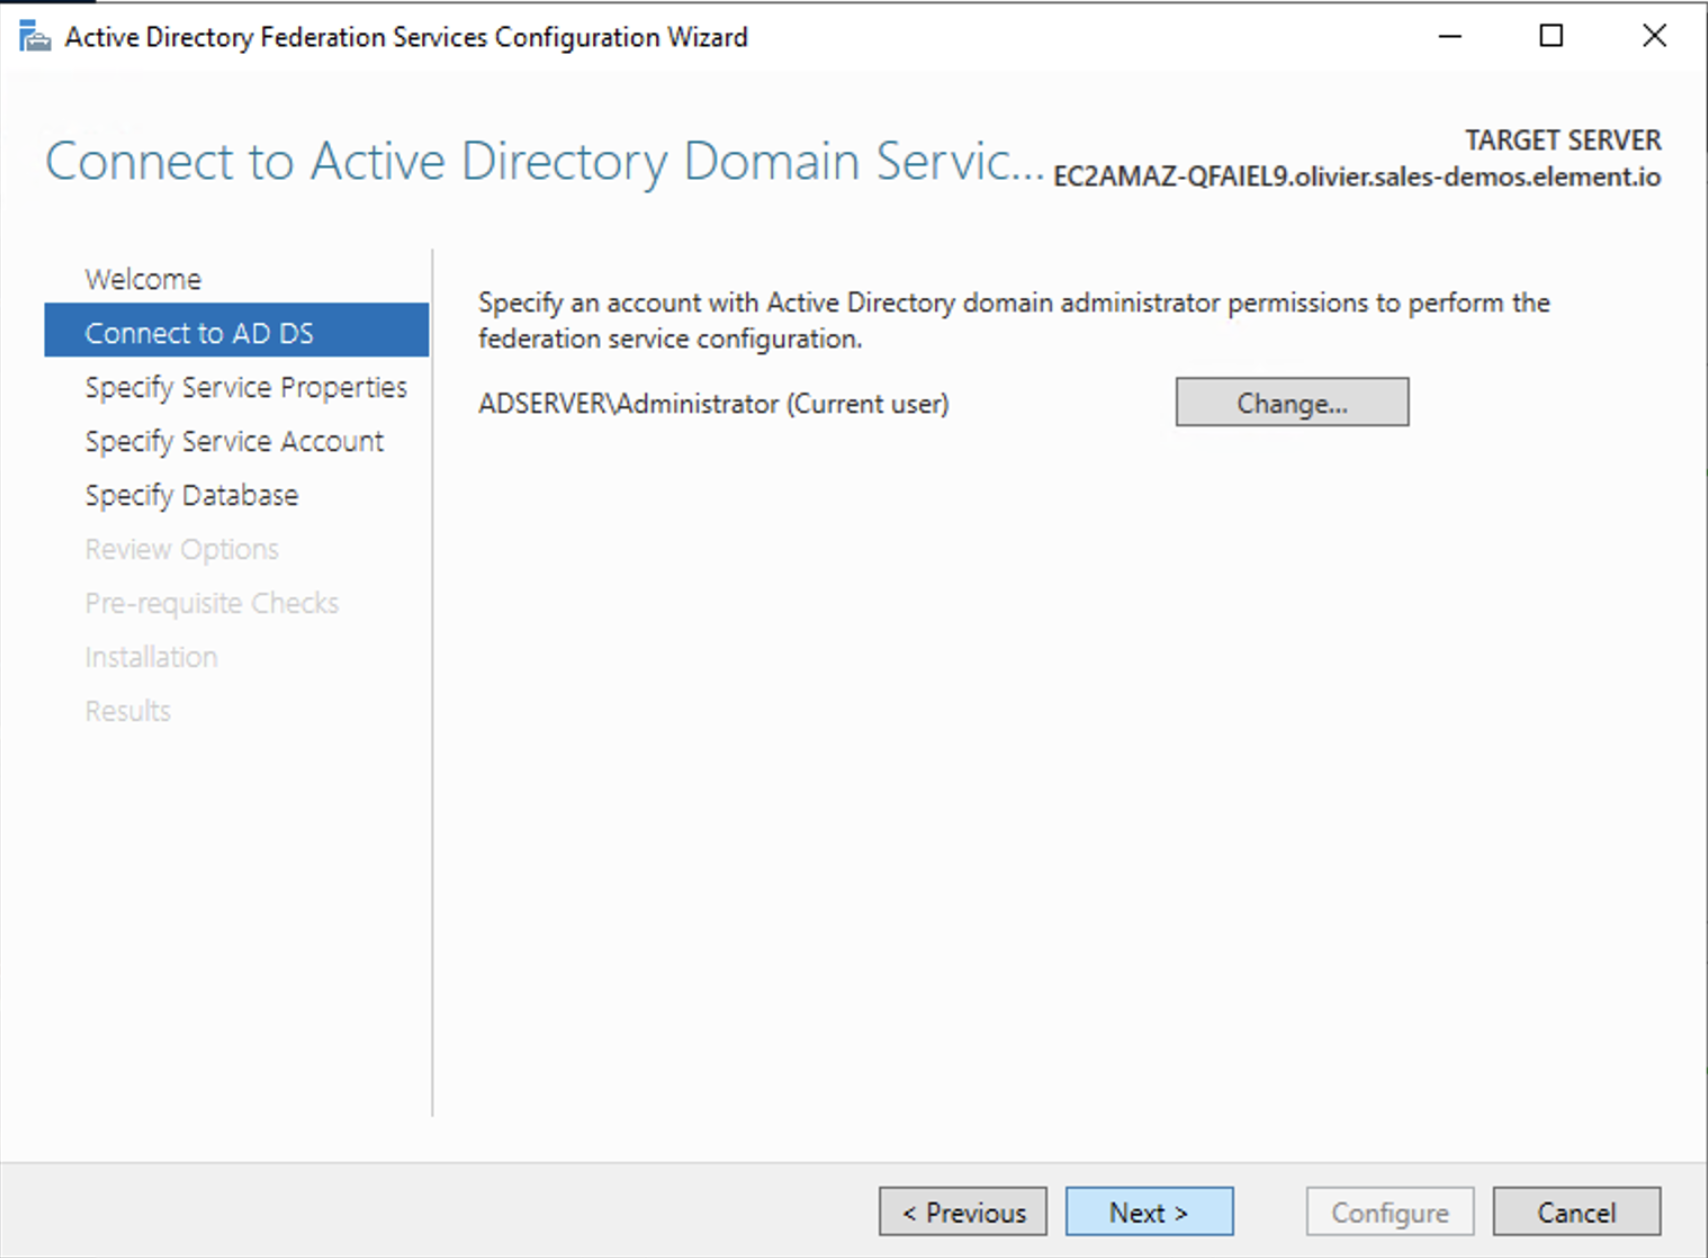
ConfigureAdd AD FS as an OpenID Connect identity provider
To enable sign-in for users with an AD FS account, create an Application Group in your AD FS.
To create an Application Group, follow theses steps:
Server ManagerToolsAD FS ManagementApplication GroupsAdd Application GroupWelcomeStandalone applicationsServer applicationNext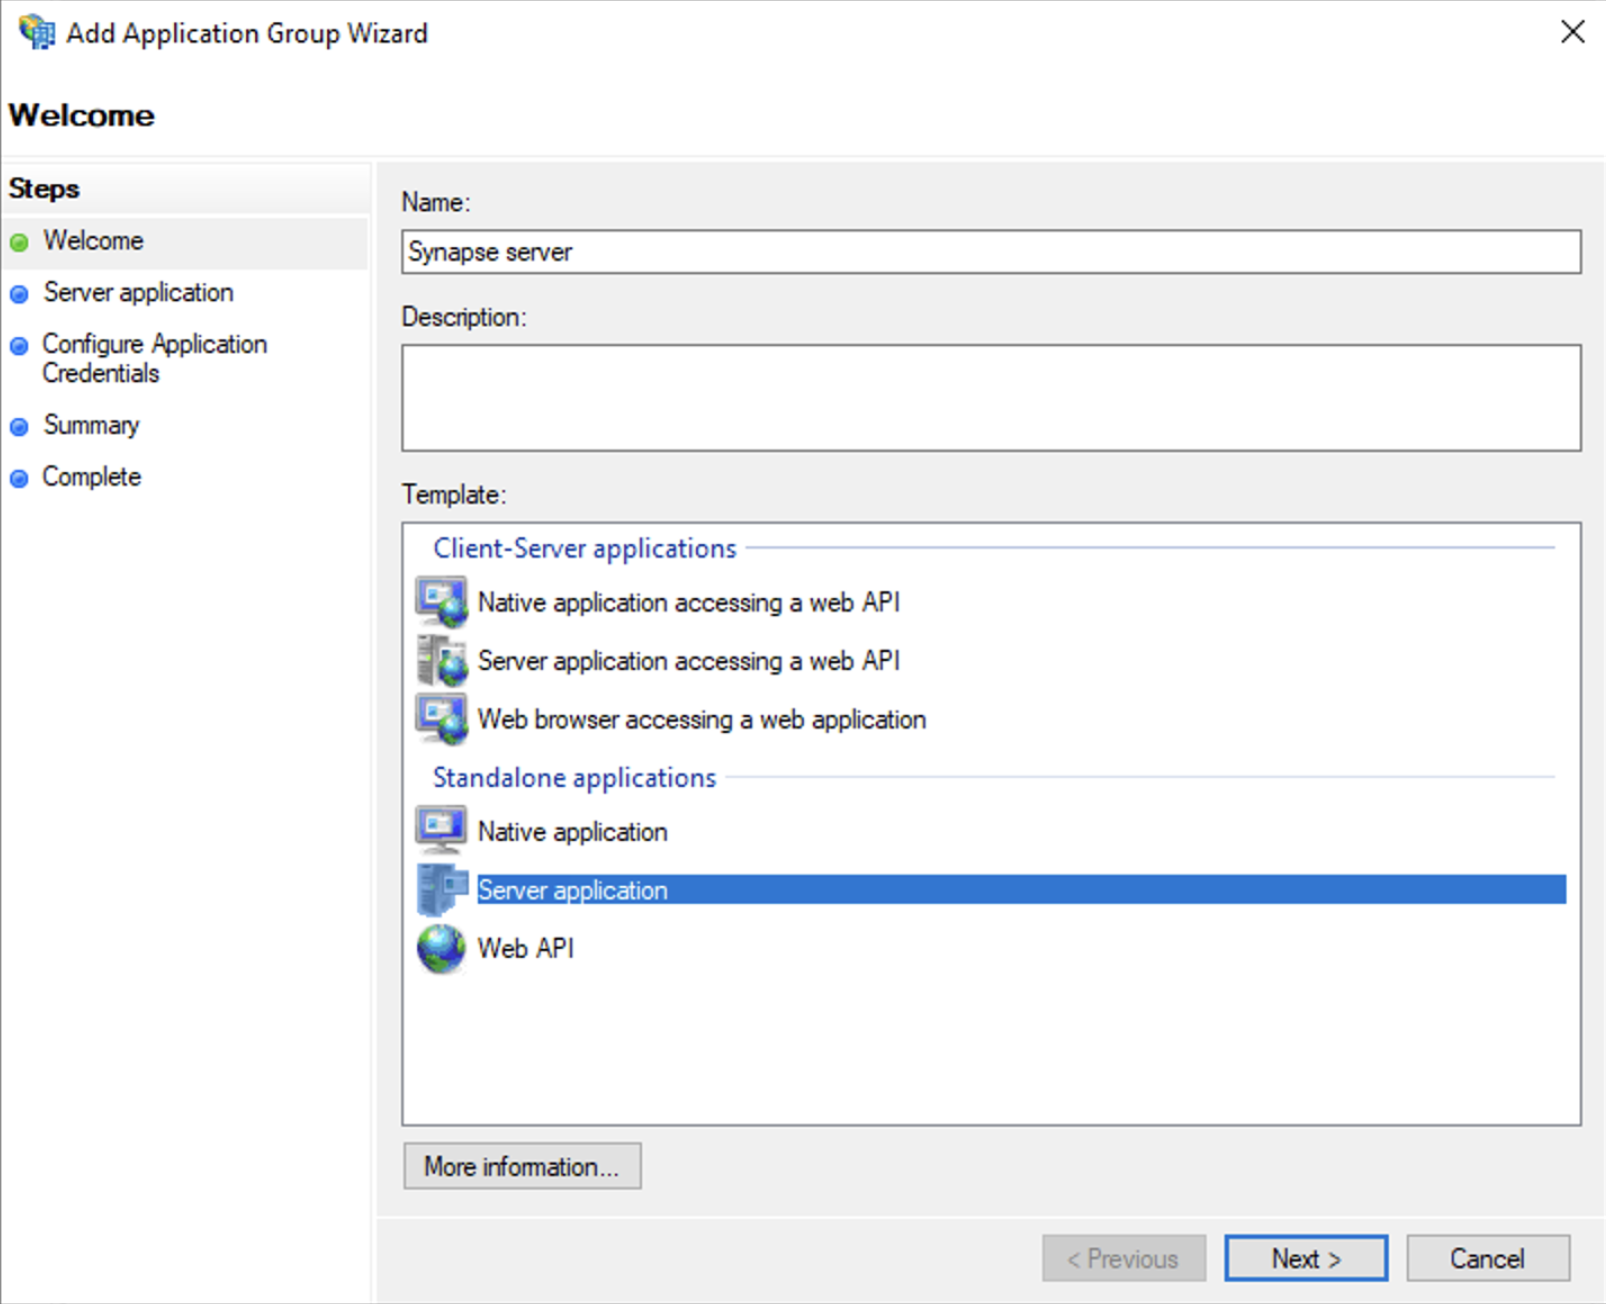
https://<matrix domain>/_synapse/client/oidc/callbackAddClient IdentifierNext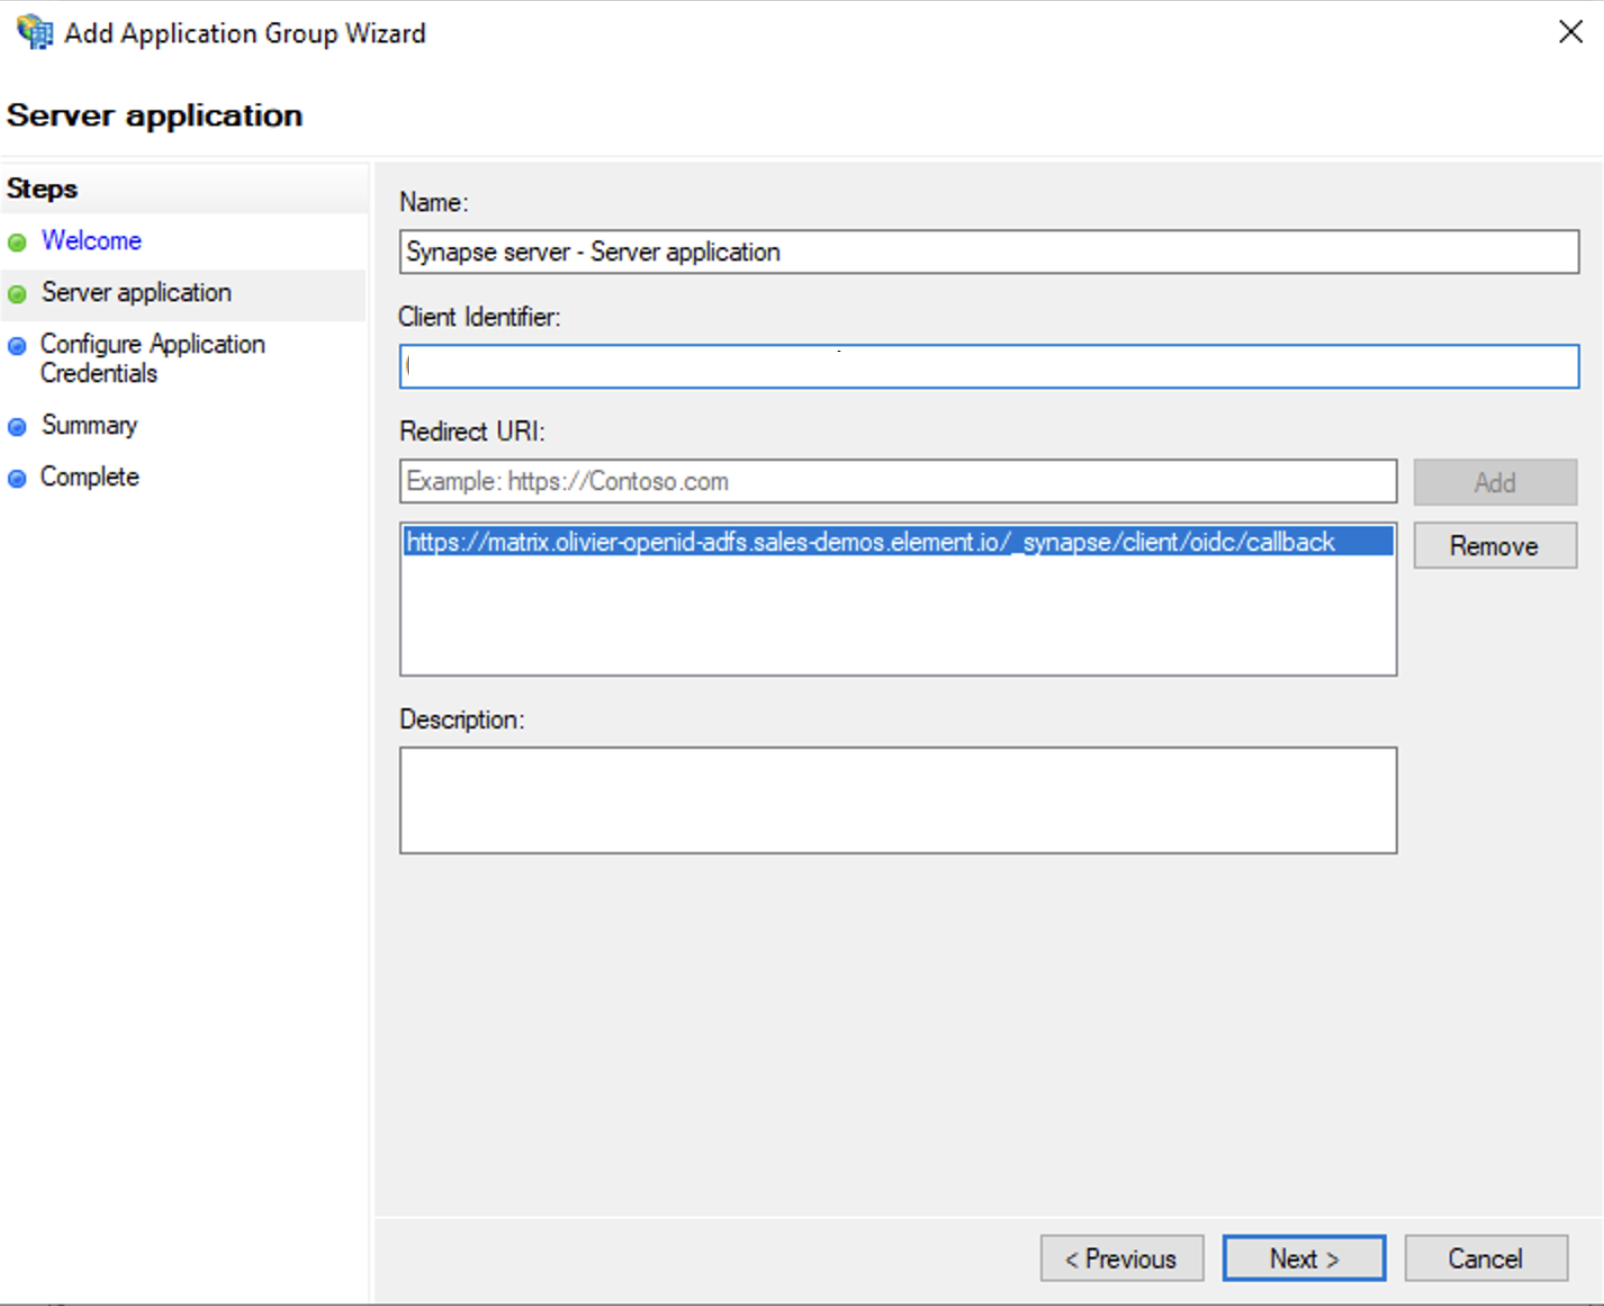
Generate a shared secretNext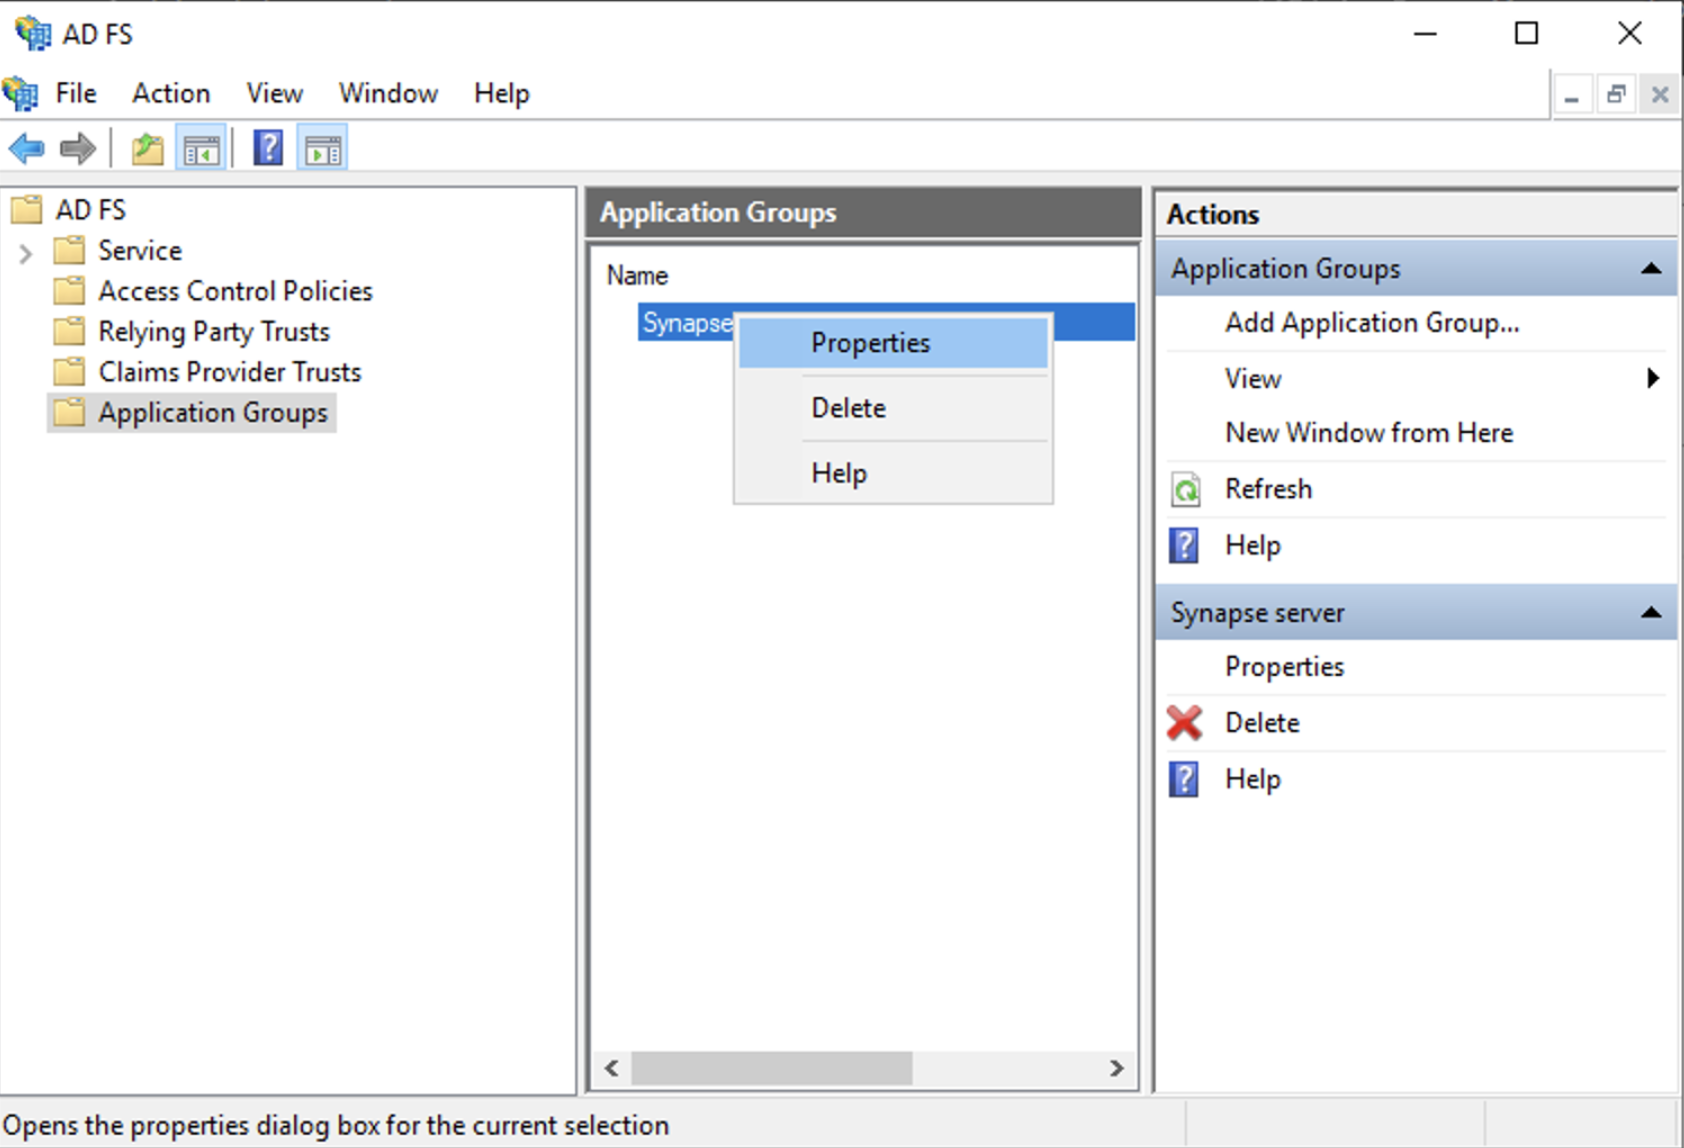
Add application...Web APIIdentifierclient_idNext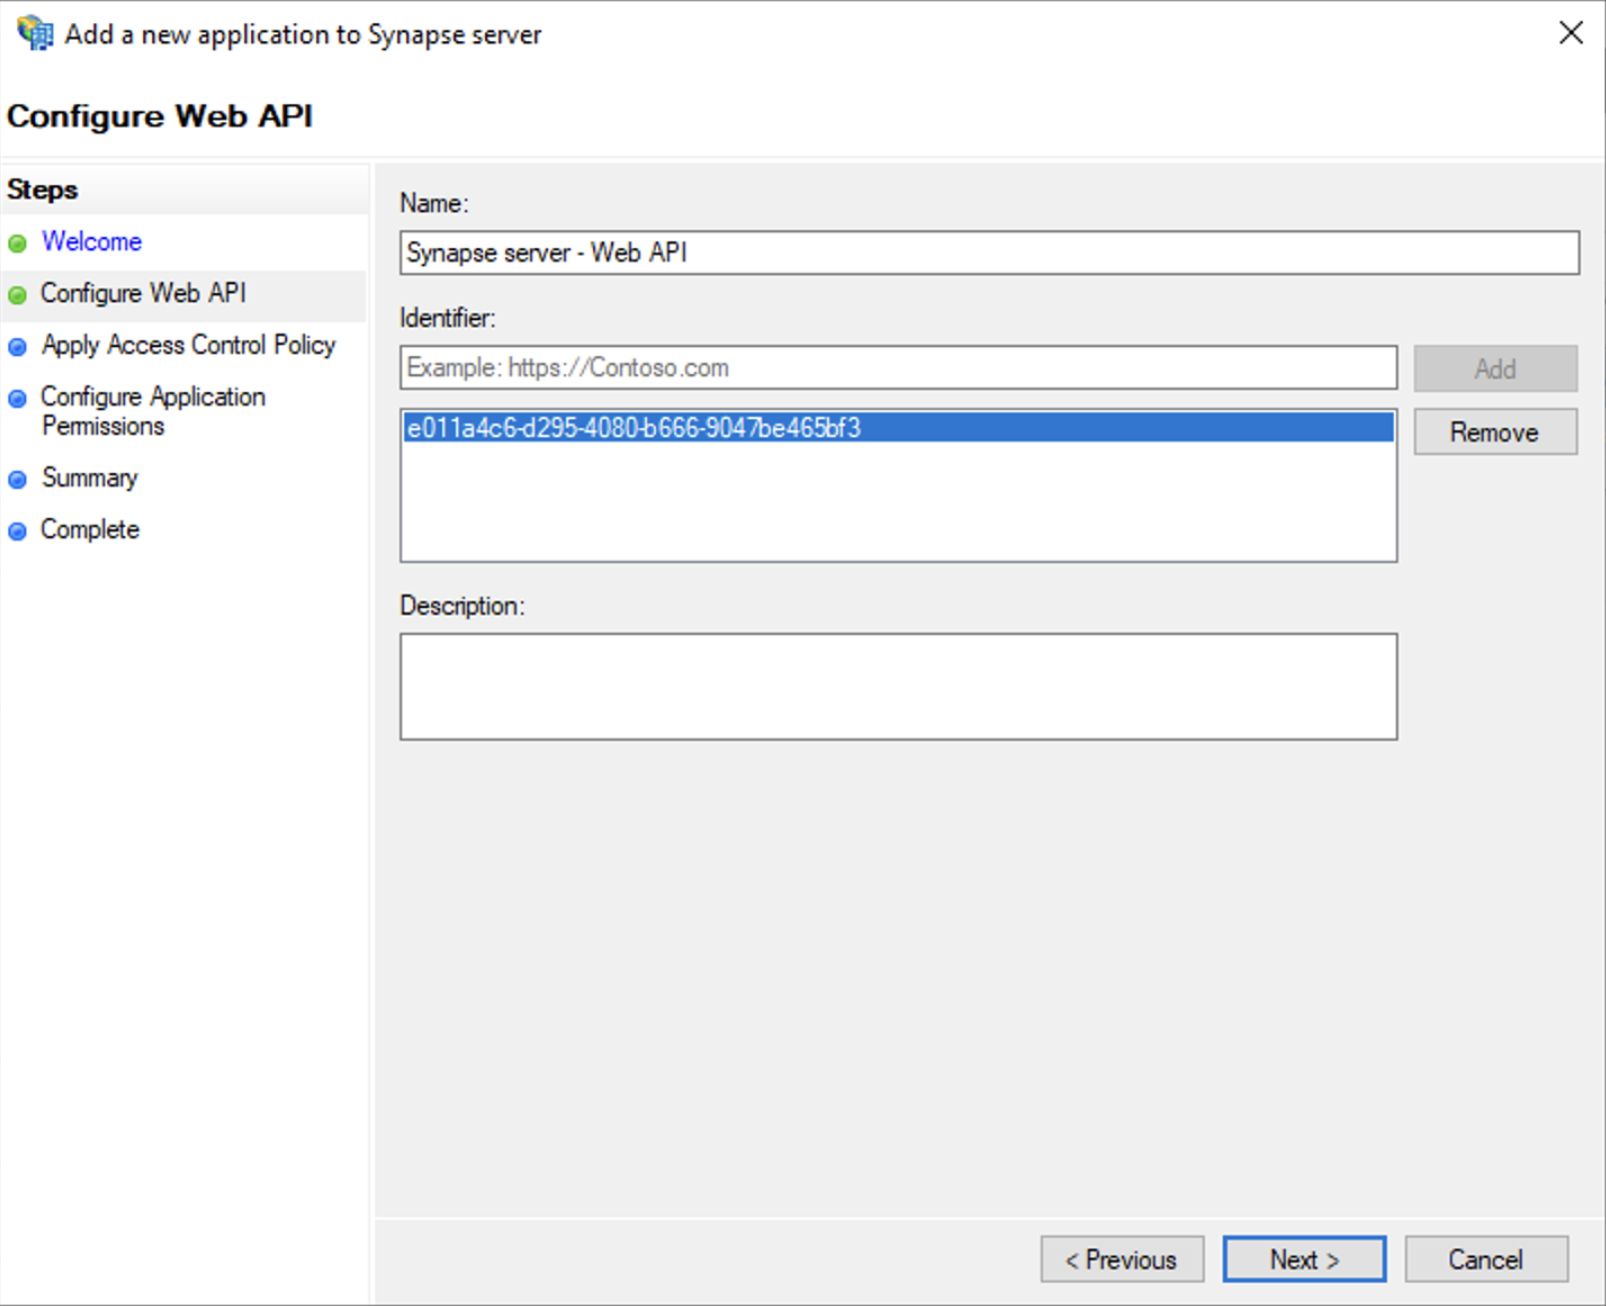
Permit everyoneNextopenidprofileNext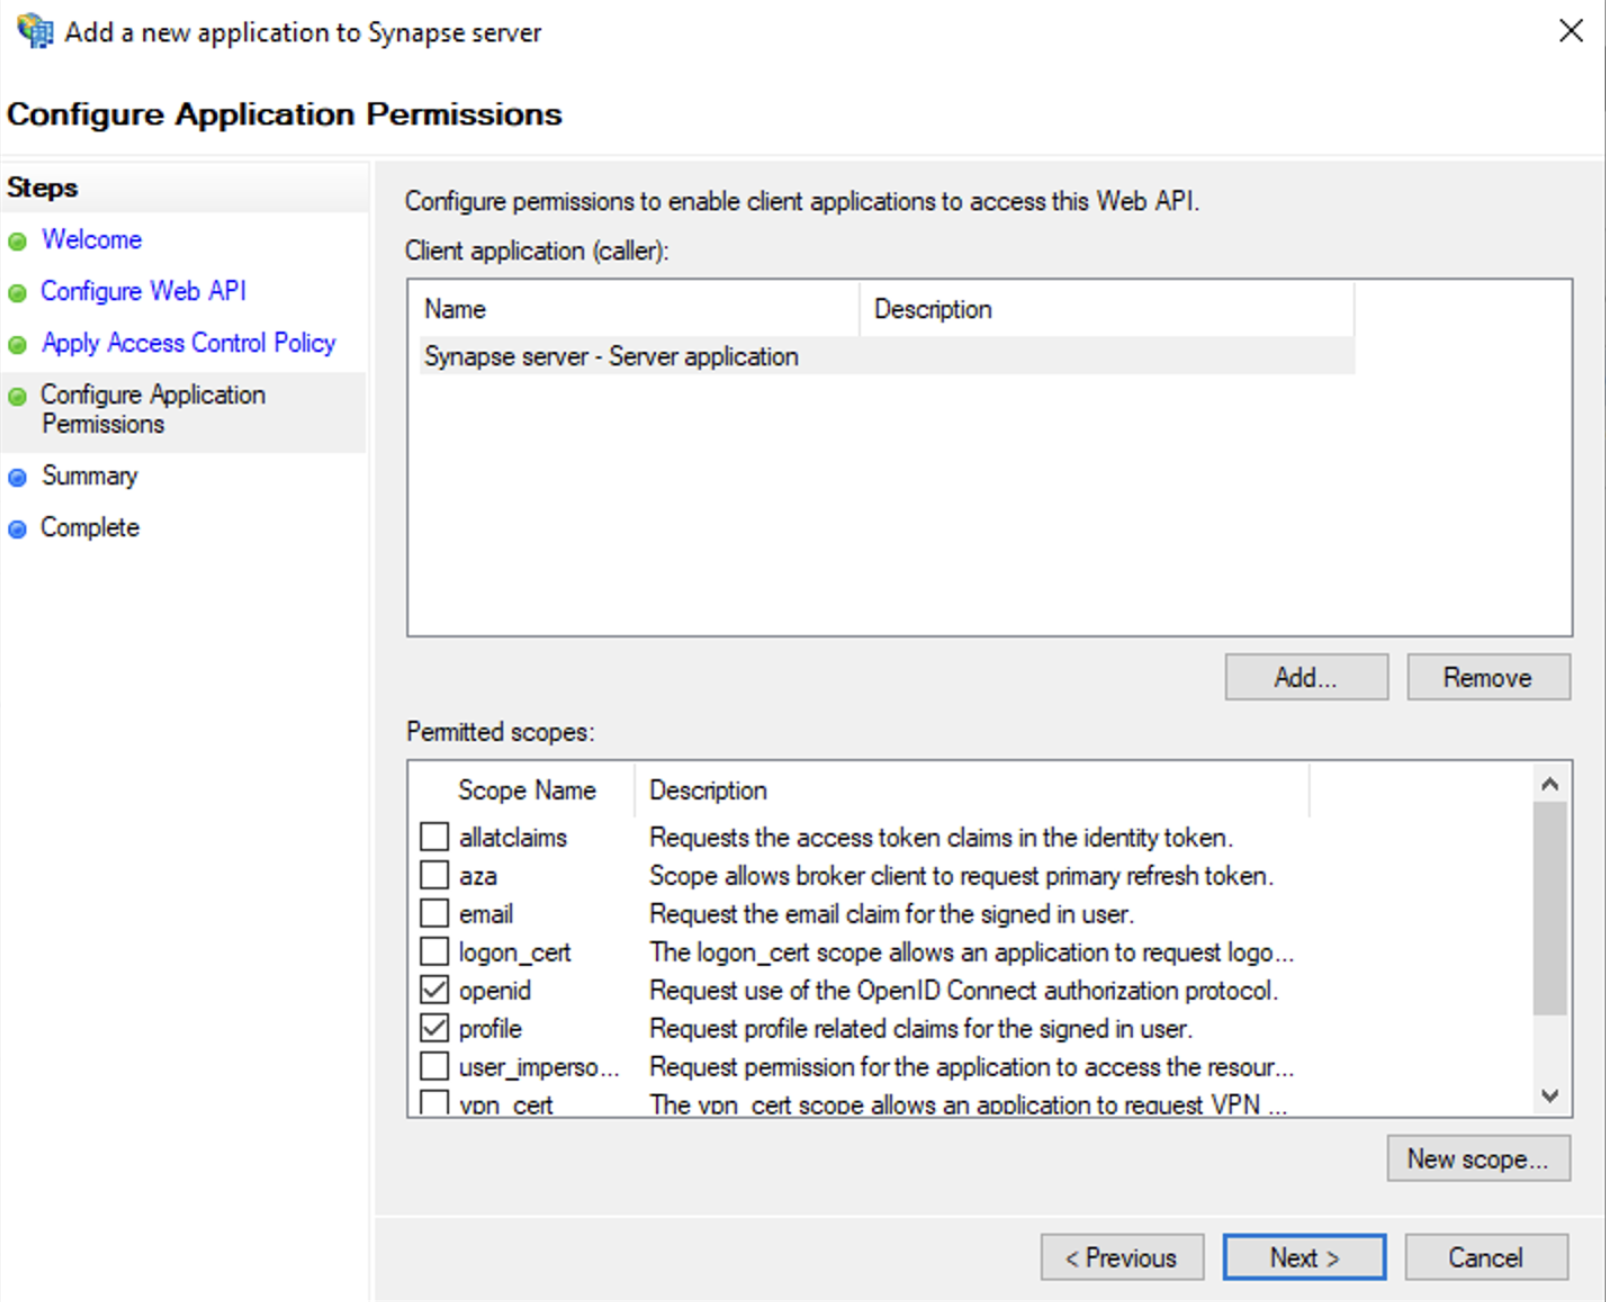
SummaryCloseOKExport Domain Trusted Root Certificate
mmc.exeCertificatesCertificatesComputer accountTrusted Root Certification AuthoritiesCertificatesAll TasksExport...Base-64 encoded X 509 (.CER)Configure the installer
Add an OIDC provider in the 'Synapse' configuration after enabling Delegated Auth and set the following fields in the installer:
Allow Existing UsersAuthorization Endpointhttps://login.microsoftonline.com/<Directory (tenant) ID>/oauth2/v2.0/authorize
Backchannel Logout EnabledClient Auth MethodClient Secret BasicClient IDClient IDDiscoverIdp BrandIdp IDIdp NameIdp NameAzure AD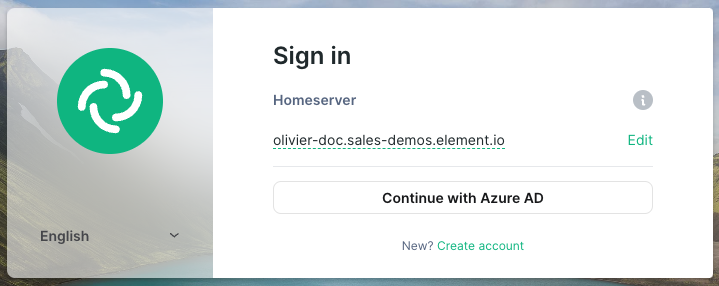
Issuerhttps://<your-adfs.domain.com>/adfs/Token EndpointClient Secret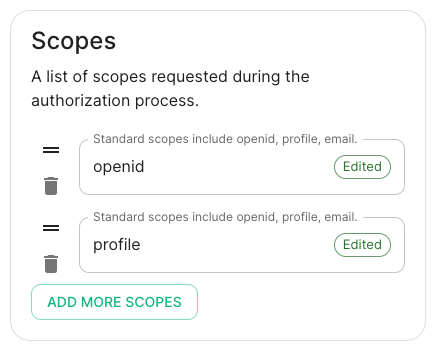
Localpart Template{{ user.upn.split('@')[0] }}Other configurations are documented here.
SAML on Microsoft Azure
Before setting up the installer, you have toenabled configureLegacy MicrosoftAuthEntrafrom ID.the Host Section.
Set

Config EntraExample
spec:
  components:
    synapse:
      config:
        delegatedAuth:
          oidc:
            - clientId: synapsekieranml
              clientSecretSecretKey: oidcClientSecret
              endpointsDiscovery:
                skipVerification: false
              idpId: 01JDS2WKNYTQS21GFAKM9AKD9R
              idpName: Keycloak
              issuer: https://keycloak.ems-support.element.dev/realms/matrix
              scopes:
                - openid
                - profile
                - email
              userMappingProvider:
                displayNameTemplate: '{{ user.name }}'
                emailTemplate: '{{ user.email }}'
SAML
WithThe anMatrix accountAuthentication withService enoughdoes rights,not gosupport SAML and it is recommended to :switch to OIDC. You can only enable SAML authentication if you have enabled EnterpriseLegacy ApplicationsAuth
New ApplicationCreate your own applicationIntegrate any other application you don't find in the gallerySet up single sign onSAMLEditBasic SAML ConfigurationIdentifierhttps://synapse_fqdn/_synapse/client/saml2/metadata.xmlReply URLhttps://synapse_fqdn/_synapse/client/saml2/authn_responseSave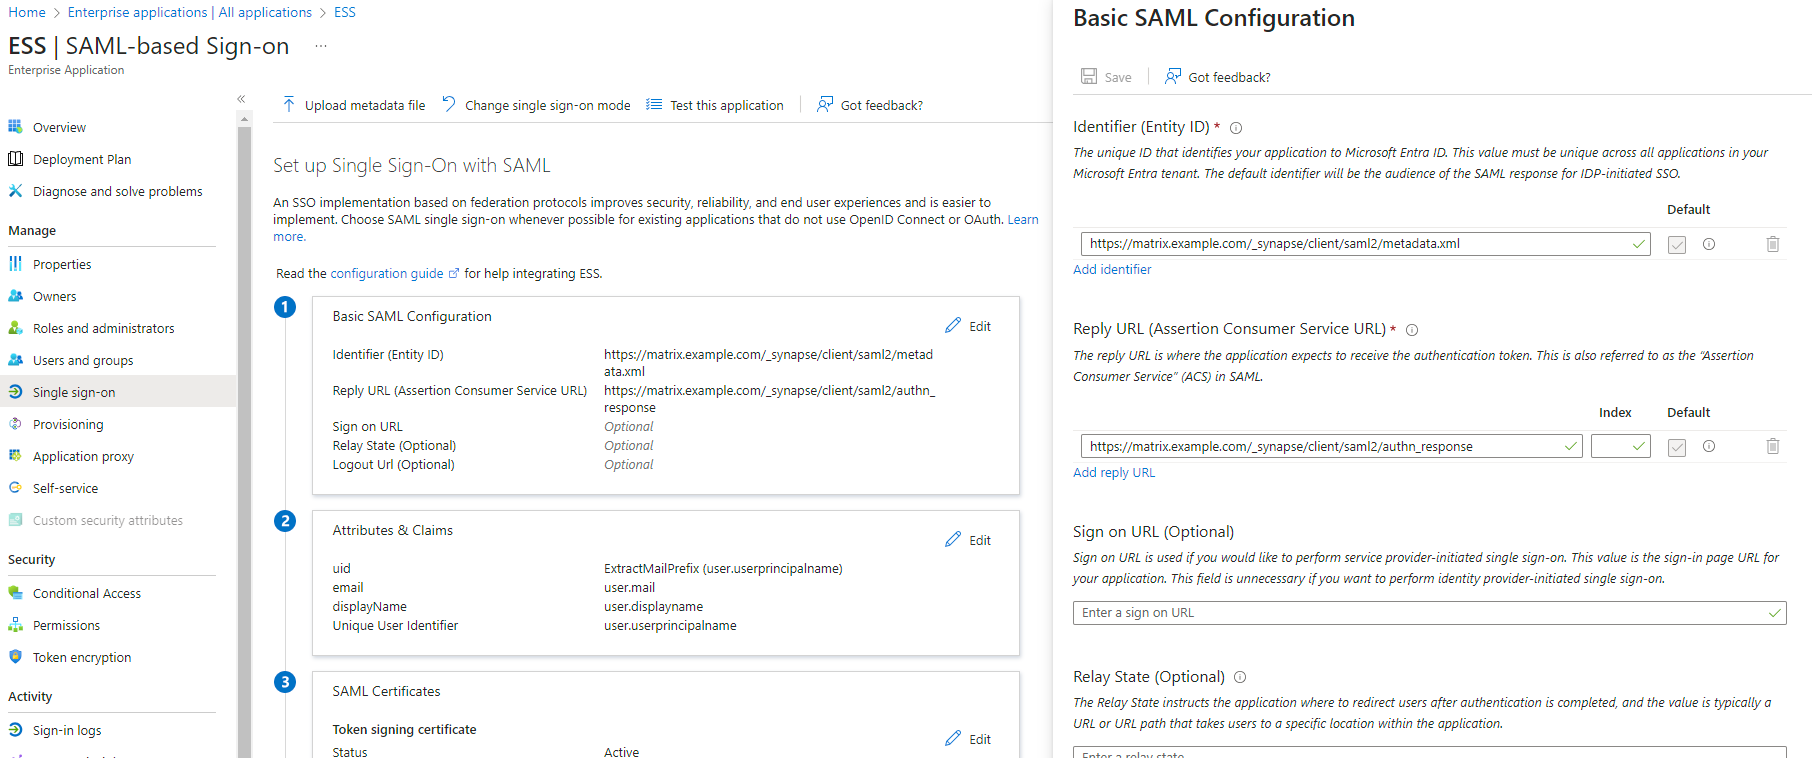
App Federation Metadata UrlSAML CertificatesEditAttributes & ClaimsAdd new claimuidExtractMailPrefixuser.userprincipalnameemailuser.maildisplayNameuser.displaynameSave
Users and GroupsConfigure the installer
Add a SAML provider in the 'Synapse' configuration after enabling Delegated Auth and set the following (suggested) fields in the installer:
URN:Oasis:Names:TC:SAML:2.0:Attrname Format:BasicIdentifierPrimary EmailemailFirst NamefirstnameLast NamelastnameMXID MappingDotreplaceMXID Source AttributeuidApp Federation Metadata URLLDAP
TroubleshootingLocal Accounts
Redirection loop on SSO
Synapse needs to have the X-Forwarded-For and X-Forwarded-Proto headers set by the reverse proxy doing the TLS termination. If you are using a Kubernetes installation with your own reverse proxy terminating TLS, please make sure that the appropriate headers are set.