Setting Up Jitsi and TURN With the Installer
Configure the Installer to install Jitsi and TURN
Prerequisites
Firewall
You will have to open the following ports to your microk8s host (or k8s cluster) to enable coturn and jitsi :
For jitsi :
-
30301/tcp -
30300/udp
For coturn, allow the following ports :
-
3478/tcp -
3478/udp -
5349/tcp -
5349/udp
You will also have to allow the following port range, depending on the settings you define in the installer (see below) :
-
<coturn min port>-<coturn max port>/udp
DNS
The jitsi and coturn domain names must resolve to the VM access IP. You must not use host_aliases for these hosts to resolve to the private IP locally on your setup.
Coturn
From the Installer's Integrations page, click "Install" under "Coturn".
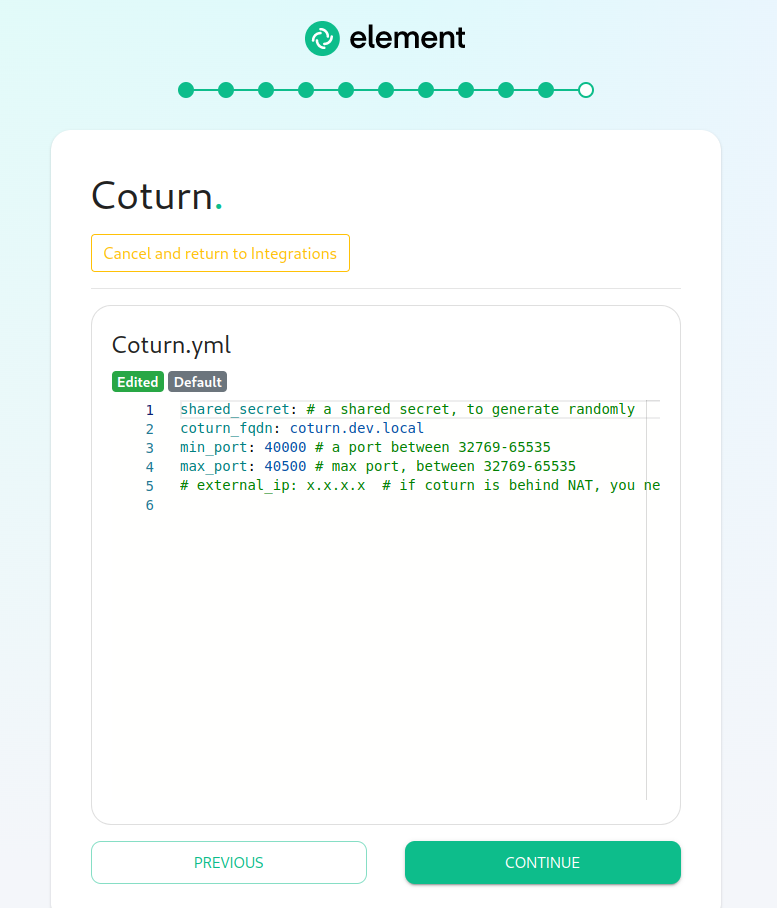
For the coturn.yml presented by the installer, edit the file and ensure the following values are set:
-
coturn_fqdn: The access address to coturn. It should match something likecoturn.<fqdn.tld>. It must resolve to the public-facing IP of the VM. -
shared_secret: A random value, you can generate it withpwgen 32 -
min_port: The minimal UDP Port used by coturn for relaying UDP Packets, in range 32769-65535 -
max_port: The maximum UDP Port used by coturn for relaying UDP Packets, in range 32769-65535
Further, if you are using your own certificates instead of letsencrypt, for the coturn_fqdn, you will need to provide certificates for the installer outside of the GUI. Please find your ~/.element-enterprise-server/config directory and create a directory called ~/.element-enterprise-server/config/legacy/certs under which to put a .crt/.key PEM encoded certificate for this fqdn. If your fqdn was coturn.airgap.local, your filenames would need to be coturn.airgap.local.crt and coturn.airgap.local.key. You will need to have these certificate files in place before running the installer.
Jitsi
From the Installer's Integrations page, click "Install" under "Jitsi".
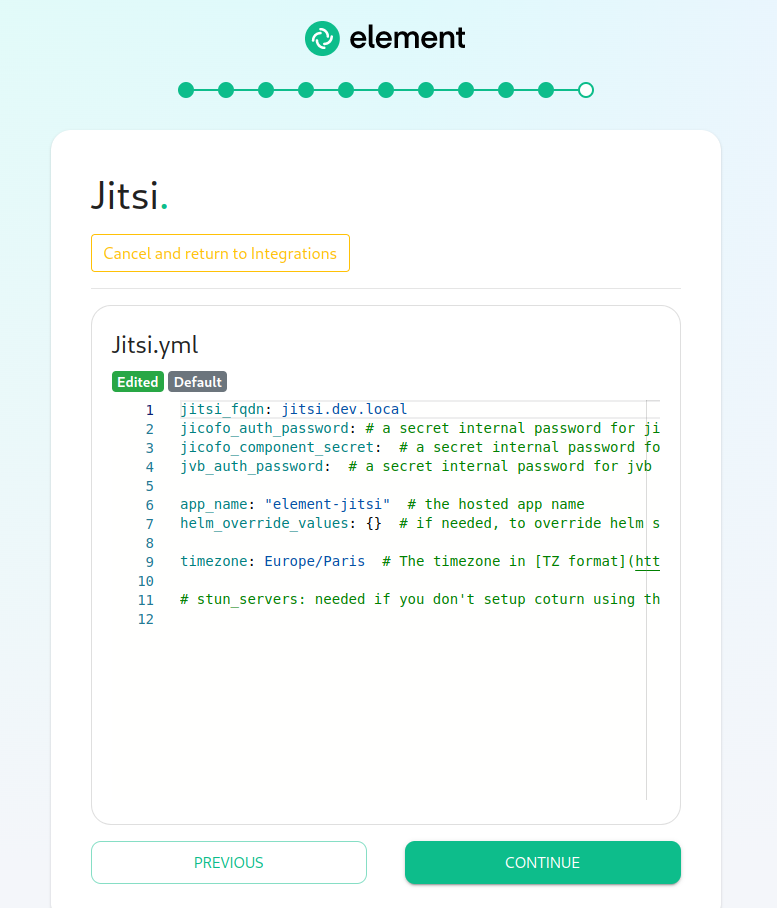
For the jitsi.yml presented by the installer, edit the file and ensure the following values are set:
-
jitsi_fqdn: The access address to jitsi. It should match something likejitsi.<fqdn.tld>. It must resolve to the public-facing IP of the VM. -
jicofo_auth_password: # a secret internal password for jicofo auth -
jicofo_component_secret: # a secret internal password for jicofo component -
jvb_auth_password: # a secret internal password for jvb -
helm_override_values: {} # if needed, to override helm settings automatically set by the installer; For Helm values that can be overriden, see https://vector-im.github.io/jitsi-helm/ For environment variables that can be passed in via Helm overrides, see https://jitsi.github.io/handbook/docs/devops-guide/devops-guide-docker/ -
timezone: Europe/Paris # The timezone in TZ format -
stun_servers: Needed if you don't setup coturn using the installer. Should be a yaml list of server:port entries. Example:stun_servers: - ip:port - ip:port
Further, for the jitsi_fqdn, you will need to provide .crt/.key PEM encoded certificates. These can be entered in the installer UI. If your fqdn was jitsi.airgap.local, your filenames would need to be jitsi.airgap.local.crt and jitsi.airgap.local.key. You will need to edit the file name field in the UI before pressing "Choose File" button when selecting the certificates.
If your network does not have any NAT, Jitsi cannot use the local coturn server to determine the IP it should advertise to the users. In this case, you might have issues with your calls and video. To workaround it, you can use the following configuration :
provide_node_address_as_public_ip: true

helm_override_values:
  jvb:
    extraEnvs:
    - name: JVB_ADVERTISE_IPS
      value:  "public ip of jitsi"
    - name: JVB_ADVERTISE_PRIVATE_CANDIDATES
      value: "true"
Element
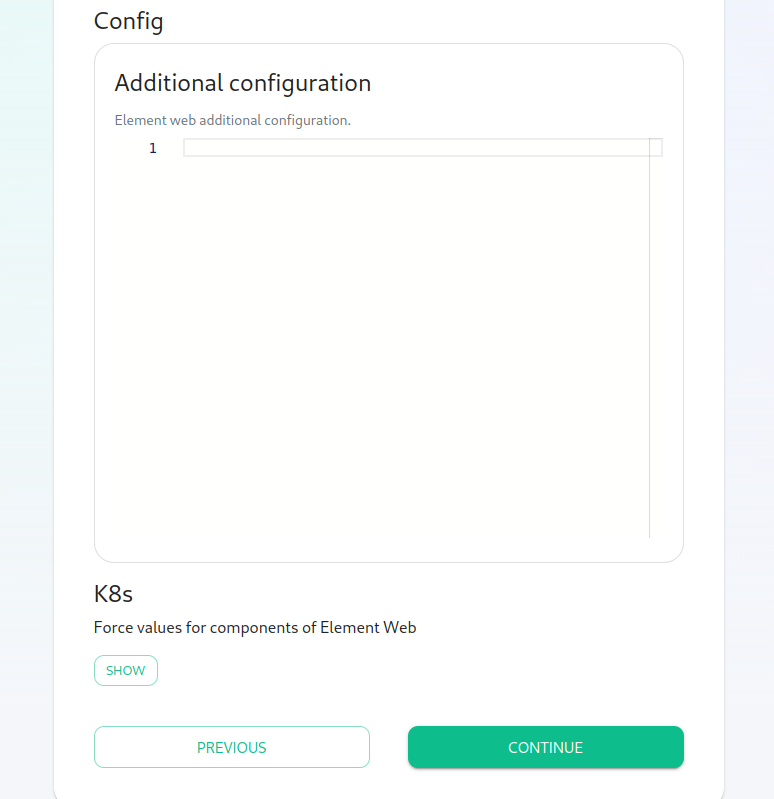
Please go to the "Element Web" page of the installer, click on "Advanced" and add the following to "Additional Configuration":
{
  "jitsi": {
    "preferred_domain": "<jitsi_fqdn>"
  }
}
In the above text, you will want to replace <jitsi_fqdn> with the actual fqdn.
Configure the installer to use an existing Jitsi instance
Please go to the "Element Web" page of the installer, click on "Advanced" and add the following to "Additional Configuration":
{
      "jitsi": {
            "preferred_domain": "your.jitsi.example.org"
      }
}
replacing your.jitsi.example.org with the hostname of your Jitsi server.
You will need to re-run the installer for this change to take effect.