Using the Admin Console
What is Element Server Suite and how does it work?
Opening the Admin Console
First, let’s get started by logging into the admin console. To do this, make sure that the installer is still running or bring it up by running the installer binary like this (Please specify the correct version and don’t just copy this line!):
./element-enterprise-graphical-installer-2023-06.01-gui.bin
You will then see output similar to:
To start configuration open:
        https://admin.element.demo:8443/a/XWDPB7NQ
The Configure Tab
On clicking the link, you will be automatically logged in as an administrator and see the console.
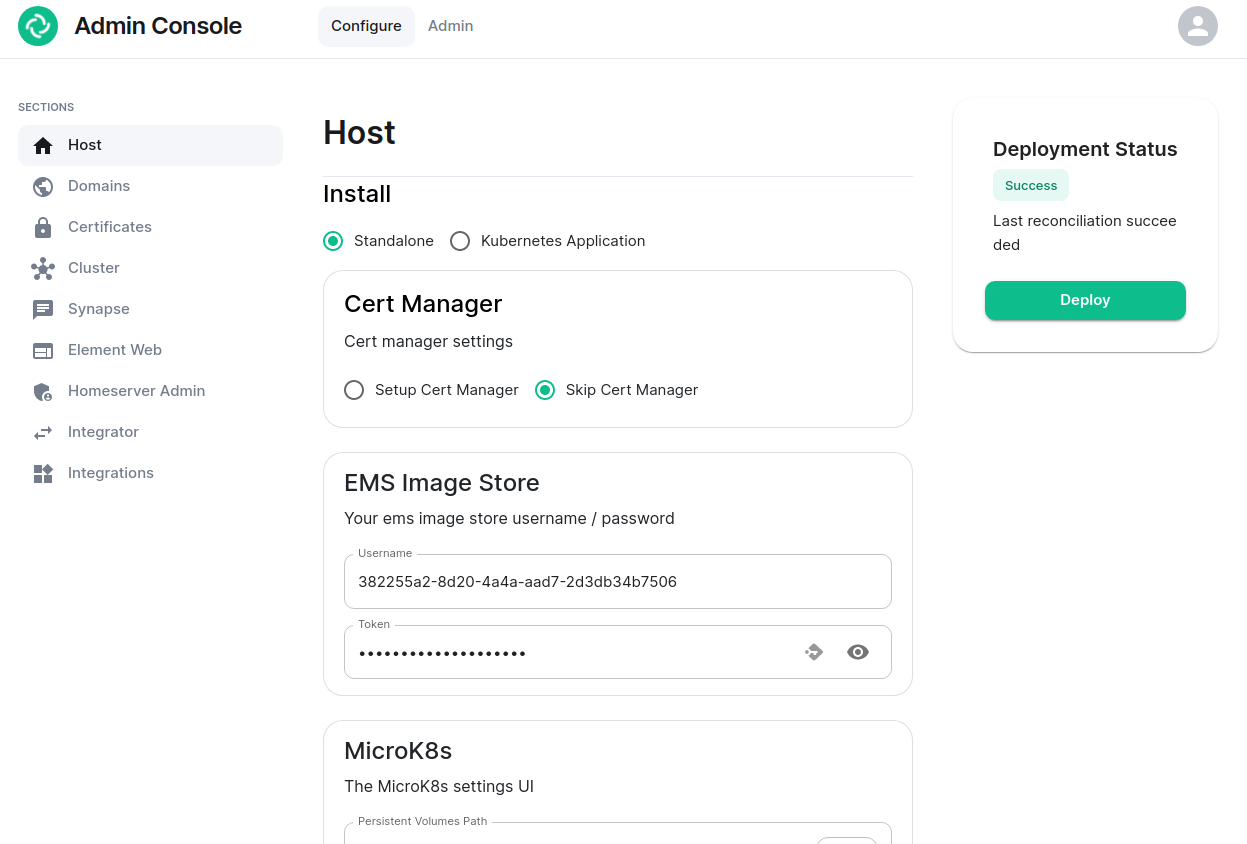
You’ll notice that the first page is the “Configure” tab on the top and the sections in the left hand menu mirror those in the installer:
- Host. is for setting details specific to the deployment host itself.
- Domains. is for setting the specific domain names and subdomains that are used by the installation.
- Certificates. is for making specific certificate choices and uploading certificates if using custom certificates.
- Cluster. is for setting any kubernetes specific parameters required for your installation.
- Synapse. is for setting any homeserver settings or variables. You may also set any custom configuration that can be done through homeserver.yaml.
- Element Web. is for making any specific changes to the Element Web deployment and also for setting any custom configuration that would be specified in a config.json.
- Homeserver Admin. is for making changes related to this admin console.
- Integrator. is for making any changes related to the integration manager.
- Integrations. is for installing, configuring, or removing any of the add-ons that we ship as part of Element Server Suite.
Note that all settings under the “Configure” tab presently require you to re-deploy your installation by using the conveniently located “Deploy” button. Please make all changes across any of these pages that you wish to deploy prior to hitting the “Deploy” button.