Host Section

Settings configured via the UI in this section will mainly be saved to your cluster.yml, with the contents of secrets being saved to secrets.yml, however this will also generate an internal.yml. You will find specific config examples under each respective section.
-
cluster.ymlapiVersion: ess.element.io/v1alpha1 kind: InstallerSettings metadata: annotations: k8s.element.io/version: 23.10.22-gui name: first-element-cluster spec: -
internal.ymlapiVersion: ess.element.io/v1alpha1 kind: HostAdminSettings metadata: name: first-element-cluster spec:
Deployment
Install

Depending on your environment you will need to select either Standalone or Kubernetes Application. Standalone will install microk8s locally on your machine, and deploy to it so all pods are running locally on the host machine. Kubernetes Application will deploy to your Kubernetes infrastructure in a context you will need to have already setup via your kube config.
Cluster Deployment
Deploy the operator & the updater using Cluster Roles
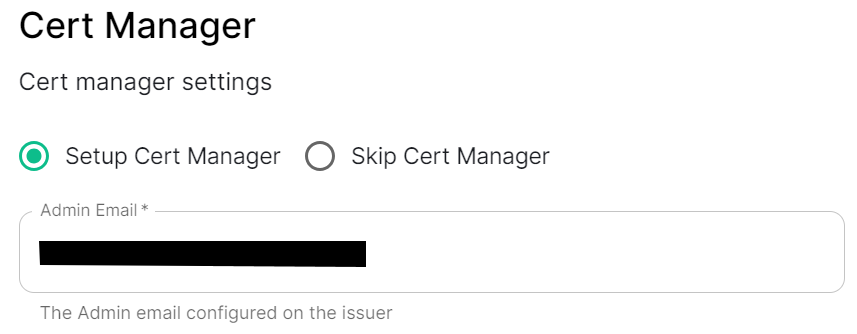
Cert Manager
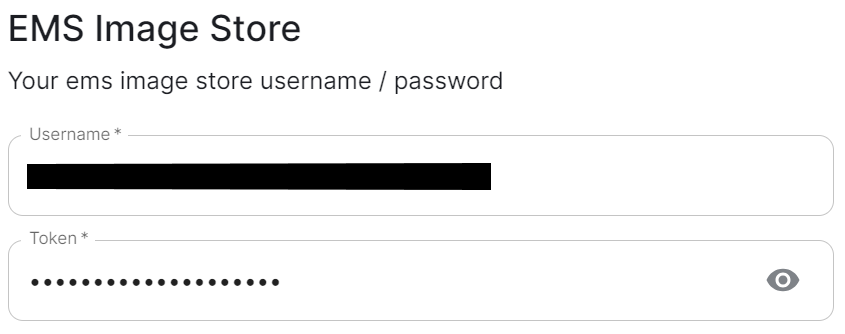
EMS Image Store
spec:
  install:
    emsImageStore:
      password: token
      username: test
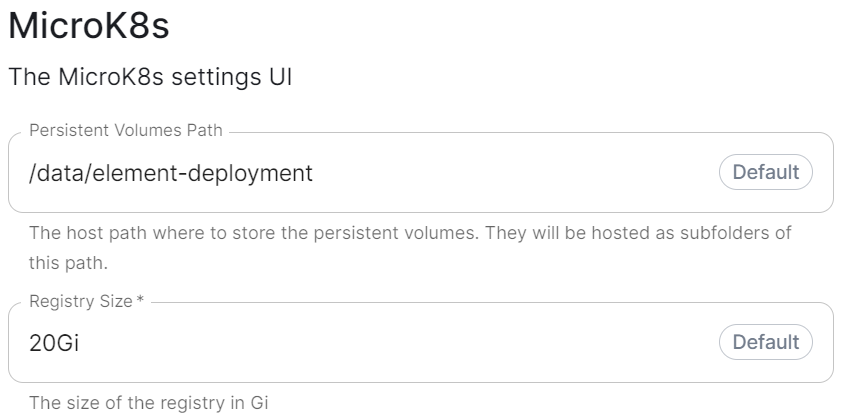
MicroK8s
spec:
  install:
    microk8s:
      persistentVolumesPath: /data/changed-location
      registrySize: 25Gi
what do these do? (presumedly control where microk8s data is stored), are there any known caveats to changing we should mention, same question for the registry size.
DNS Resolvers
spec:
  install:
    microk8s:
      dnsResolvers:
        - 8.8.8.8
        - 8.8.4.4
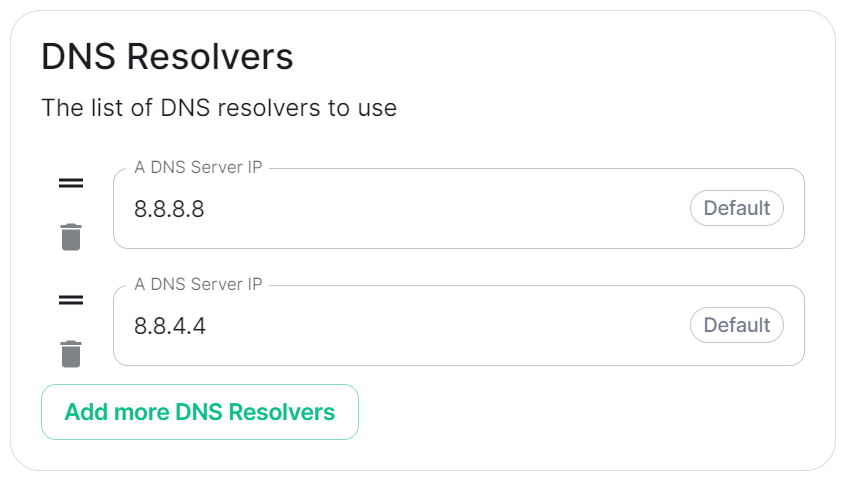
Defaulting to 8.8.8.8 and 8.8.4.4, the DNS server IPs set here will be used by all deployed pods. Click Add more DNS Resovlers to add additional entries as required.
Nginx Extra Configuration
spec:
  install:
    microk8s:
      # Not present when disabled
      nginxExtraConfiguration:
        custom-http-errors: '"404"'
        server-snippet: >-
          error_page 404 /404.html; location = /404.html { internal; return 200
          "<p>Hello World!</p>"; }
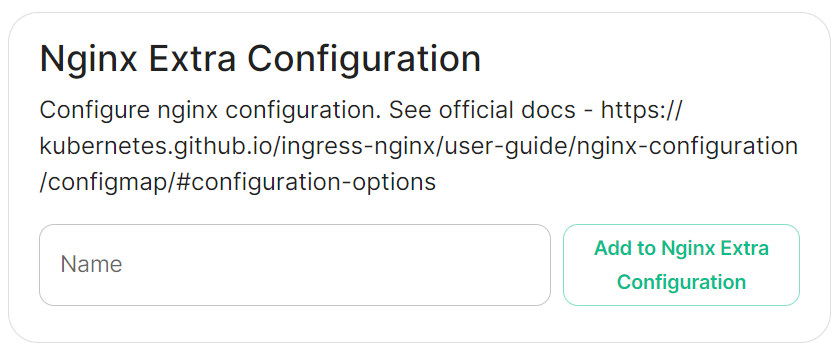
As linked via the installer, see the Ingress-Nginx Controller ConfigMaps documentation for the options that can be configured.
For example, if you wanted to replace the standard 404 error page, you could do this using both custom-http-errors and server-snippet. To configure via the installer, simply add the specify custom-http-errors as the Name and click Add to Nginx Extra Configuration, then provide the required value in the newly created field:

Repeat for server-snippet:

The above example is used to explain how to configure the Nginx Extra Configuration, and so is for demonstration purposes only, it is not recommended to use this example config. Ideally your webserver should manage traffic that would otherwise hit a 404 being served by ESS.
PostgreSQL in Cluster
Connectivity

spec:
  connectivity:
Connected
spec:
  connectivity:
    # dockerhub: {} # When Username & Password is disabled per default
    dockerhub:
      password: password
      username: test
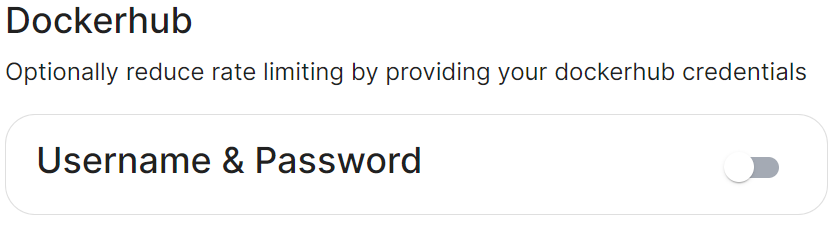
Connected means the installer will use the previously provided EMS Image Store credentials to pull the required pod images as part of deployment, optionally, you can specify Dockerhub credentials to reduce potential rate limiting.
Airgapped
spec:
  connectivity:
    airgapped:
      # localRegistry: localregistryurl # Not present when disabled
      sourceDirectory: /home/ubuntu/airgapped/
      # uploadImages: false # Not present when disabled
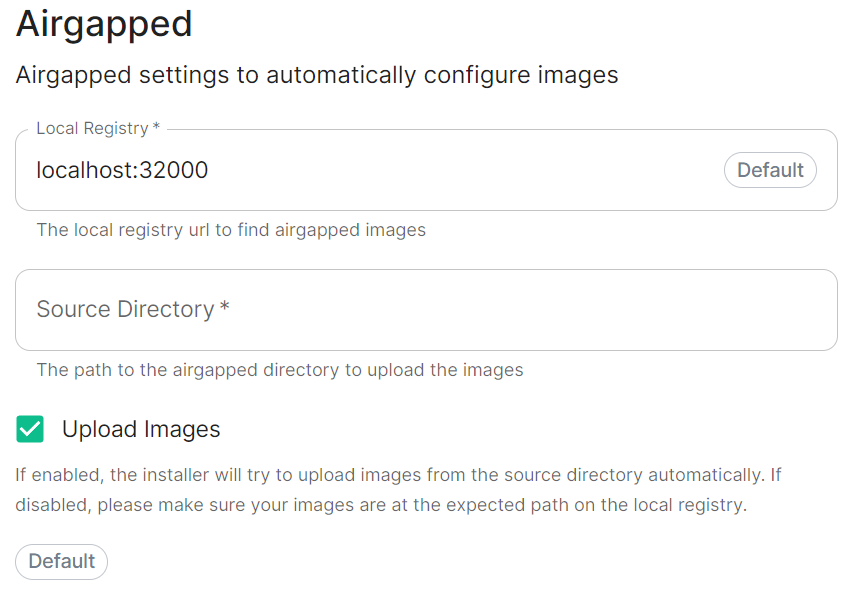
An airgapped environment is any environment in which the running hosts will not have access to the greater internet. This proposes a situation in which these hosts are unable to get access to various needed bits of software from Element and also are unable to share telemetry data back with Element.
Selecting Airgapped means the installer will rely on images stored in a registry local to your environment, by default the installer will host this registry uploading images found within the specified Source Directory, however you can alternatively specify one already present in your environment instead.
Getting setup within an Airgapped environment
Alongside each Installer binary available for download, for those customers with airgapped permissions, is an equivalent airgapped package element-enterprise-installer-airgapped-<version>-gui.tar.gz. Download and copy this archive to the machine running the installer, then use tar -xzvf element-enterprise-installer-airgapped-<version>-gui.tar.gz to extract out its contents, you should see a folder airgapped with the following directories within:
-
pip -
galaxyy -
snaps -
containerd -
images
Copy the full path of the root airgapped folder, for instance, /home/ubuntu/airgapped and paste that into the Source Directory field. Should you ever update the installer binary, you will need to ensure you delete and replace this airgapped folder, with its updated equivalent.
Your airgapped machine will still require access to airgapped linux repositories depending on your OS. If using Red Hat Enterprise Linux, you will also need access to the EPEL repository in your airgapped environment.