
Setting up Delegated Authentication with SAML on Microsoft Azure (WIP)
Before setting up the installer, you have to configure Microsoft Azure Active Directory.
Set up Microsoft Azure Active Directory
App registrationRedirect URI (optional)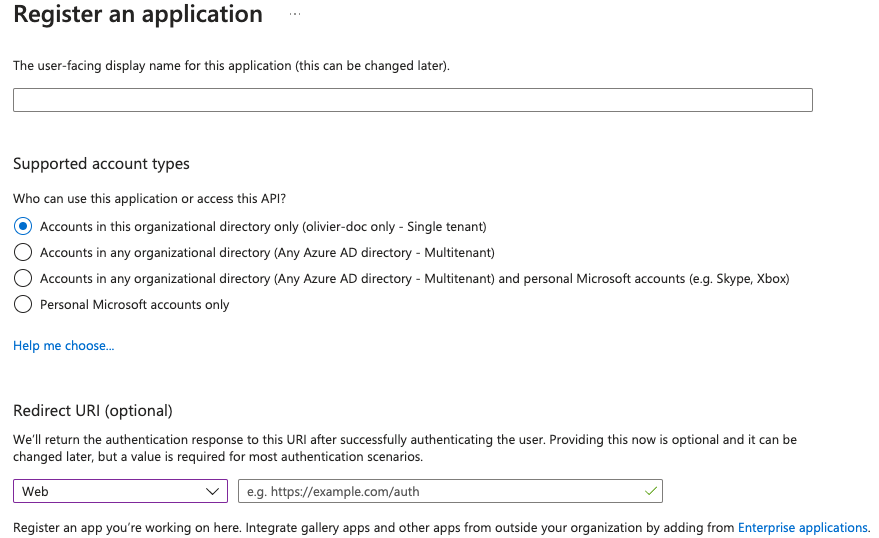
For the bridge to be able to operate correctly, navigate to API permissions, add Microsoft Graph APIs, choose Delegated Permissions and add
Remember to grant the admin consent for those.
To setup the installer, you'll need
Application (client) IDDirectory (tenant) IDCertificates & secretsConfigure the installer
Add an OIDC provider in the 'Synapse' configuration after enabling Delegated Auth and set the following fields in the installer:
Allow Existing UsersAuthorization Endpointhttps://login.microsoftonline.com/<Directory (tenant) ID>/oauth2/v2.0/authorize
Backchannel Logout Enabledhttps://your-domain/_synapse/client/oidc/backchannel_logout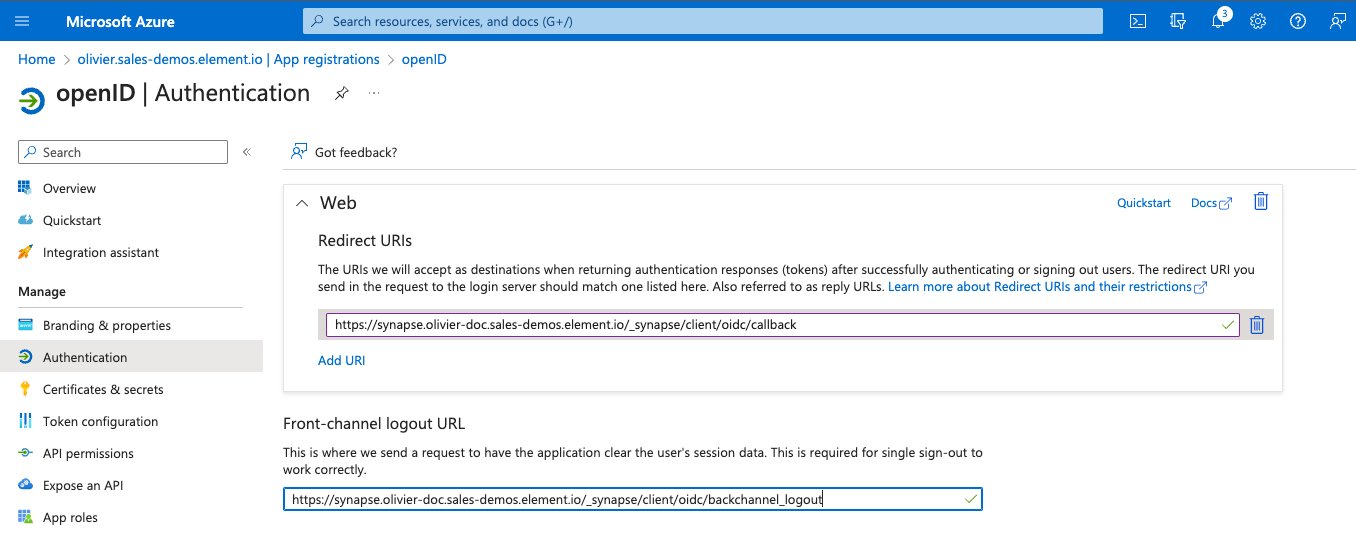
Client Auth MethodClient Secret PostClient IDApplication (client) IDDiscoverIdp BrandIdp IDIdp NameIdp NameAzure AD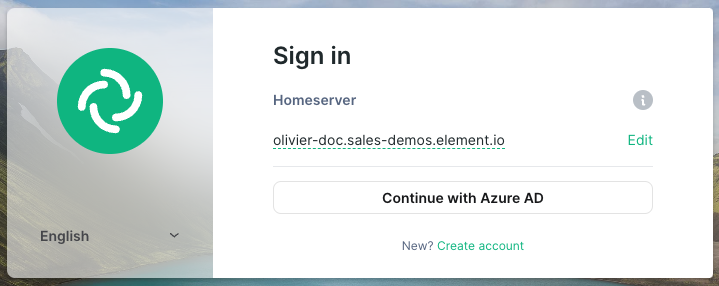
Issuerhttps://login.microsoftonline.com/<Directory (tenant) ID>/v2.0
Token EndpointClient Secret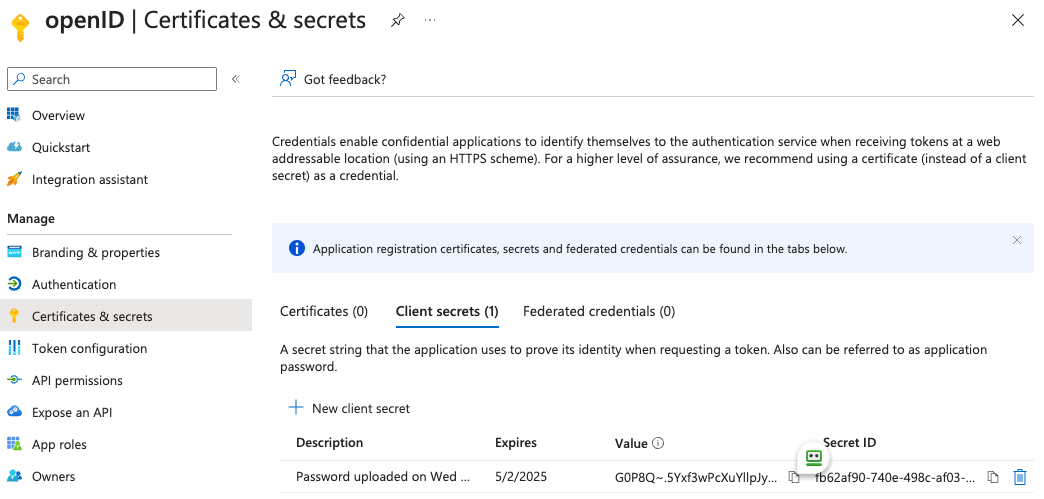
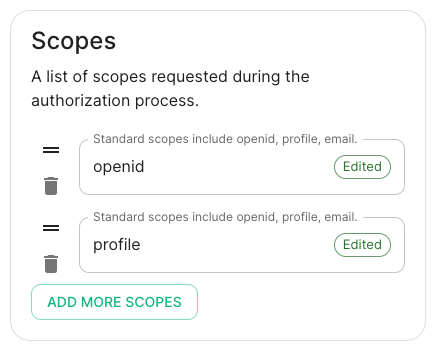
User Mapping Provider: Configuration for how attributes returned from a OIDC provider are mapped onto a matrix user.

Localpart Template{{ user.preferred_username.split('@')[0] }}Display Name Template{{ user.name }}Other configurations are documented here.
With an account with enough rights, go to : Enterprise Applications Portal
- Click on
New Application - Click on
Create your own applicationon the top left corner - Choose a name for it, and select
Integrate any other application you don't find in the gallery - Click on "Create"
- Select
Set up single sign on - Select
SAML -
EditonBasic SAML Configuration - In
Identifier, add the following URL :https://<synapse fqdn>/_synapse/client/saml2/metadata.xml - Remove the default URL
- In
Reply URL, add the following URL :https://<synapse fqdn>/_synapse/client/saml2/authn_response - Click on
Save -
EditonAttributes & Claims - Remove all defaults additional claims
- Click on
Add new claimto add the following claims. The UID will be used as the MXID, the - value here is mostly a suggestion :
- Name:
uid, Transformation :ExtractMailPrefix, Parameter 1 :user.userprincipalname - Name:
email, Source attribute :user.mail - Name:
displayName, Source attribute :user.displayname
- Name:
- Click on
Save - In
Users and Groups, add groups and users which may have access to element
Configure the installer
Add a SAML provider in the 'Synapse' configuration after enabling Delegated Auth and set the following fields in the installer:
Allow Unknown Attributes
Under Attribute Map, select the Identifier - URN:Oasis:Names:TC:SAML:2.0:Attrname Format:Basic
Under Mapping add the following mappings:
Primary Email To email
From First Name To firstname
From Last Name To lastname
Certificates????
Encryption??????
Under Entity, enter a description, the Entity ID (from Azure) and a name.
Under User Mapping Provider select the following: