Setting up Delegated Authentication with OpenID on Microsoft AD FS
Installing Microsoft AD FS
Before starting the installation, make sure:
- your Windows computer name is correct since you won't be able to change it after having installed AD FS
- you configured your server with a static IP address
- your server joined a domain and your domain is defined under Server Manager > Local server
- you can resolve your server FQDN like computername.my-domain.com
You can find a checklist here.
Steps to follow:
- Install AD CS (Certificate Server) to issue valid certificates for AD FS. AD CS provides a platform for issuing and managing public key infrastructure [PKI] certificates.
- Install AD FS (Federation Server)
Install AD CS
You need to install the AD CS Server Role.
- Follow this guide.
Obtain and Configure an SSL Certificate for AD FS
Before installing AD FS, you are required to generate a certificate for your federation service. The SSL certificate is used for securing communications between federation servers and clients.
- Follow this guide.
- Additionally, this guide provides more details on how to create a certificate template.
Install AD FS
You need to install the AD FS Role Service.
- Follow this guide.
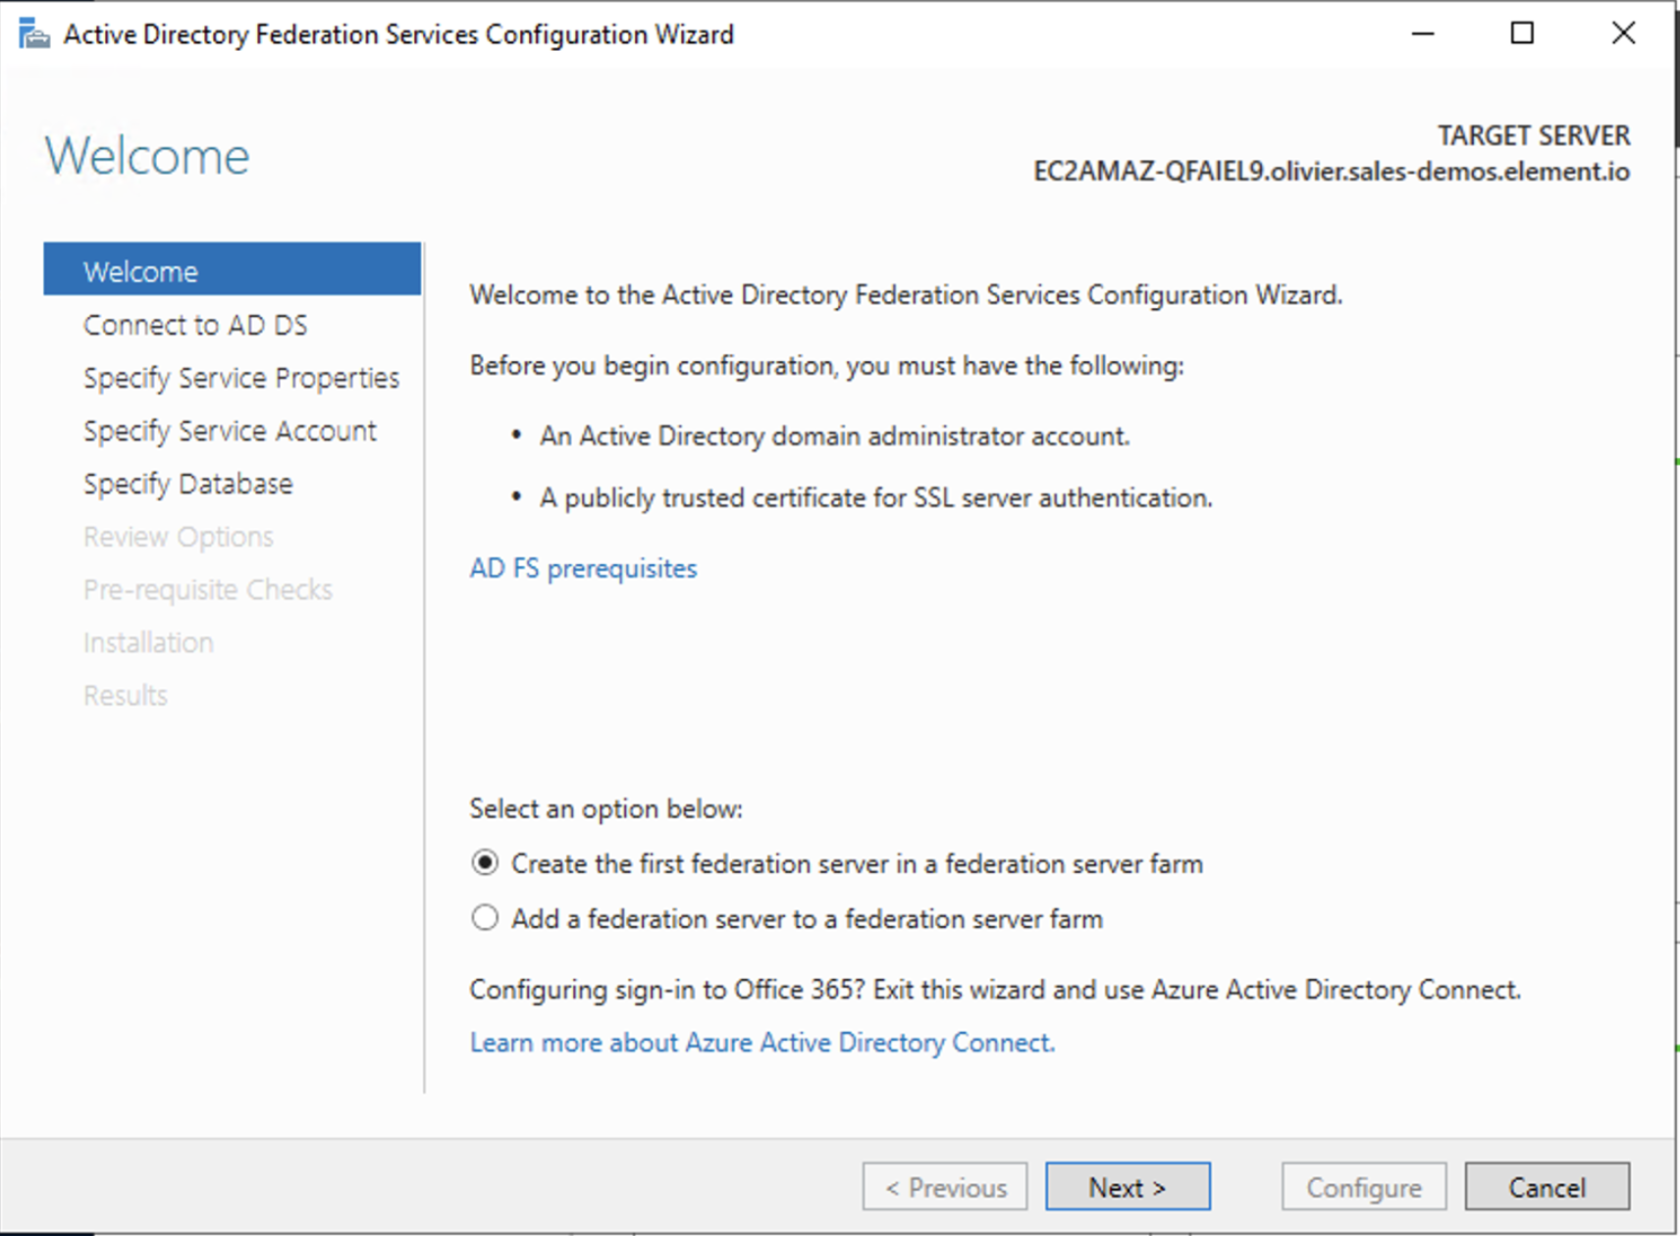
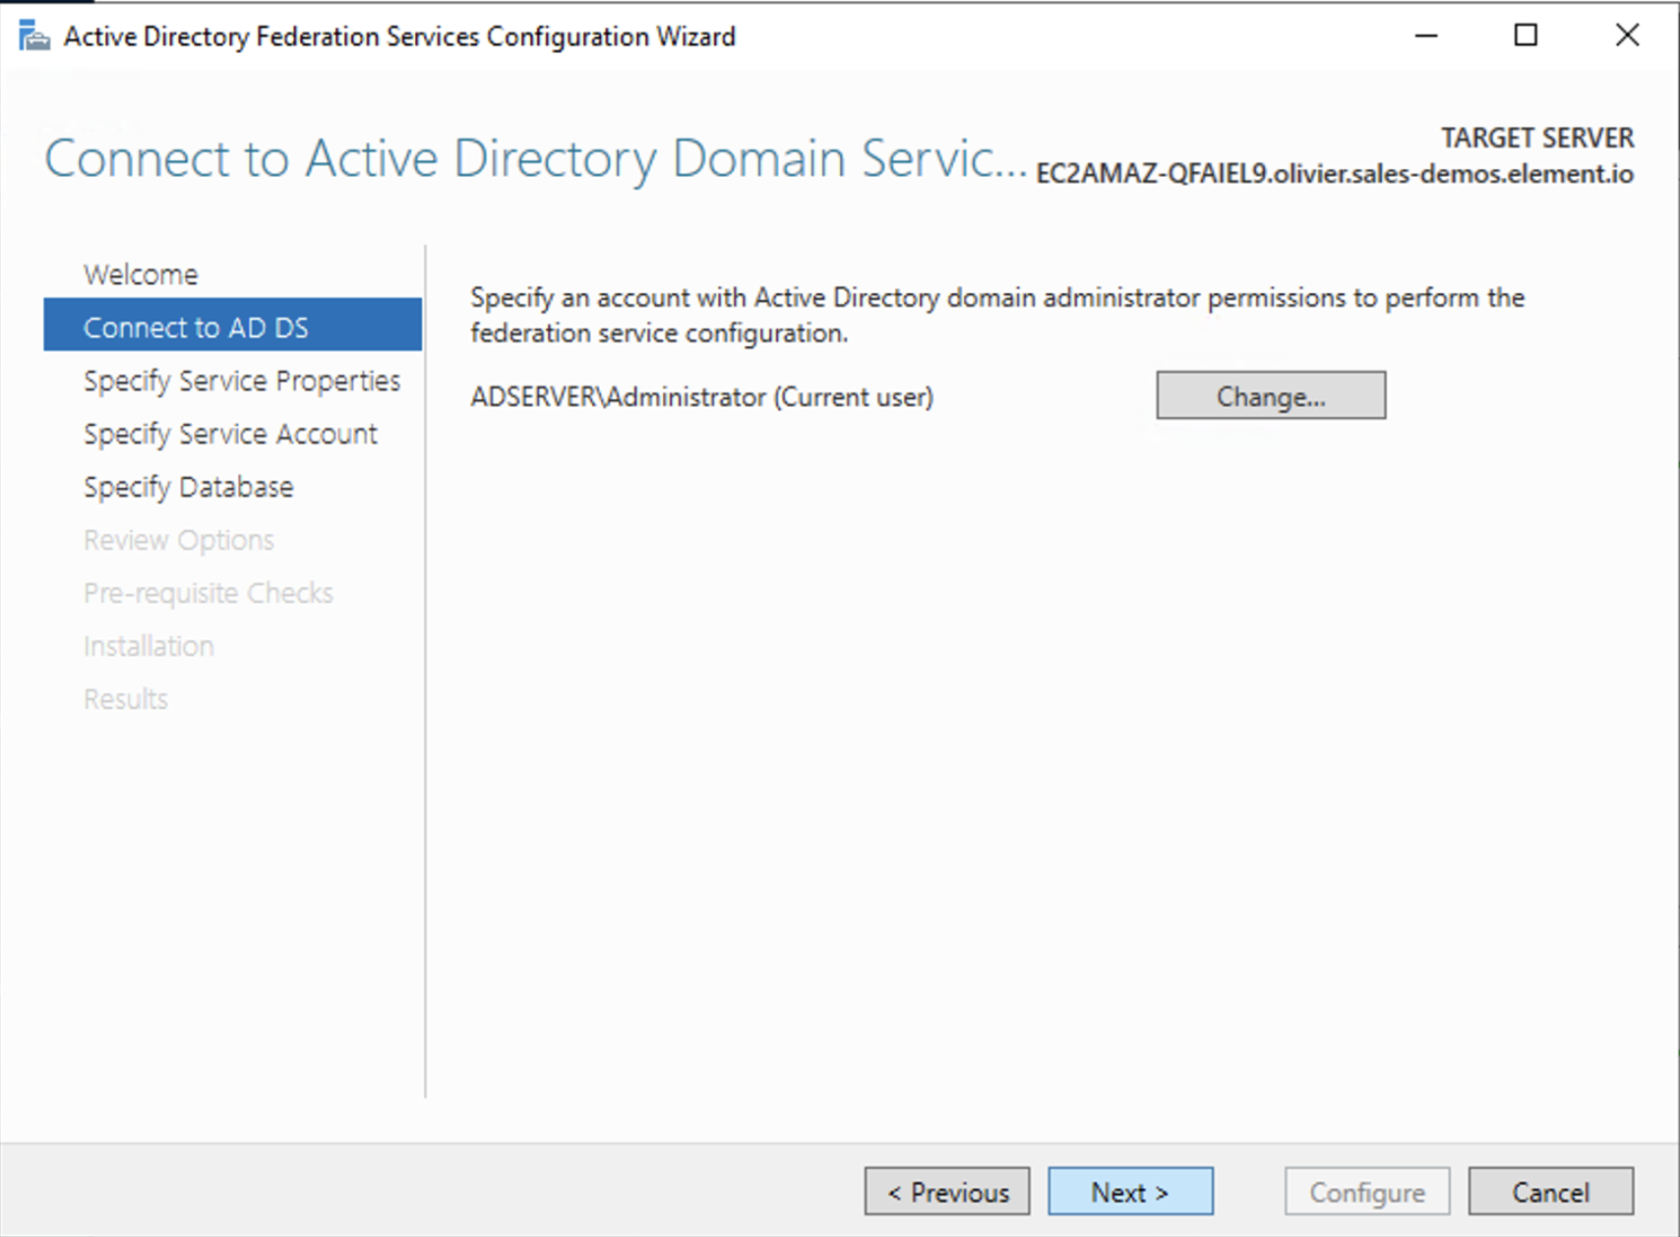
Configure the federation service
AD FS is installed but not configured.
- Click on
Configure the federation service on this serverunderPost-deployment configurationin theServer Manager. - Ensure
Create the first federation server in a federation server farmand is selected
- Click
Next
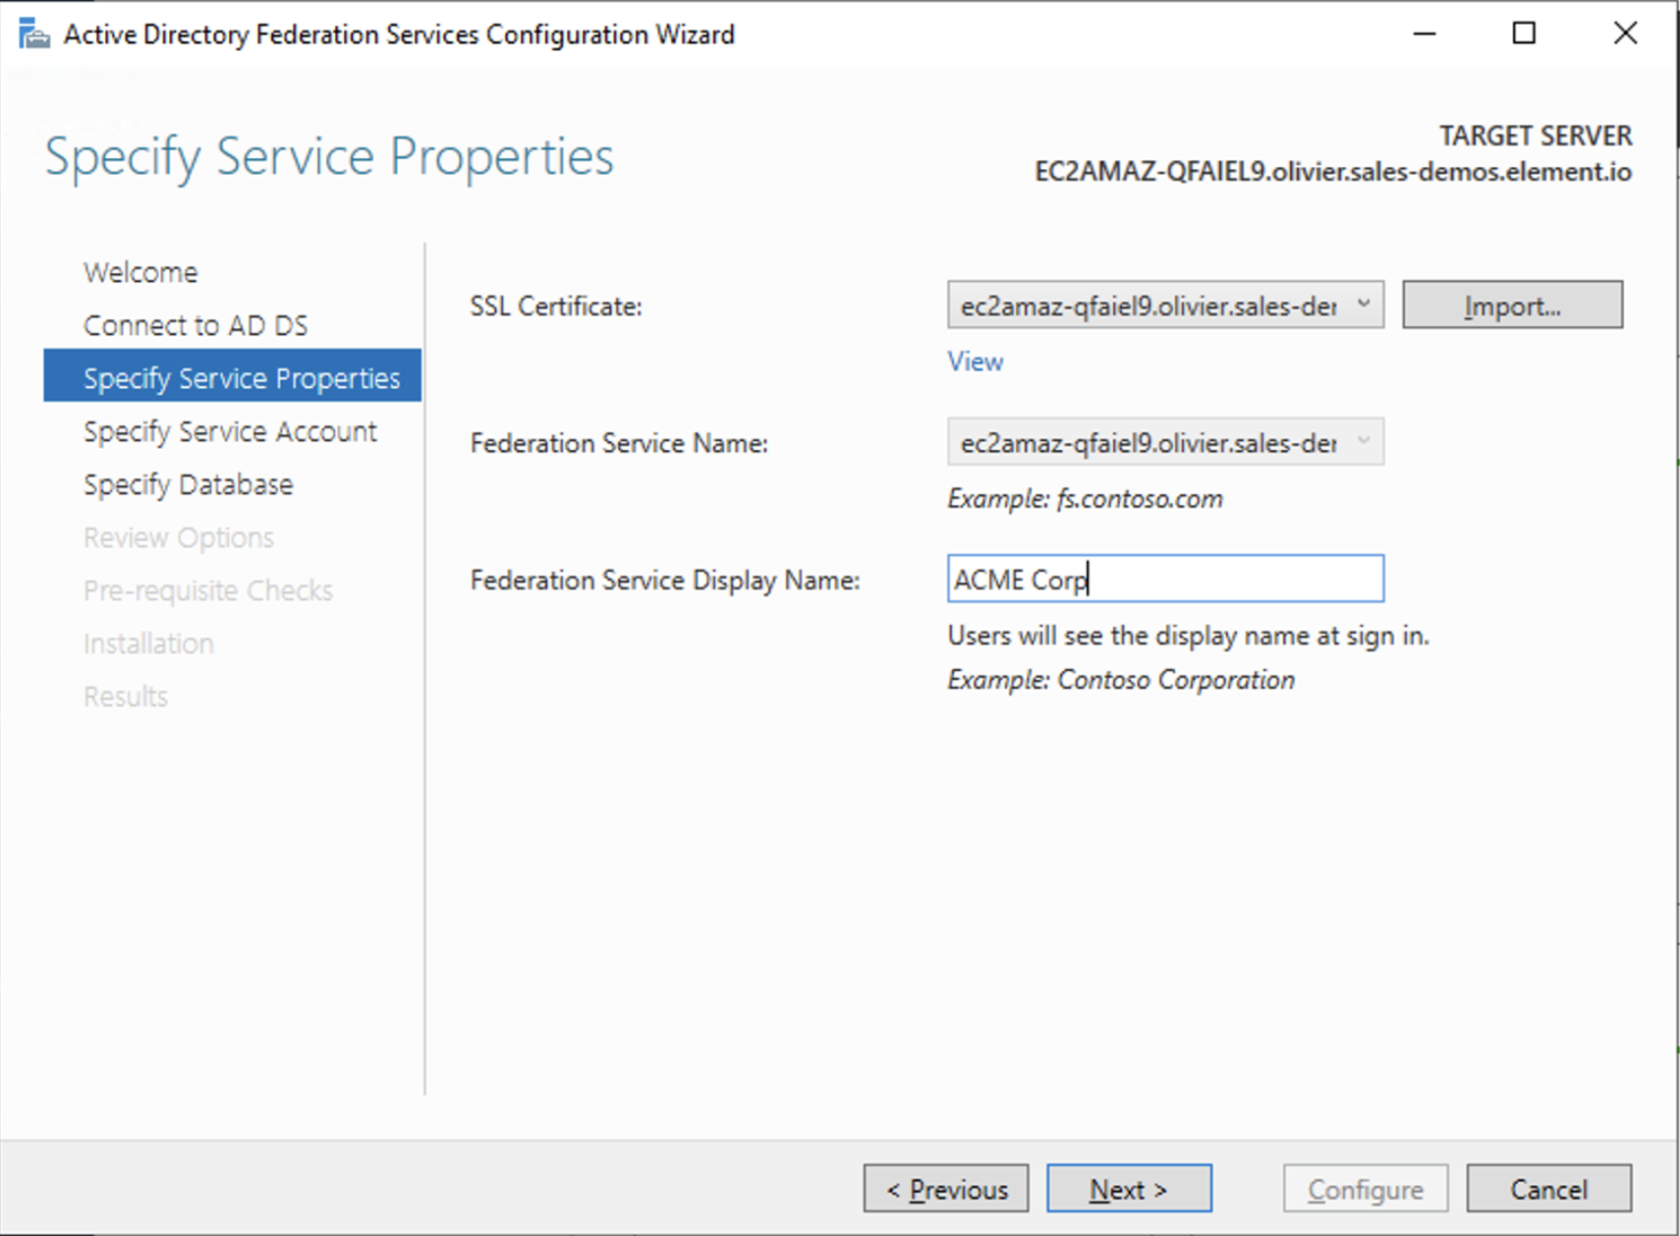
- Select the SSL Certificate and set a Federation Service Display Name
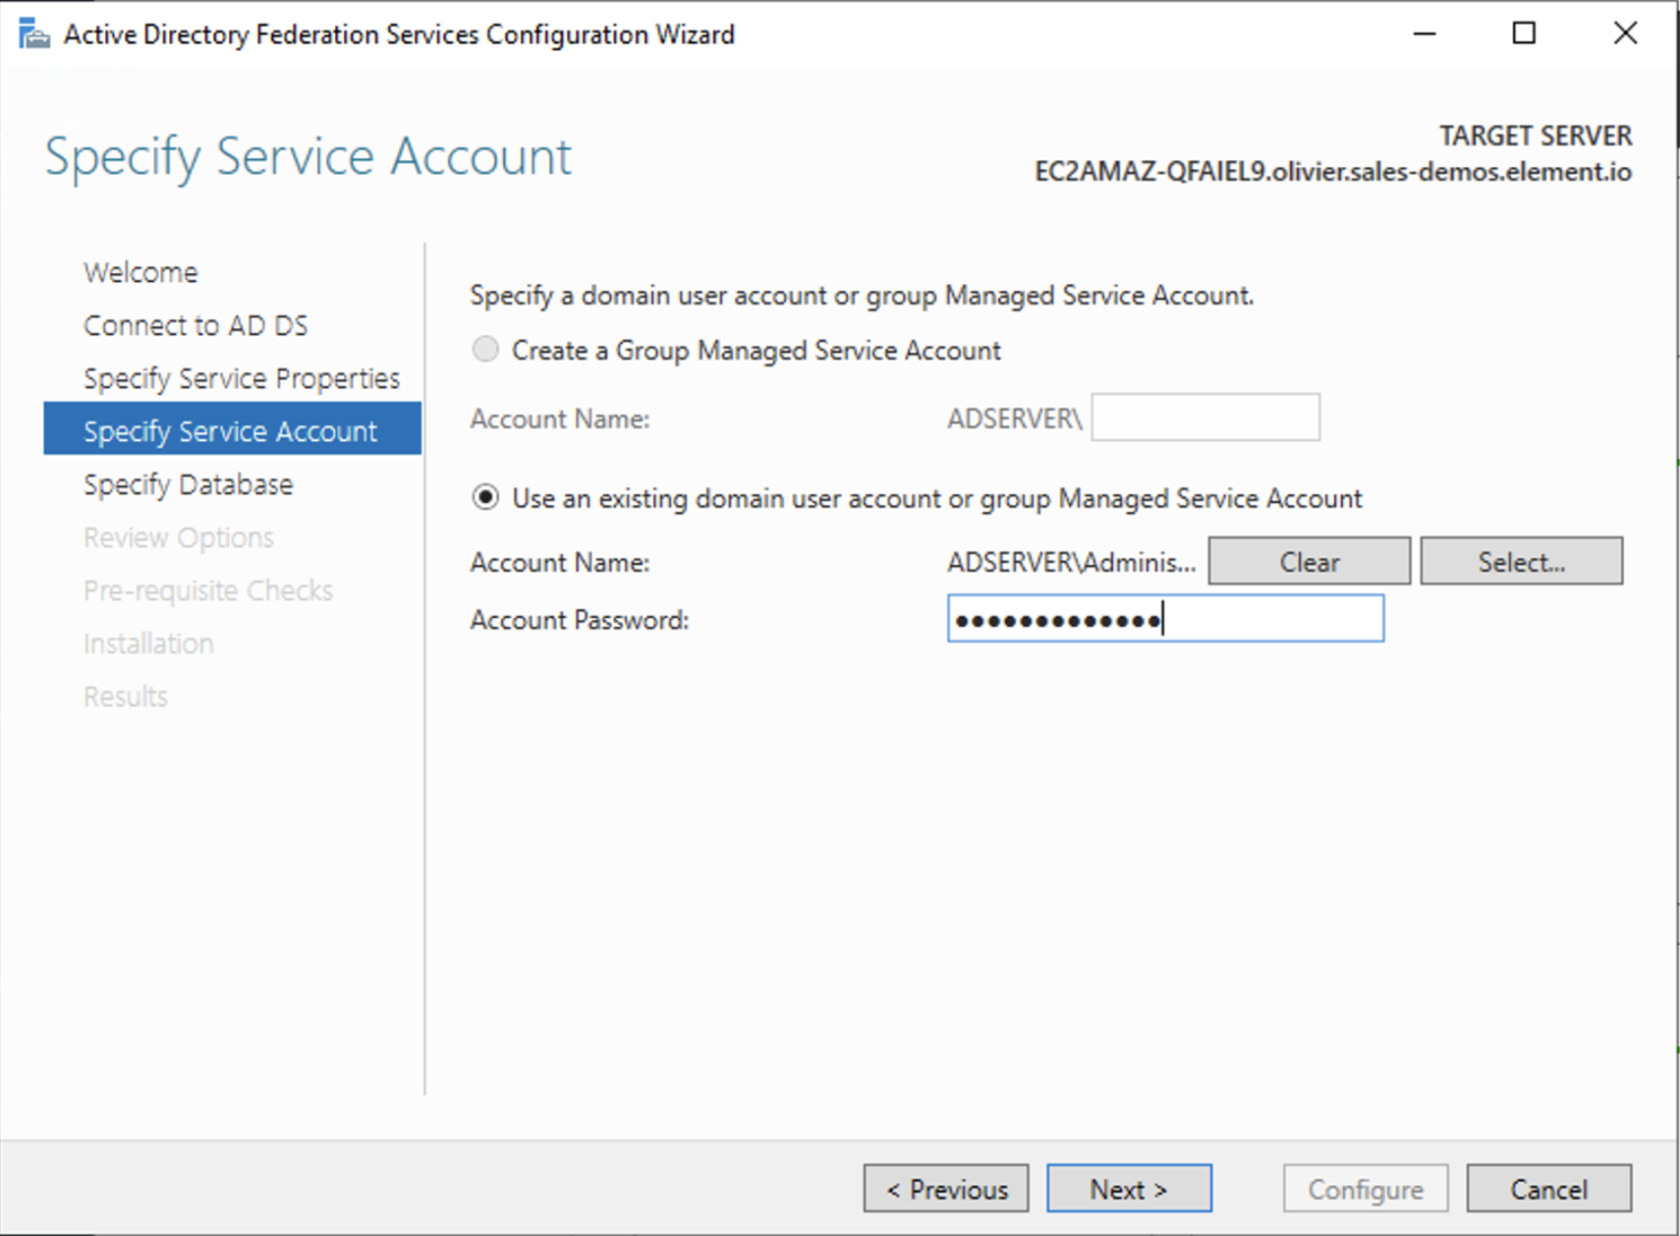
- On the Specify Service Account page, you can either Create a Group Managed Service Account (gMSA) or Specify an existing Service or gMSA Account
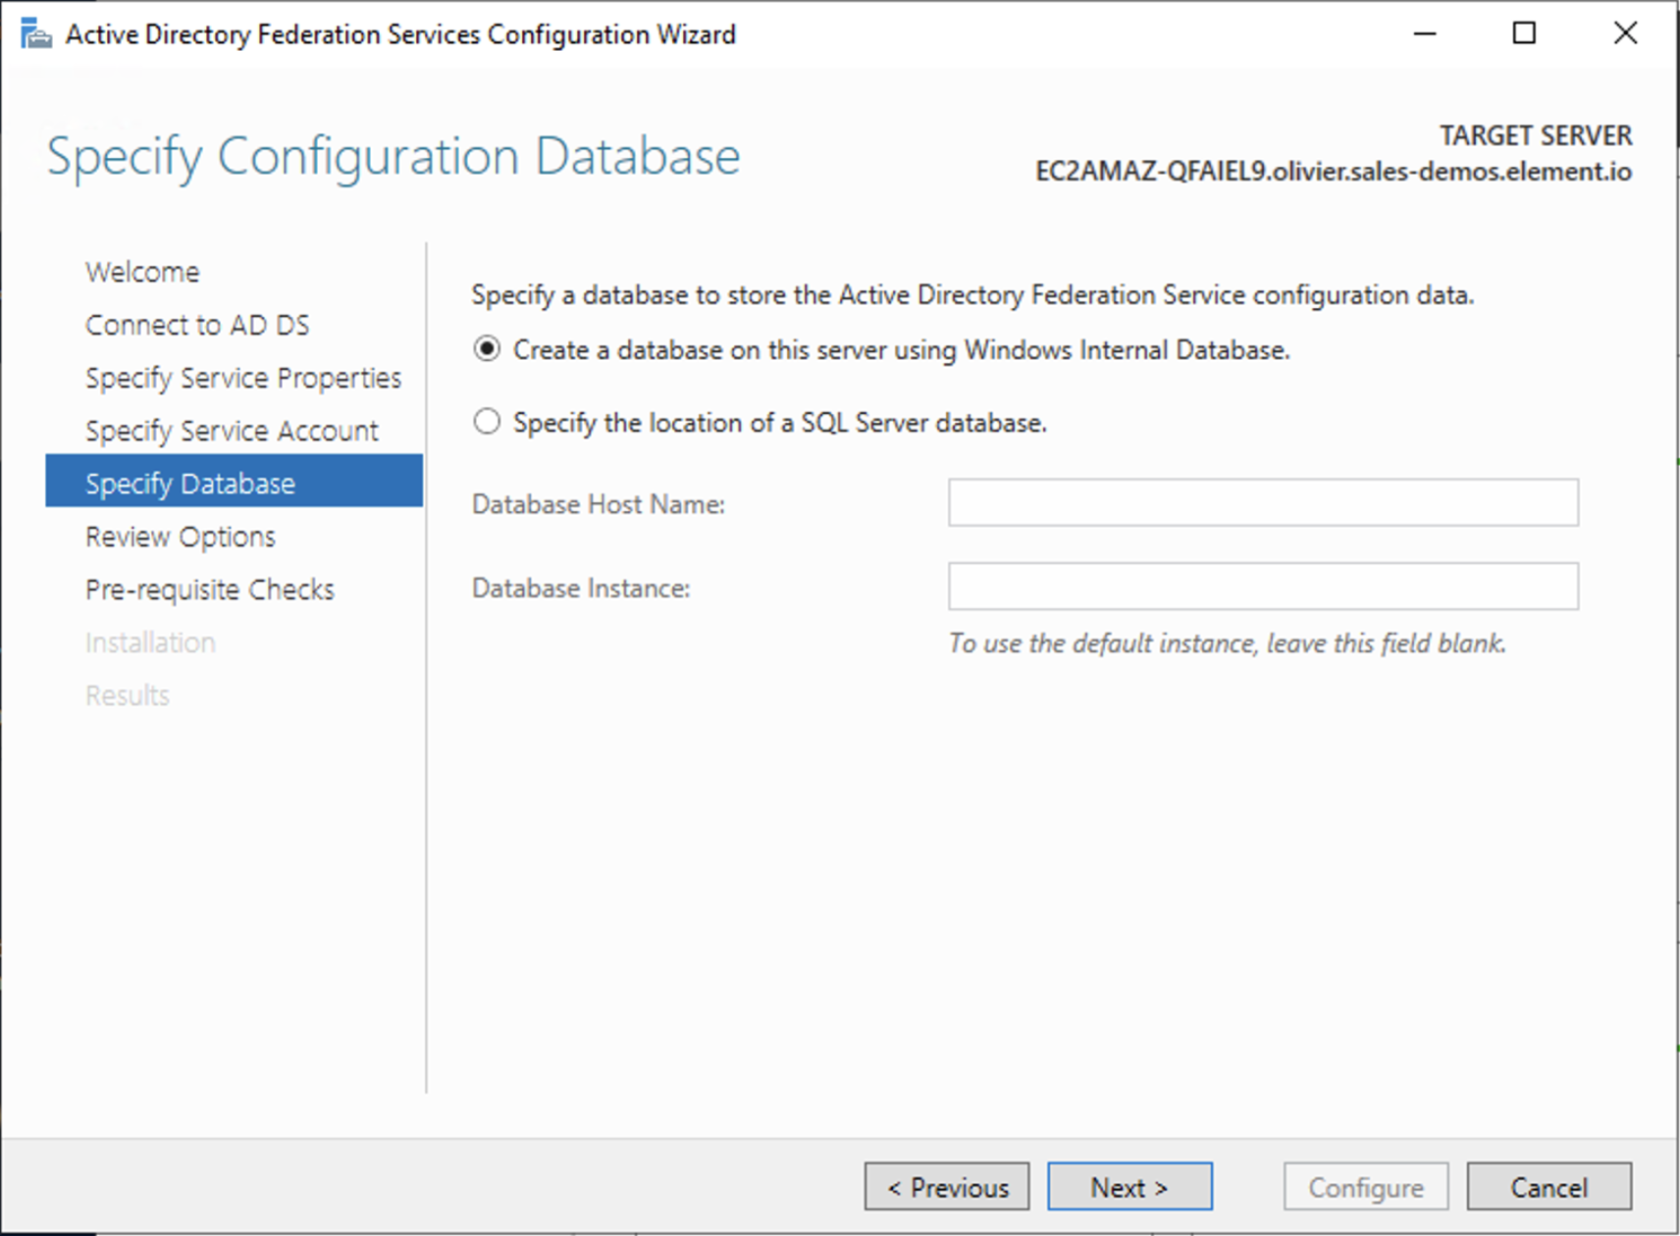
- Choose your database
- Review Options , check prerequisites are completed and click on
Configure - Restart the server
Add AD FS as an OpenID Connect identity provider
To enable sign-in for users with an AD FS account, create an Application Group in your AD FS.
To create an Application Group, follow theses steps:
- In
Server Manager, selectTools, and then selectAD FS Management - In AD FS Management, right-click on
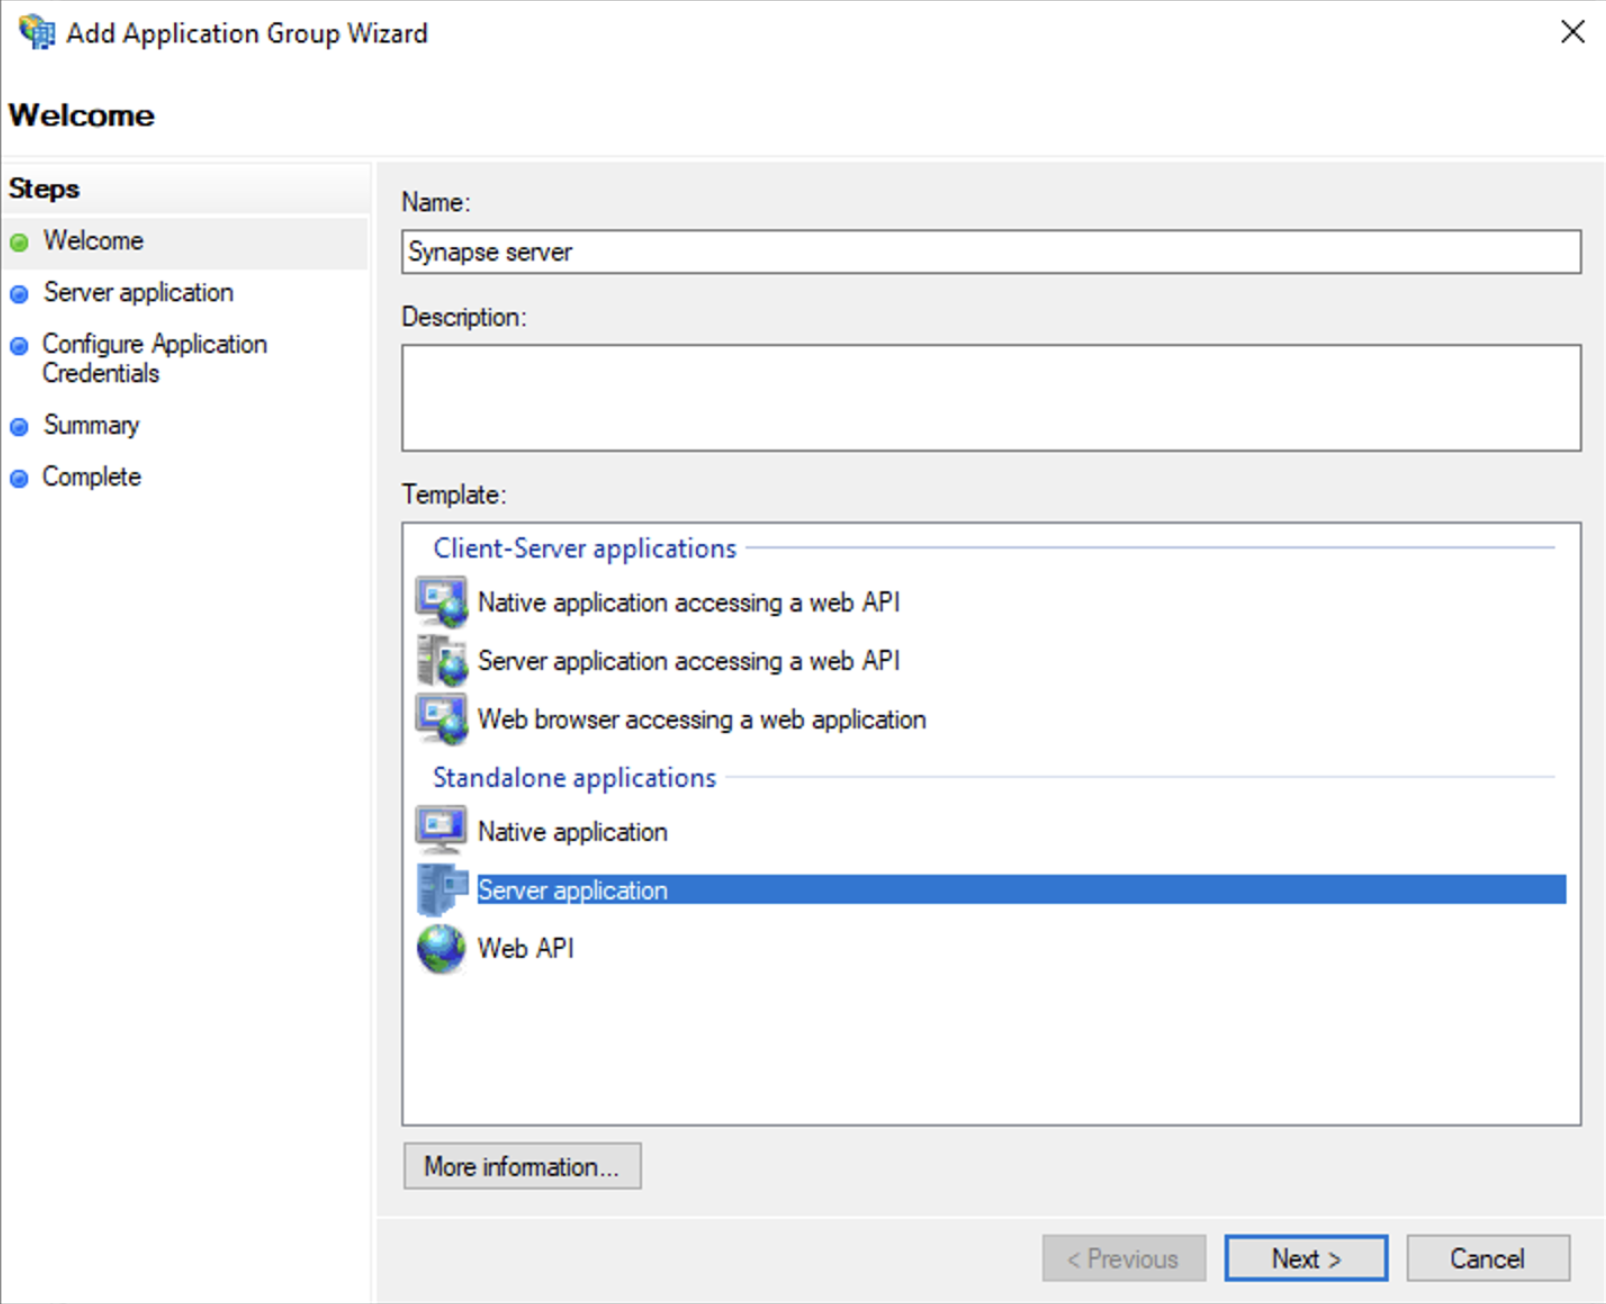
Application Groupsand selectAdd Application Group - On the Application Group Wizard
Welcomescreen- Enter the Name of your application
- Under
Standalone applicationssection, selectServer applicationand clickNext
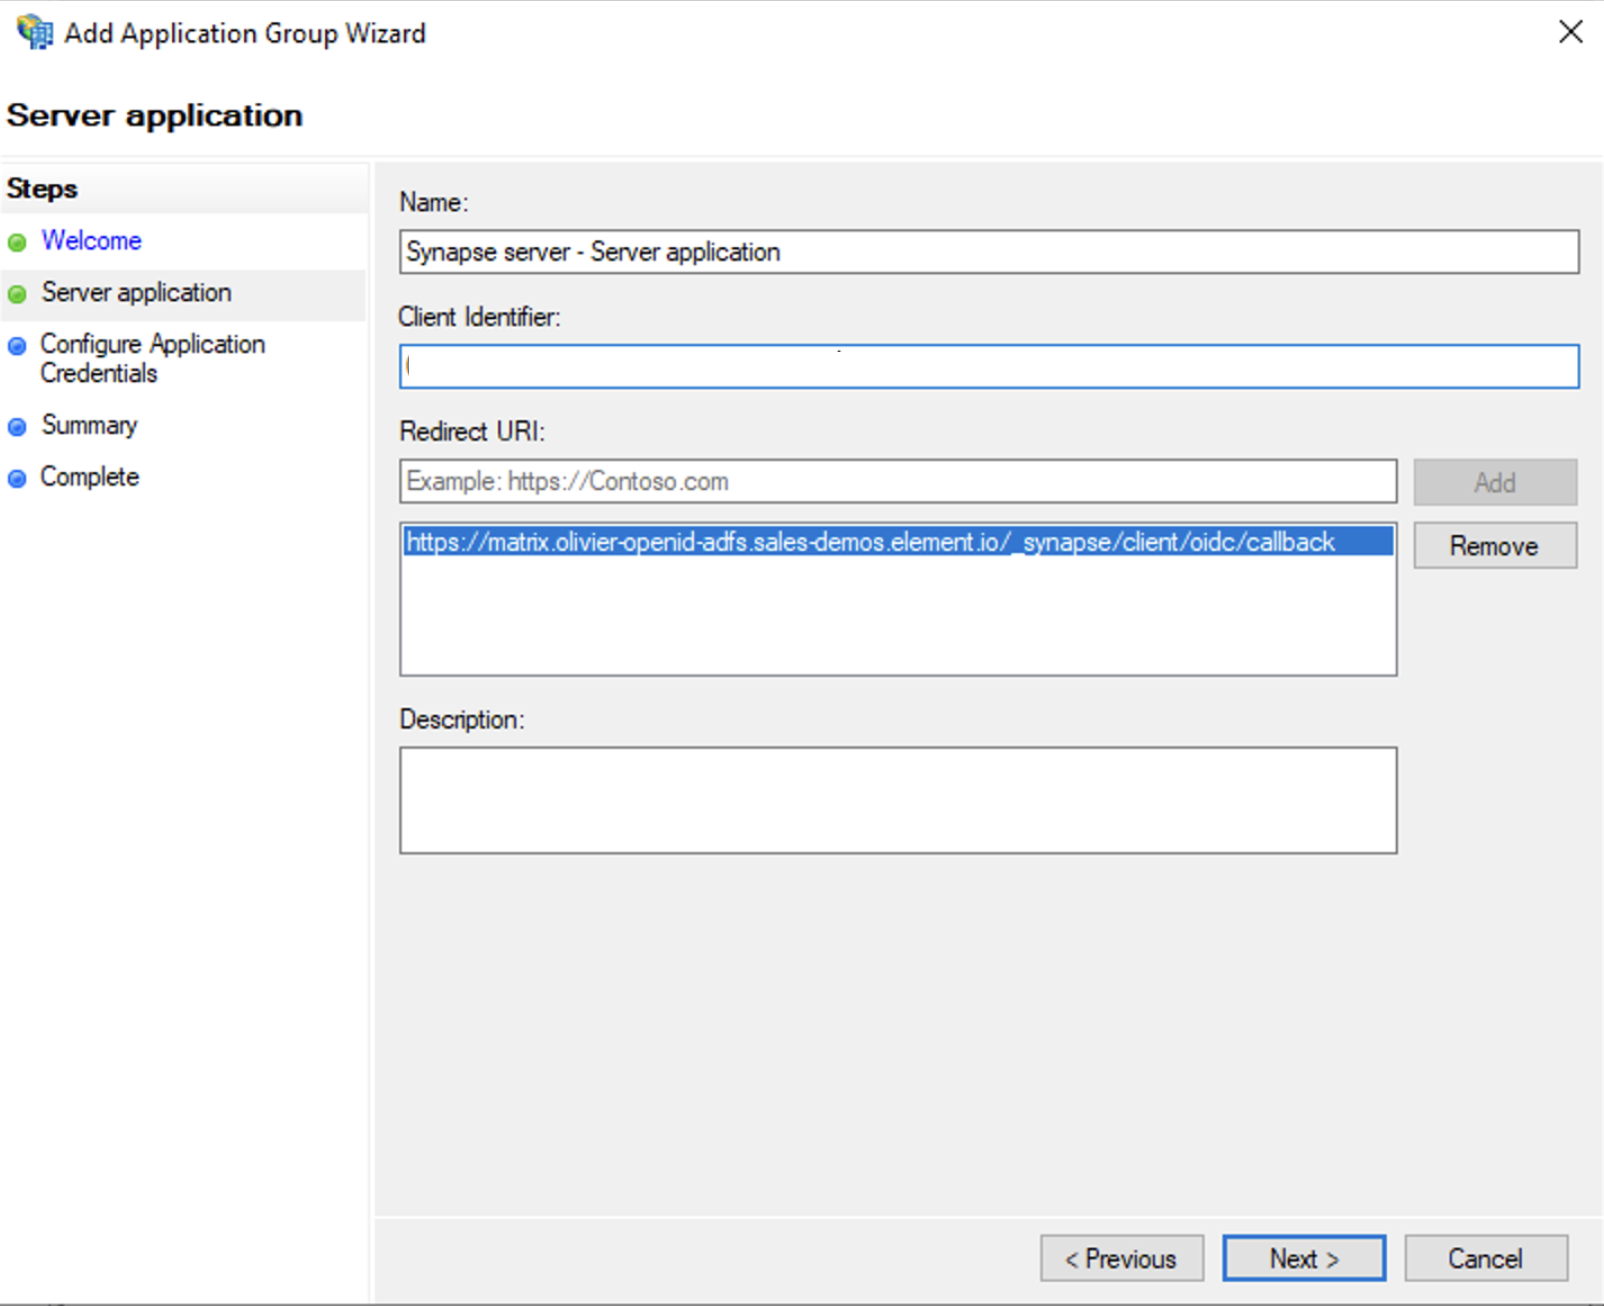
- Enter
https://<matrix domain>/_synapse/client/oidc/callbackin Redirect URI: field, clickAdd, save theClient Identifiersomewhere, you will need it when setting up Element and clickNext(e.g. https://matrix.domain.com/_synapse/client/oidc/callback)
- Select
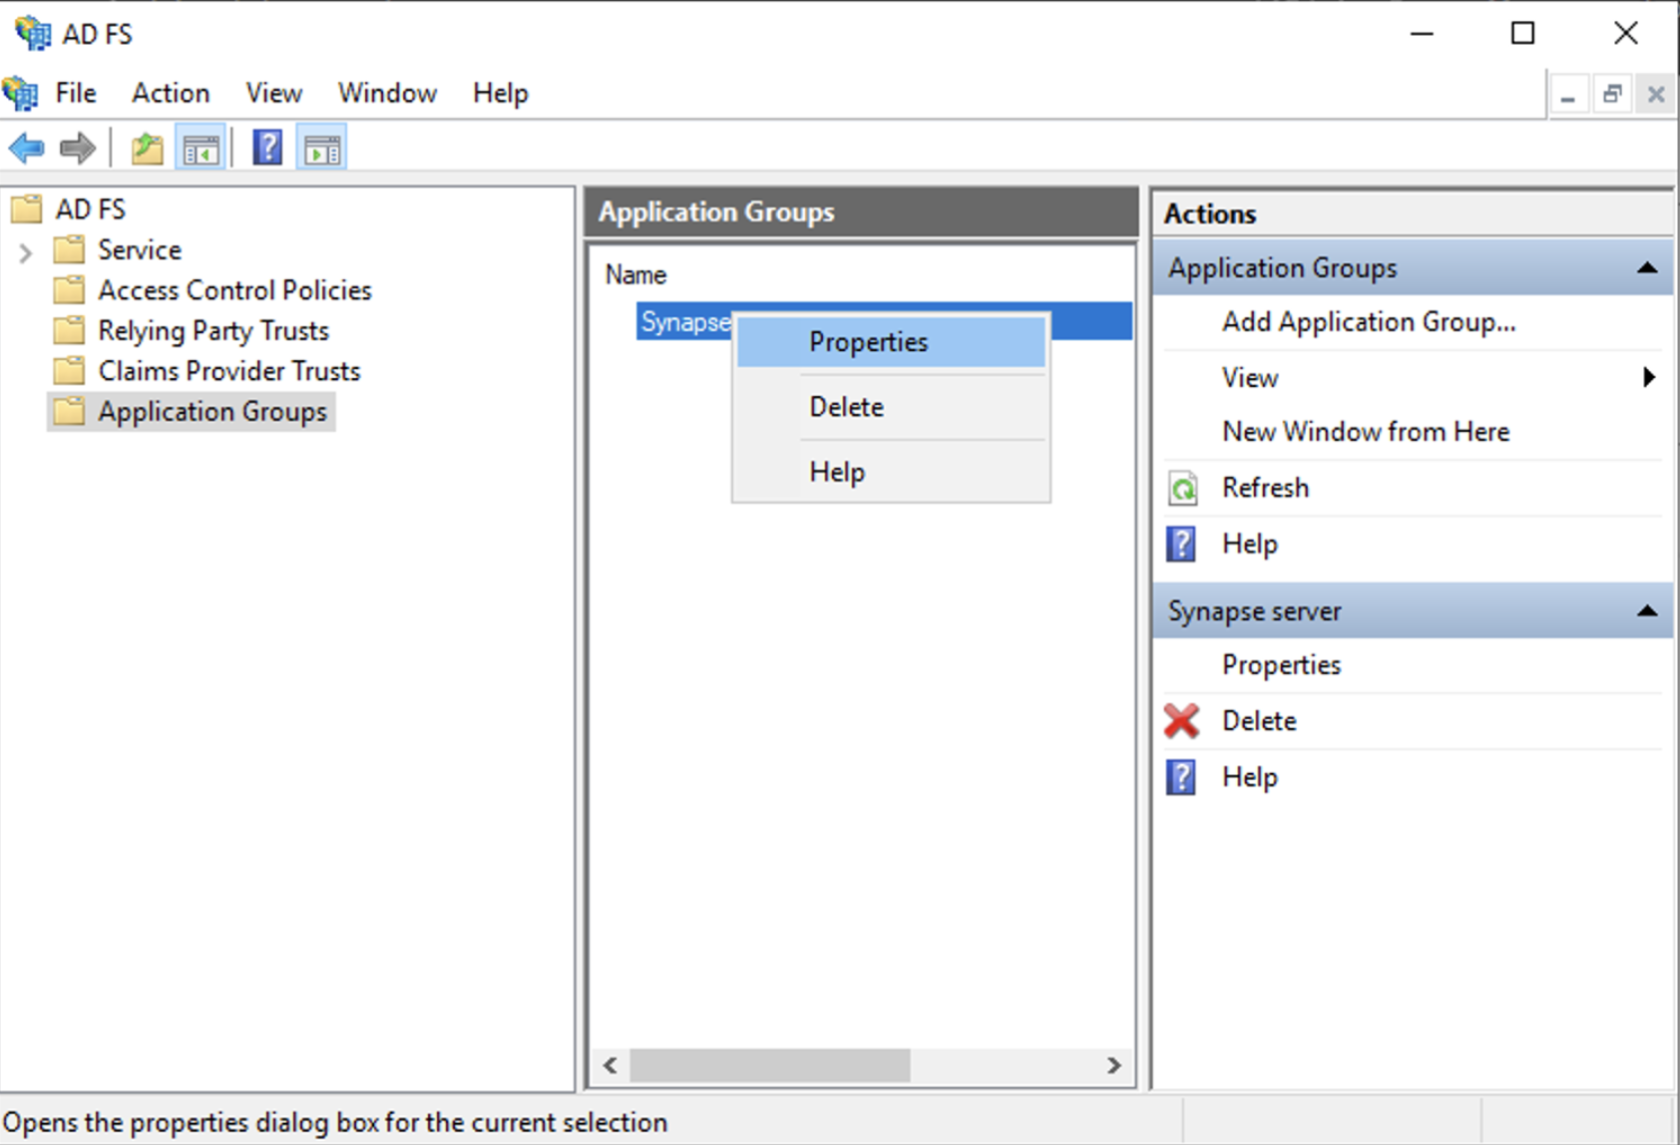
Generate a shared secretcheckbox and make a note of the generated Secret and pressNext(Secret needs to be added in the Element Installer GUI in a later step) - Right click on the created Application Group and select `Properties``
- Select
Add application...button. - Select
Web API

