Disclaimer: This guide refers to using the Element Matrix clients, Element Web or Element Desktop apps
### Accessing Voice & Video Settings You can change your Matrix account settings by clicking your profile icon in the top left of the Element client. By default, this will be a colored circle with the first letter of your Matrix ID. From the presented drop-down menu, you'll be able to jump into specific settings straight away, or access `All Settings`. Clicking `All Settings` will take you first to `General` settings, click `Voice & Video` in the vertical navigation menu on the left to open `Voice & Video` settings.Info: The below setting layout / order may change in subsequent client updates, however generally most settings will still perform the same function.
### Voice & Video Settings [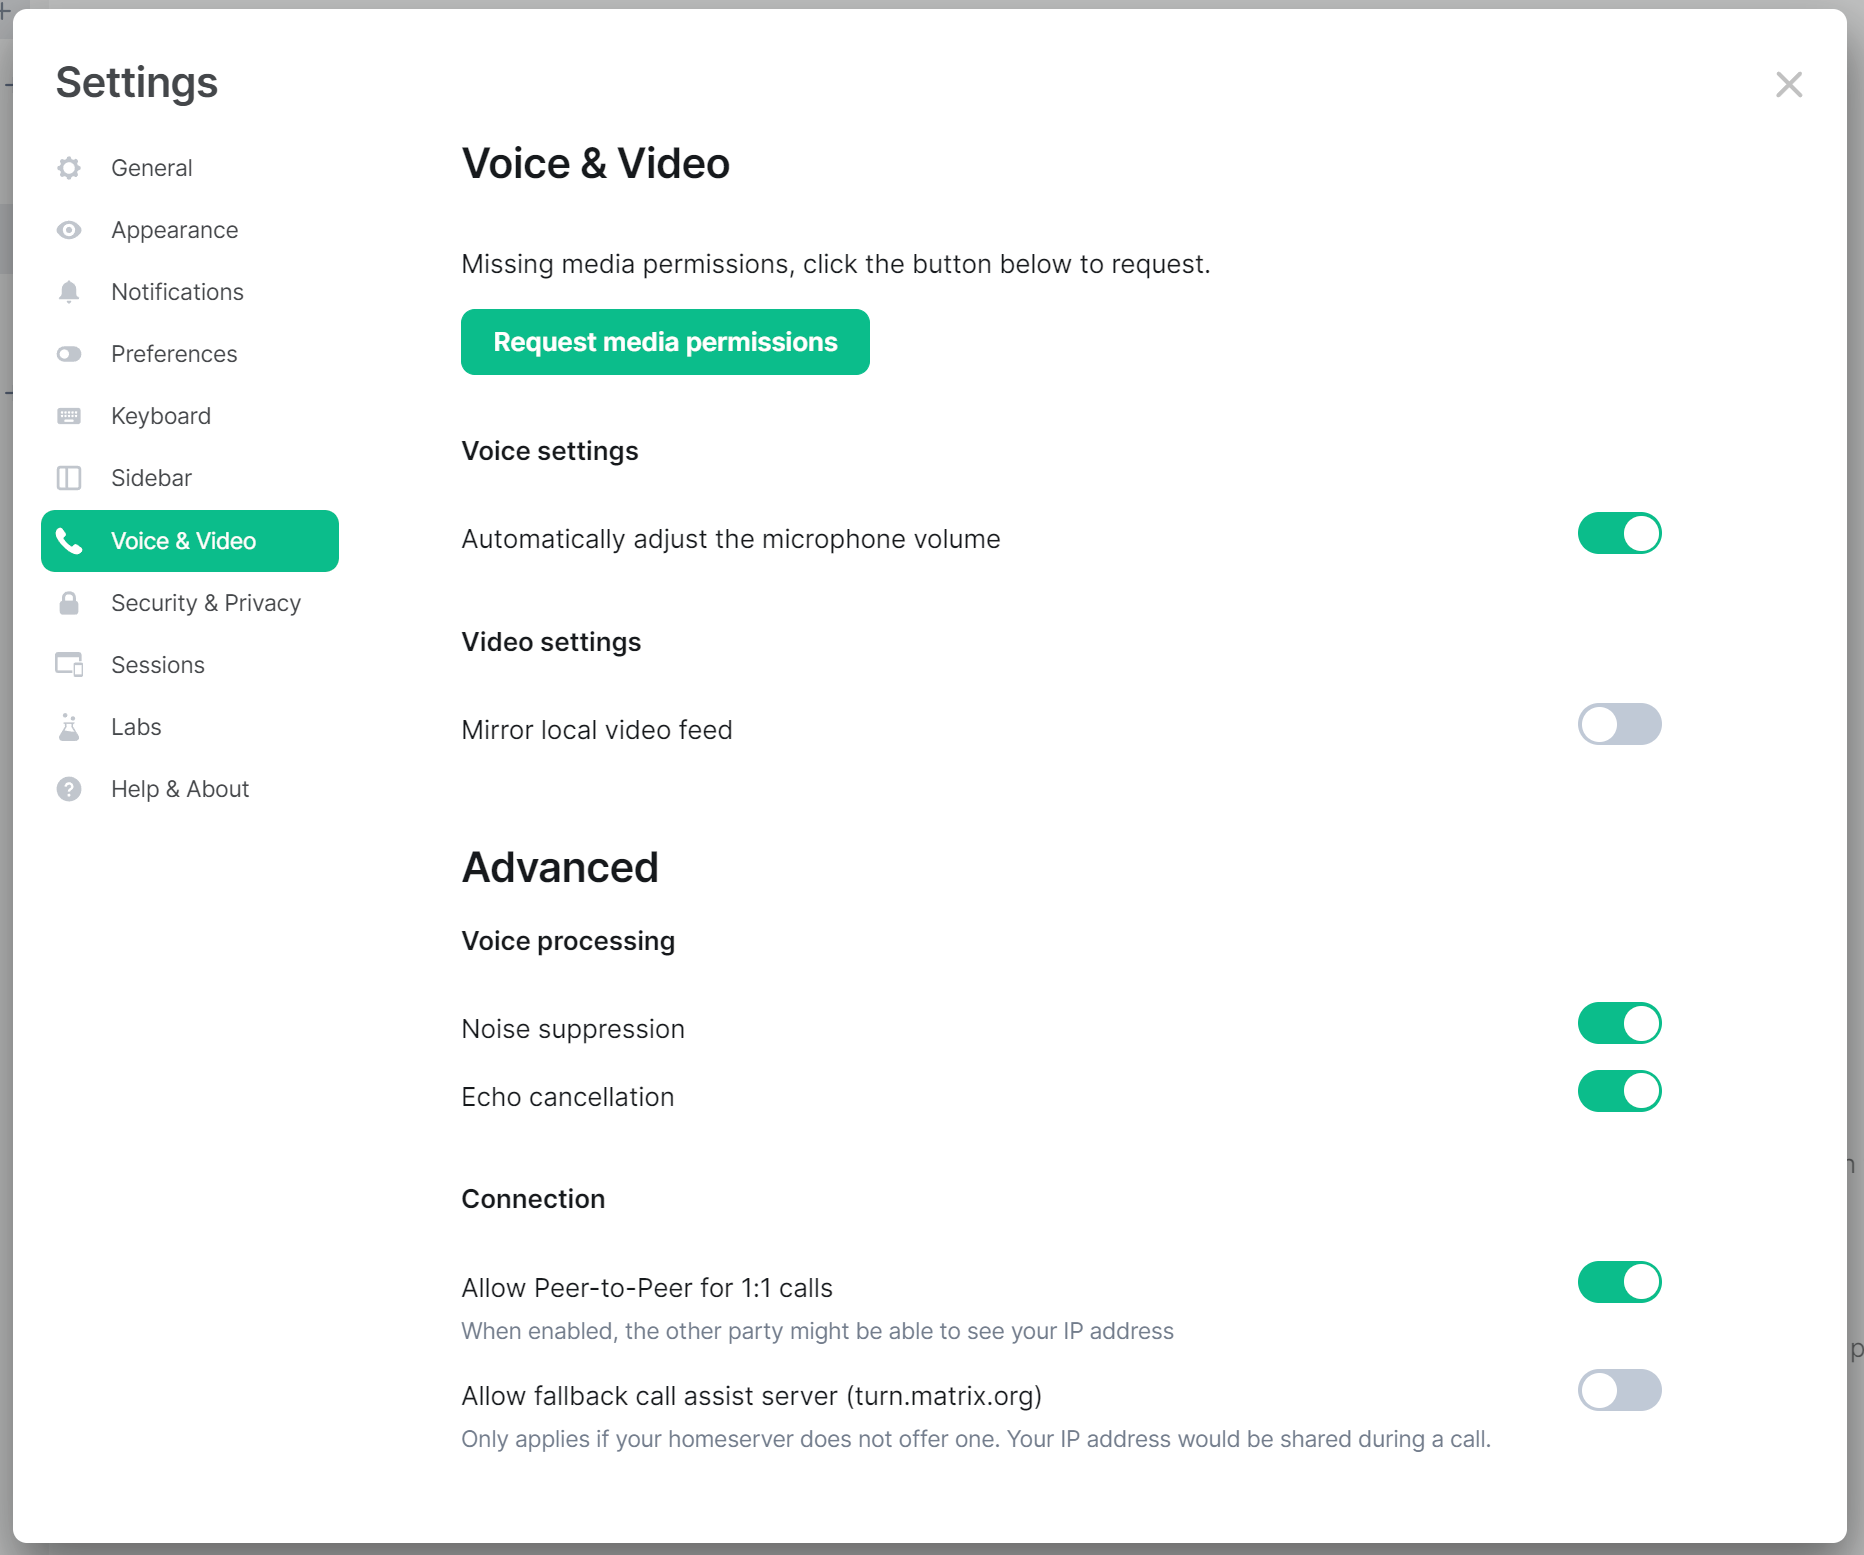](https://ems-docs.element.io/uploads/images/gallery/2023-08/image-1690991422078.png) The Voice & Video settings section allows you to change your default audio and microphone devices, individual voice and video preferences as well as configure advanced options relating to Video Processing and your Connection. To start, if you haven't yet made use of Voice & Video, you may see a `Requests media permissions` prompt, you will need to do this, then accept the prompt in your browser to allow the Element client to see, and use your Camera and Microphone. [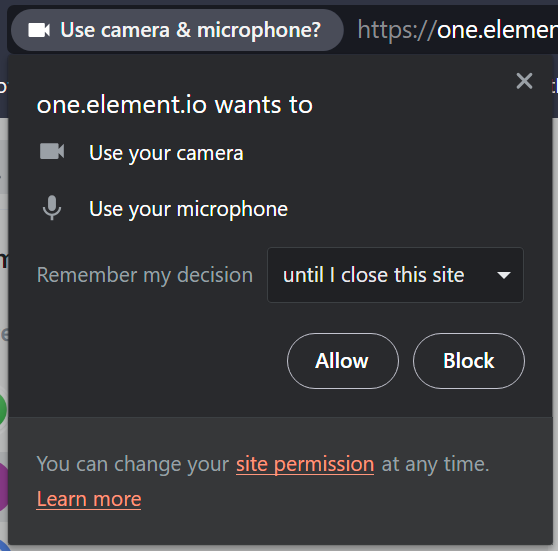](https://ems-docs.element.io/uploads/images/gallery/2023-08/image-1690991434643.png) Once you have provided media permissions, you will be able to customize you default Audio and Microphone devices under Voice Settings, and the default Camera to use under Video settings. [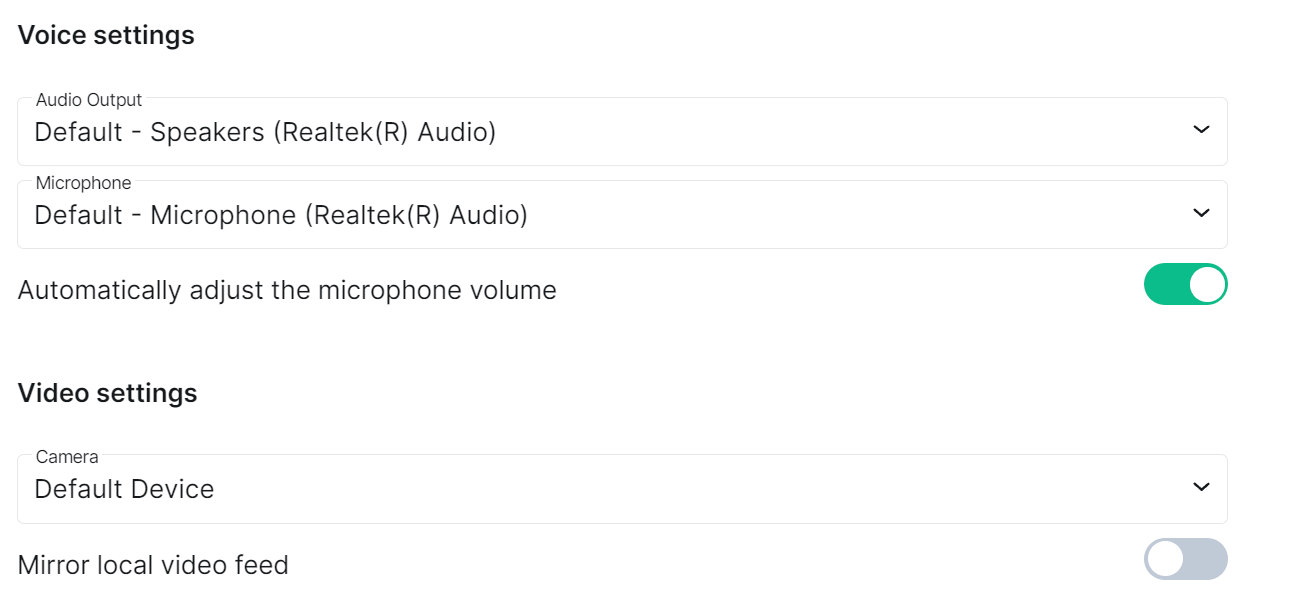](https://ems-docs.element.io/uploads/images/gallery/2023-08/image-1690991704345.png)