Setting up GitLab, GitHub, JIRA and Webhooks Integrations With the Installer
In Element Server Suite, our GitLab, GitHub, and JIRA extensions are provided by the hookshot package. This documentation explains how to configure hookshot.
Configuring Hookshot with the Installer
From the Installer's Integrations page, click "Install" under "Hookshot: Github, Gitlab, Jira, and Custom Webhooks."
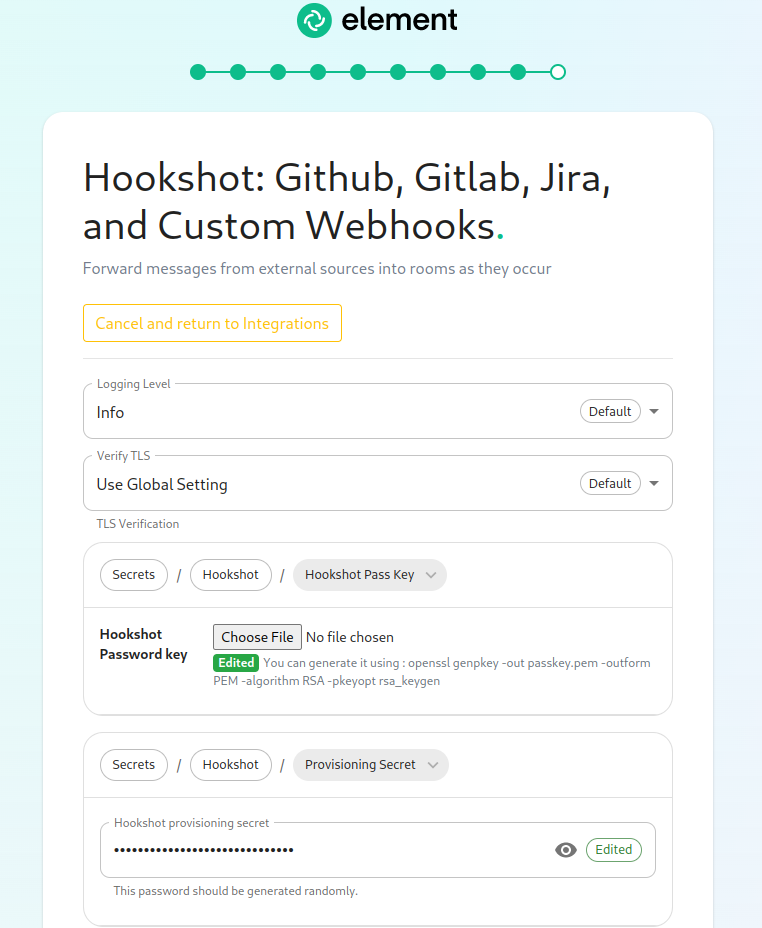
On the first screen here, we can set the logging level and a hookshot specific verify tls setting. Most users can leave these alone.
To use hookshot, you will need to generate a hookshot password key, when can be done by running the following command on a Linux command line:
openssl genpkey -out passkey.pem -outform PEM -algorithm RSA -pkeyopt rsa_keygen_bits:4096
which will generate output similar to this:
..................................................................................................................................................................++++
......................................................................................++++
Once this has finished, you will have a file called passkey.pem that can use to upload as the "Hookshot Password key".
If you wish to change the hookshot provisioning secret, you can, but you can also leave this alone as it is randomly generated by the installer.
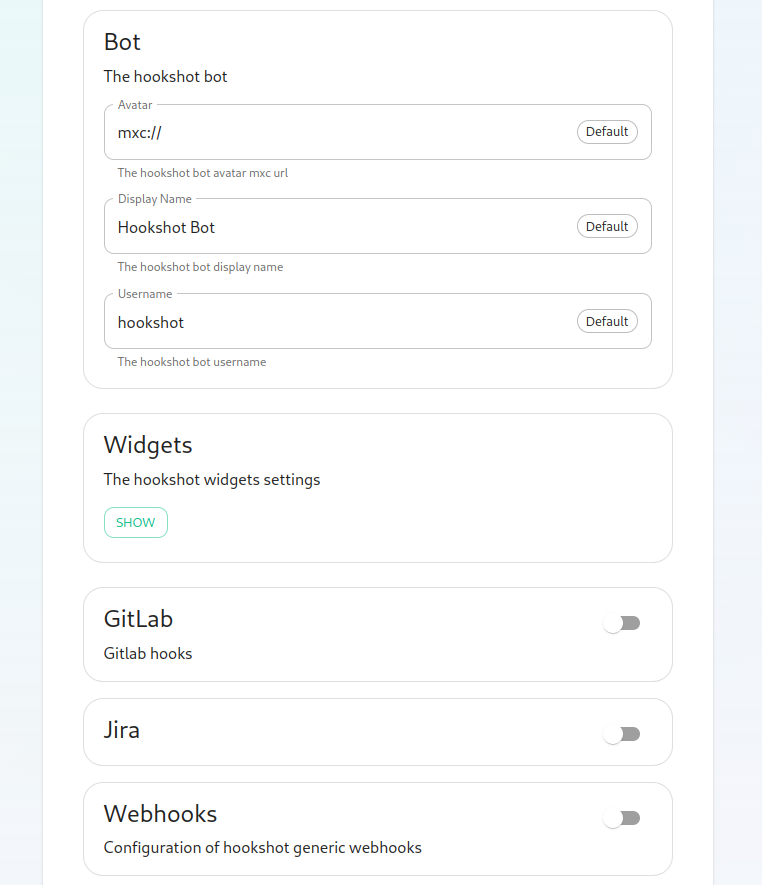
Next, we get to a set of settings that allow us to make changes to the Hookshot bot's appearance.
There is also a button to show widget settings, which brings up these options:

In this form, we have the ability to control how widgets are incorporated into rooms (the defaults are usually fine) and to set a list of Disallowed IP ranges wherein widgets will not load if the homeserver IP falls in the range. If your homeservers IP falls in any of these ranges, you will want to remove that range so that the widgets will load!
Next, we have the option to enable Gitlab, which shows us the following settings:
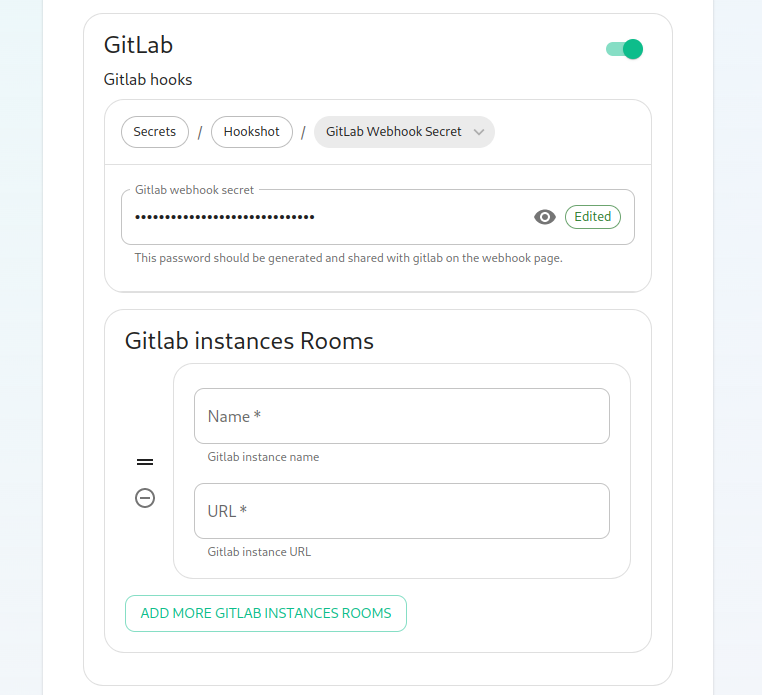
The webhook secret is randomly generated and does not need to be changed. You can also add Gitlab instances by specifying an instance name and pasting the URL.
Next, we have the option to enable Jira, which shows us the following settings:
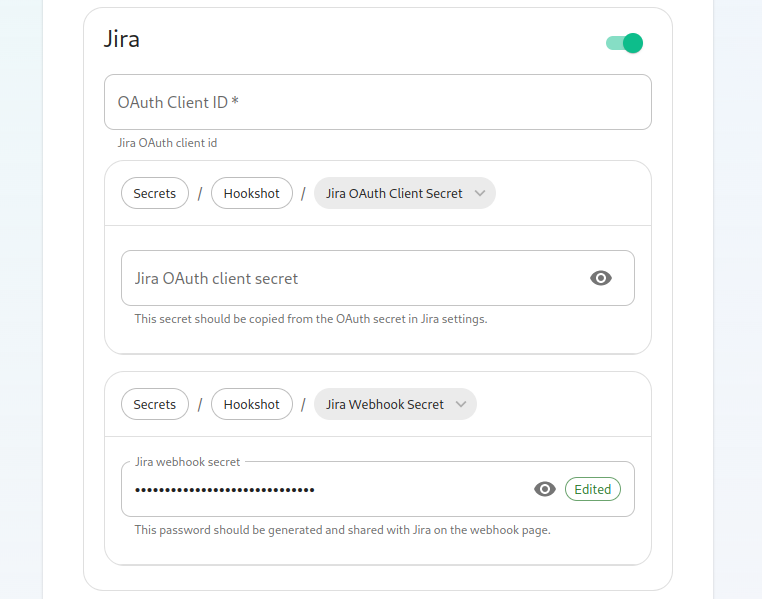
In here, we can specify the OAuth Client ID and the OAuth client secret to connect to Jira. To obtain this information, please follow these steps:
The JIRA service currently only supports atlassian.com (JIRA SaaS) when handling user authentication. Support for on-prem deployments is hoping to land soon.
- You'll first need to head to https://developer.atlassian.com/console/myapps/create-3lo-app/ to create a "OAuth 2.0 (3LO)" integration.
- Once named and created, you will need to:
- Enable the User REST, JIRA Platform REST and User Identity APIs under Permissions.
- Use rotating tokens under Authorisation.
- Set a callback url. This will be the public URL to hookshot with a path of /jira/oauth.
- Copy the client ID and Secret from Settings
Once you've set these, you'll notice that a webhook secret has been randomly generated for you. You can leave this alone or edit it if you desire.
Next, let's look at configuring Webhooks:
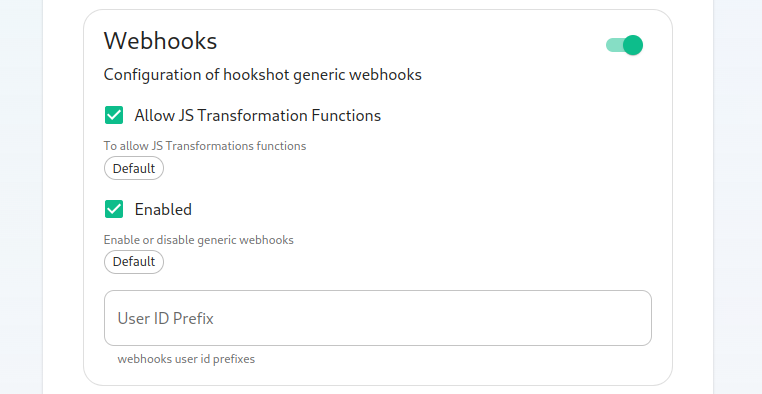
You can set whether or not webhooks are enabled and whether they allow JS Transformation functions. It is good to leave these enabled per the defaults. You can also specify the user id prefix for the creation of custom webhooks. If you set this to webhook_ then each new webhook will appear in a room with a username starting with webhook_.
Next, let's look at configuring Github:
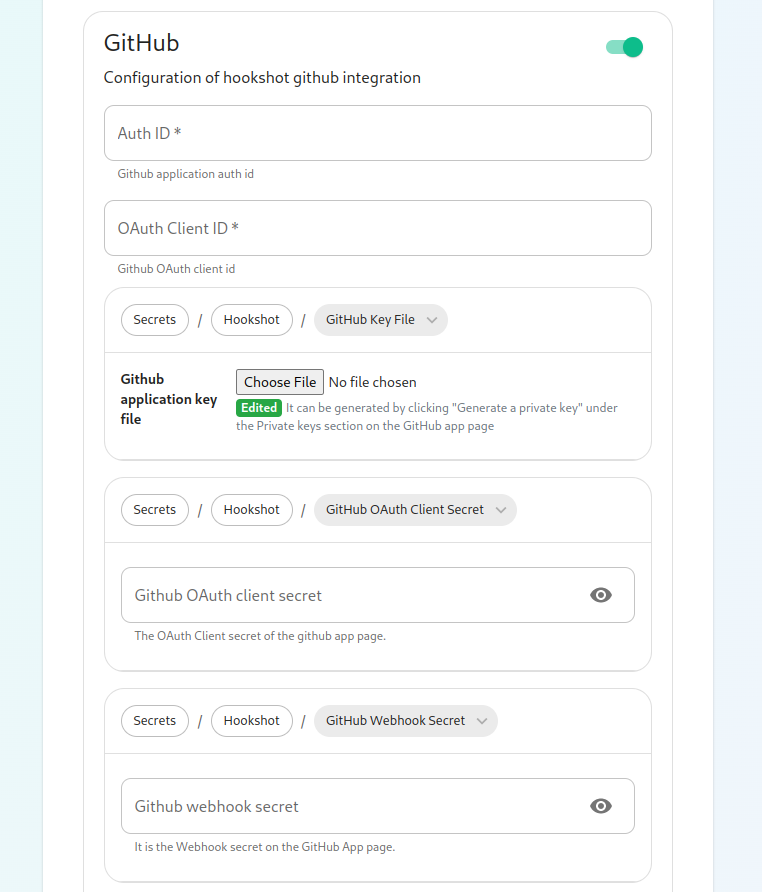
This bridge requires a GitHub App. You will need to create one. Once you have created this, you'll be able to fill in the Auth ID and OAuth Client ID. You will also need to generate a "Github application key file" to upload this. Further, you will need to specify a "Github OAuth client secret" and a "Github webhook secret", both of which will appear on your newly created Github app page.

On this screen, we have the option to change how we call the bot and other minor settings. We also have the ability to select which hooks we provide notifications for, what labels we wish to exclude, and then which hooks we will ignore completely.

Now we have the ability to add a list of labels that we want to match. This has the impact of the integration only notifying you of issues with a specifc set of labels.
We then have the ability to add a list of labels that all newly created issues through the bot should be labeled with.
Then we have the ability to enable showing diffs in the room when a PR is created.
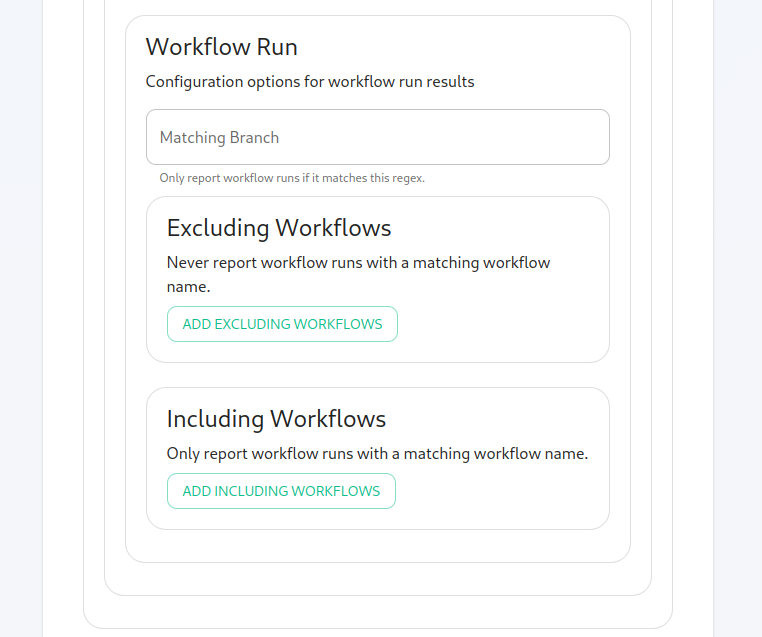
Moving along, we can configure how workflow run results are configured in the bot, including matching specific workflows and including or excluding specific workflows.
Finishing Configuration
You furrther have the ability to click "Advanced" and set any kubernetes specific settings for how this pod is run. Once you have set everything up on this page, you can click "Continue" to go back to the Integrations page.
When you have finished running the installer and the hookshot pod is up and running, there are some configurations to handle in the Element client itself in the rooms that you wish the integration to be present.
As an admin, you will need to enable hookshot in the rooms using the "Add widgets, bridges, & bots" functionality to add the "Hookshot" widget to the room and finish the setup.